Hello dear Amigurumi Followers
Today we share one free amigurumi crochet pattern again for you. As you know we share new amigurumi free patterns every day. The main crochets are amigurumi gazelles, amigurumi bears, amigurumi pola, amigurumi pandas, amigurumi penguins, amigurumi giraffes, amigurumi llama, amigurumi pigs, amigurumi bunny, amigurumi clowns, amigurumi lambs, amigurumi bees, amigurumi unicorns, amigurumi dolls, amigurumi foxes, amigurumi penguins, amigurumi dinosaurs, amigurumi elephants, amigurumi hippos, amigurumi monkeys, amigurumi cats, amigurumi dogs and more …
Todays daily new amigurumi free crochet pattern is Amigurumi Plush Crochet Totoro.
I want to give you some informations about this pattern ;
Materials
– Yarn (semi-cotton) orange, red and white
colors (I have VarnAgean5)
– Threads (Iris) black
– Hook 2.0 mm
– Wooden ring (outer diameter b5 mm)
– 3 wreath
– Knitted needle with blunt tip
– Holofiber
Abbreviations
AR – Amigurumi Magic ring
LL: Lifting loop Click for mean!
MR – Amigurumi Magic ring
App – application
sc : Single Crochet
inc : Increase
dec : Decrease
tr : Triple Crochet/ Treble Crochet
st: Stitch
dc : Double Crochet
hdc: Half Double Crochet
sl-st : Slip Stitch
ch : Chain
..in : make increase into same stitch as many as the number which is given in front of “inc” abbreviation (exp; 3inc, 4inc..).
FLO : Crochet into front loops only
BLO : Crochet into back loops only
BL : Bobble Stitch – do 5dc all in the same stitch and then yarn over and pull through all the loops on your hook (the original loop + 1 loop for each partially completed dc)
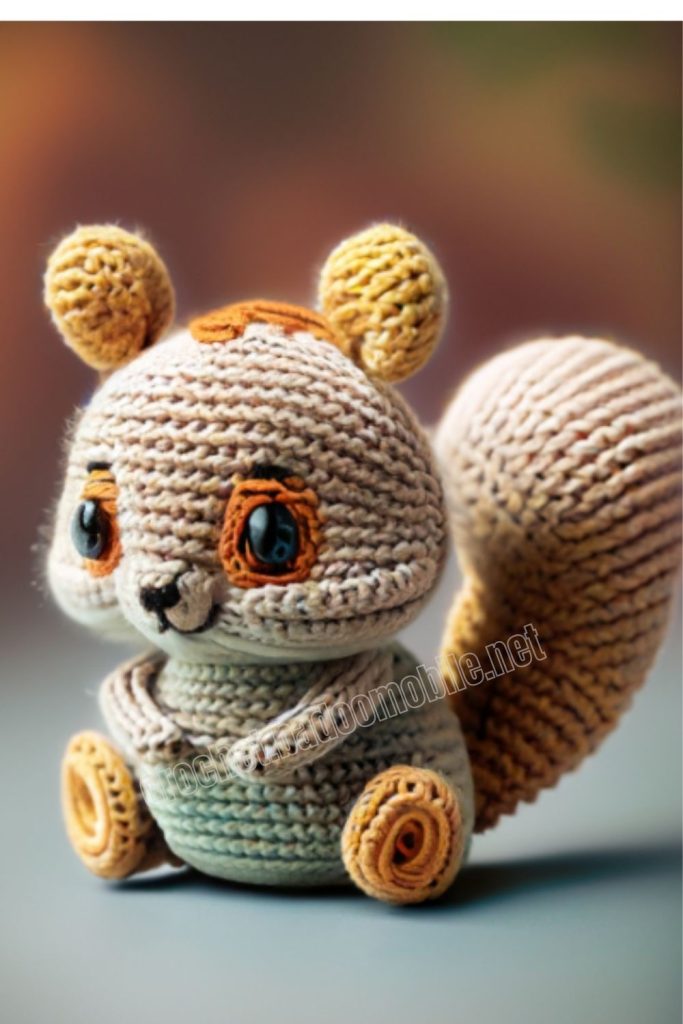
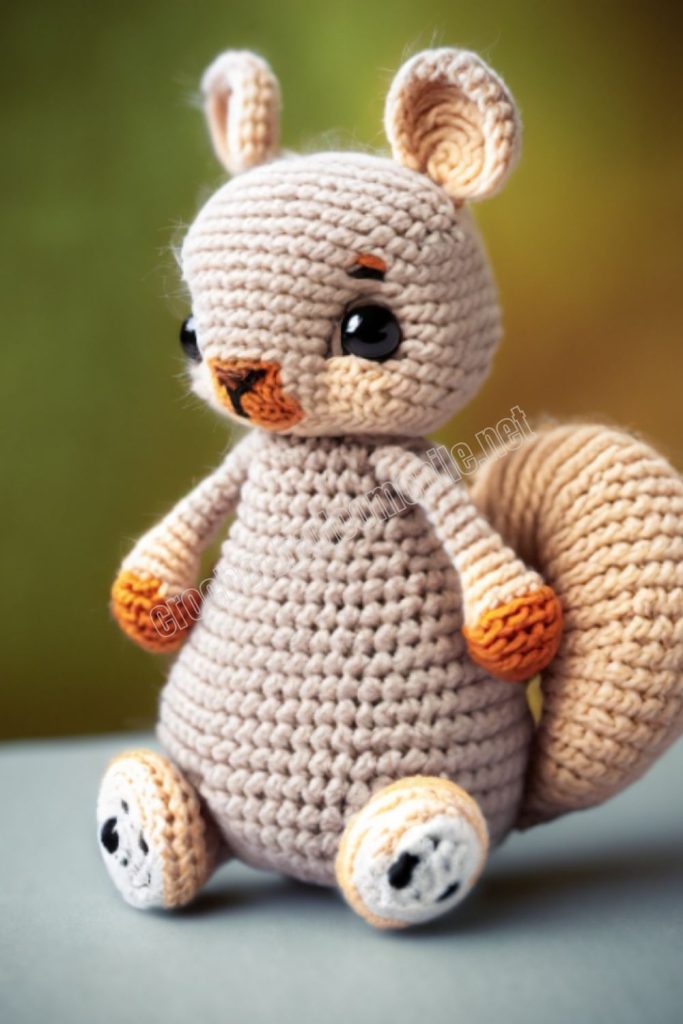
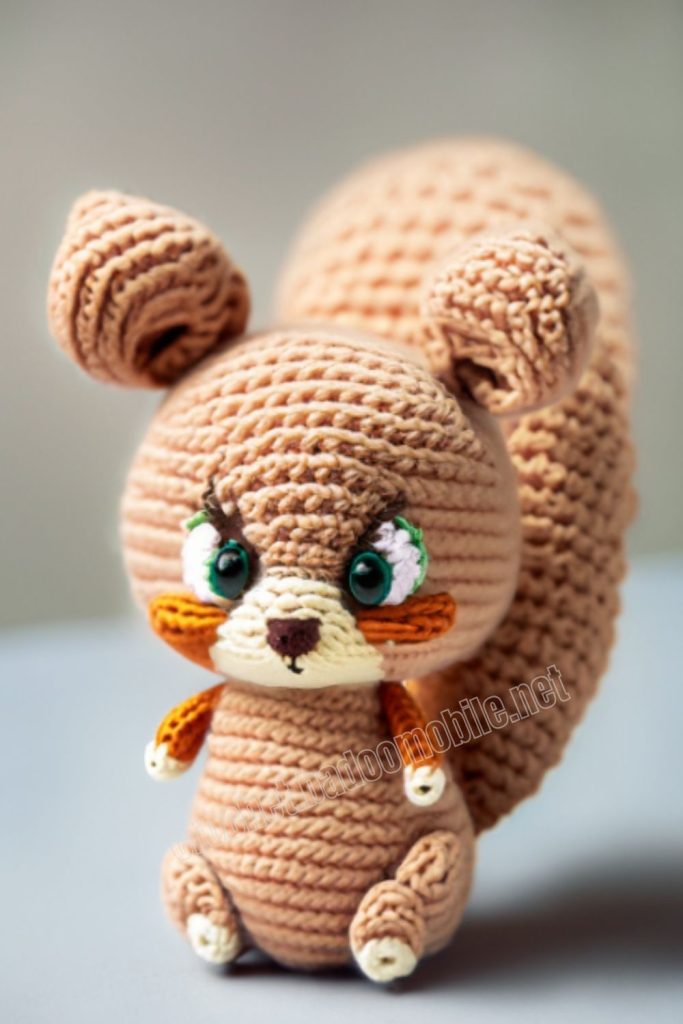
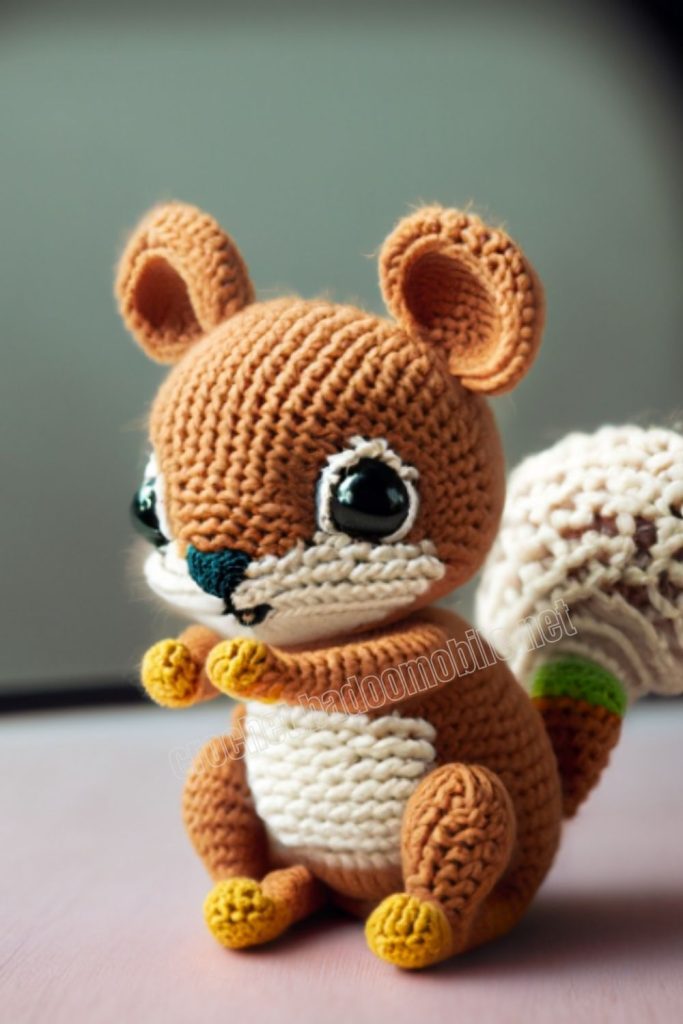
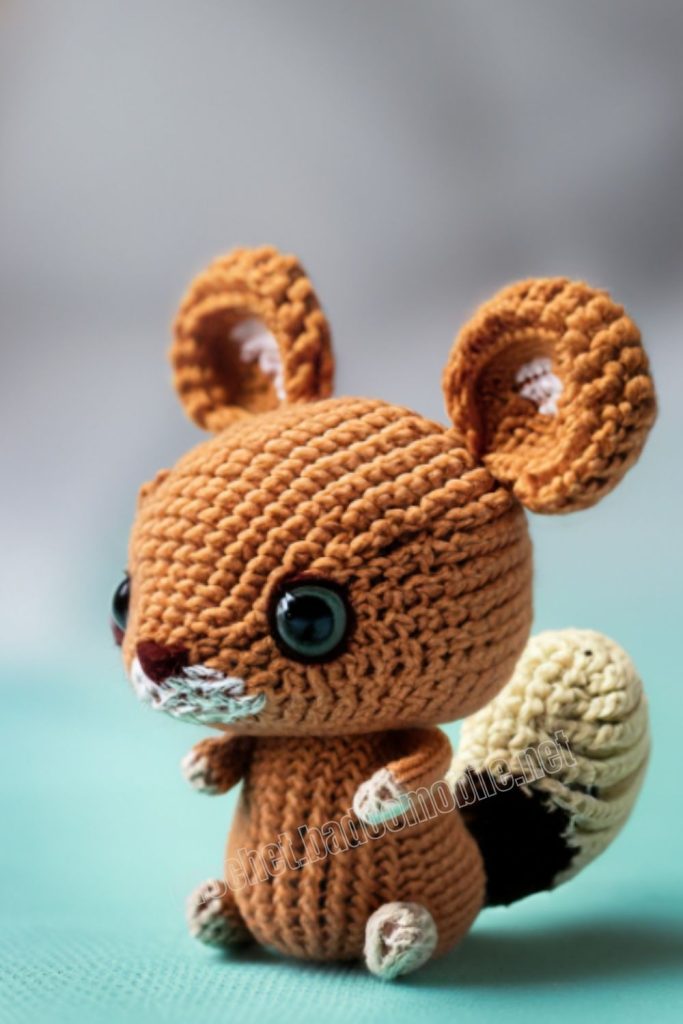
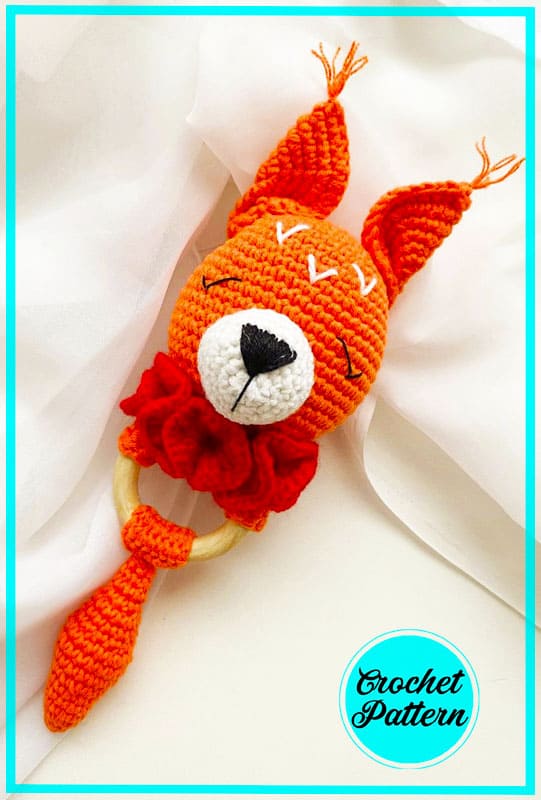
Amigurumi Crochet Squirrel Rattle Free Pattern:
Head
Orange yarn dial:
1) 6sc in MR (6)
2) 6inc (12)
3) (1 sc, inc)*6 (18)
4) (2sc, inc)*6 (24)
5) (3sc, inc)*6 (30) 6) 30 sc
7) (4 sc,inc)*6 (36)
8) 36 sc
9) (5 sc, inc)*6 (42)
10) 42 sc
11) (6sc, inc)*6 (48)
12)-19) 48 sc
20) (6sc, dec)*6 (42)
21) (5sc, dec)*6 (36)
22) (4sc, dec)*6 (30
Fill with holofiber and insert a ring
1) (3sc, dec)*6 (24)
2) (2sc, dec)*6 (18)
3) (1 sc, dec)*6 (12)
Do not close the loops to the end, leave a hole and the end of the thread 20-30 cm long for sewing. If necessary, add more holofiber to the left hole in the head
Muzzle
With a white thread, dial:
1) 6sc in MR (6)
2) 6 inc (12)
3) 12sc (12)
4) 1 sc, 1inc (18)
5) 18sc
6) 2sc, 1inc (24)
7) 24sc
Fasten and cut the thread, leaving a 20 cm end for sewing
Ears
With an orange thread, dial:
1) 6sc in MR (6)
2) 6 inc (12)
3) 1 sc, 1 inc (18)
4) 2sc, 1 inc (24)
5) Зsc, 1 inc (30)
6) 4sc, 1 dec (36)
Fold the part in half and join the edges sc.
Fasten and cut the thread, leaving a sewing end 15-20 cm long.
Twist the ear along the long side and secure with a thread.
The second ear is the same, but in a mirror image.
Make brushes at the tips
Tail
With an orange thread, dial:
1) 6 sc in MR
2) 6sc
3) 6inc (12)
4)-5) 12sc
6) 1 sc, 1 inc (18)
7)-10) 18sc
11) 1 sc, 1 dec (12)
12)-13) 12sc
Fill the tail with holofiber
14) 2sc, 1 dec (9)
15) 9sc
16) 1 sc, 1 dec (6)
17) 6sc
Fasten and cut the thread, leaving the end for sewing with a length of 15-20 cm
Collar-snood
Cast on 16 stitches with red thread.
Next, we knit in rotary rows of 15 sc to the length you need (I have 3b rows). We fasten the thread and leave the end for sewing with a length of 15-20 cm
The finished part can be steamed a little with an iron. Next, we sew the snood right on the rattle, so it will sit tightly on the ring.
At the end, bend the collar and embroider the snowflake with white thread
Ring clamp N1
– Cast on 10 ch with an orange thread – Turn the work and, starting from the 2nd loop, crochet 9 sc – 1 LL and crochet back 9sc So we continue to crochet to the length you need. I have 32 rows
Ring clamp N2
– Cast on 10 ch with an orange thread – Turn the work and, starting from the 2nd loop, crochet 9 sc – 1 LL and crochet back 9sc So we continue to crochet to the length you need. I have 8 rows
Assembly
Sew the muzzle, stuffed with holofiber, to the front of the head
Embroider nose and eyes with black thread
Sew the ears to the head at the top on the sides between 6 and 11 next to the head, starting from the center
On the crown of the head, make a crest with orange threads and embroider “check marks” on the forehead with white threads
Next, sew the clamps to the ringlet. Turn the seam inside the ring
Sew the head to the clamp N1. To do this, find the middle of the clamp and secure the head with pins. Then we sew in a circle so that the head is firmly held and not dangled on the ring Next, sew on the collar-snood. Sew the tail to the clamp N2. The squirrel is ready!
More Amigurumi Squirrel Ideas:
