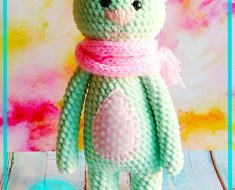
Hello dear Amigurumi Followers
Today we share one free amigurumi crochet pattern again for you. As you know we share new amigurumi free patterns every day. The main crochets are amigurumi gazelles, amigurumi bears, amigurumi polar bears, amigurumi pandas, amigurumi penguins, amigurumi giraffes, amigurumi llama, amigurumi pigs, amigurumi bunny, amigurumi clowns, amigurumi lambs, amigurumi bees, amigurumi unicorns, amigurumi dolls, amigurumi foxes, amigurumi penguins, amigurumi dinosaurs, amigurumi elephants, amigurumi hippos, amigurumi monkeys, amigurumi cats, amigurumi dogs and more …
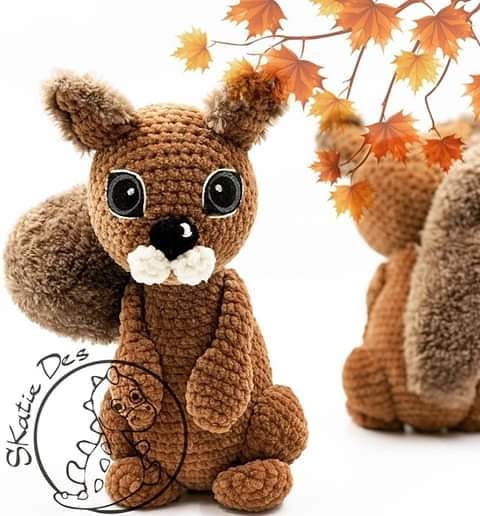
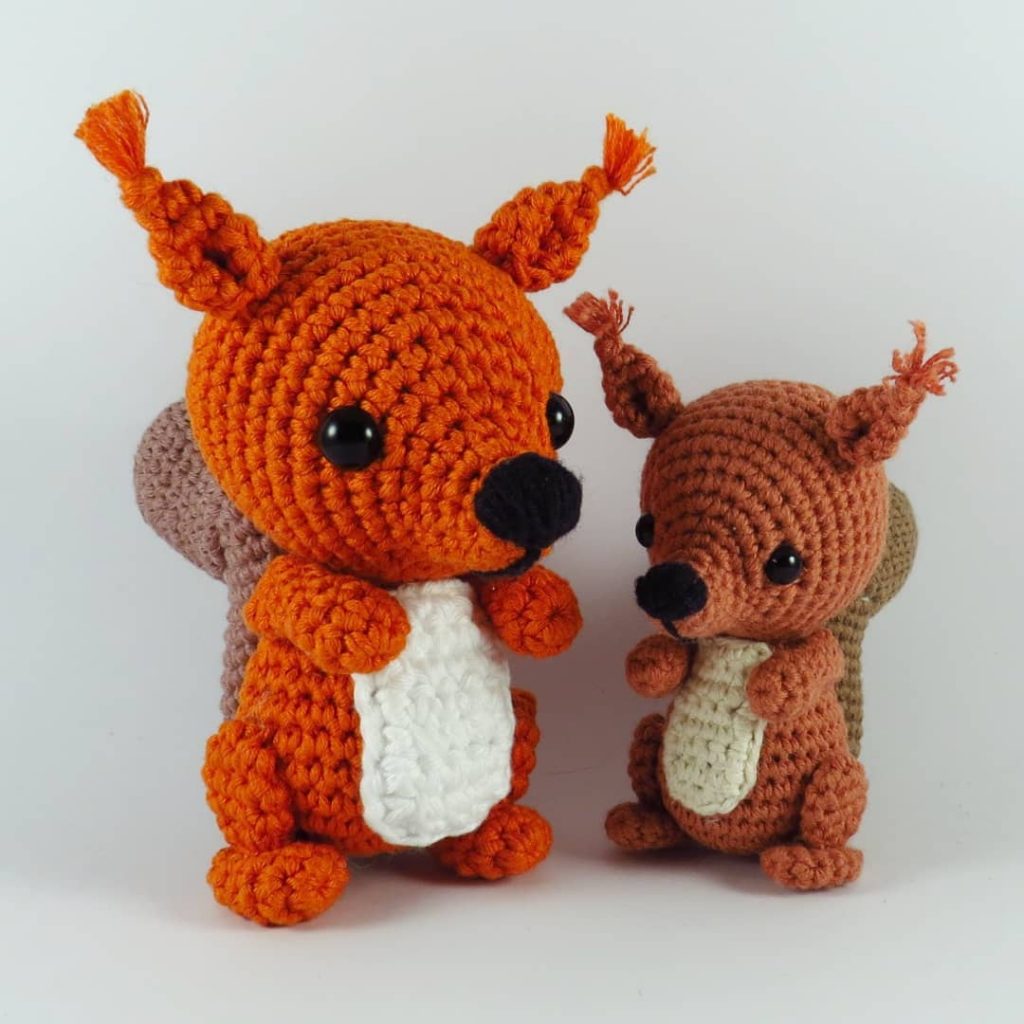
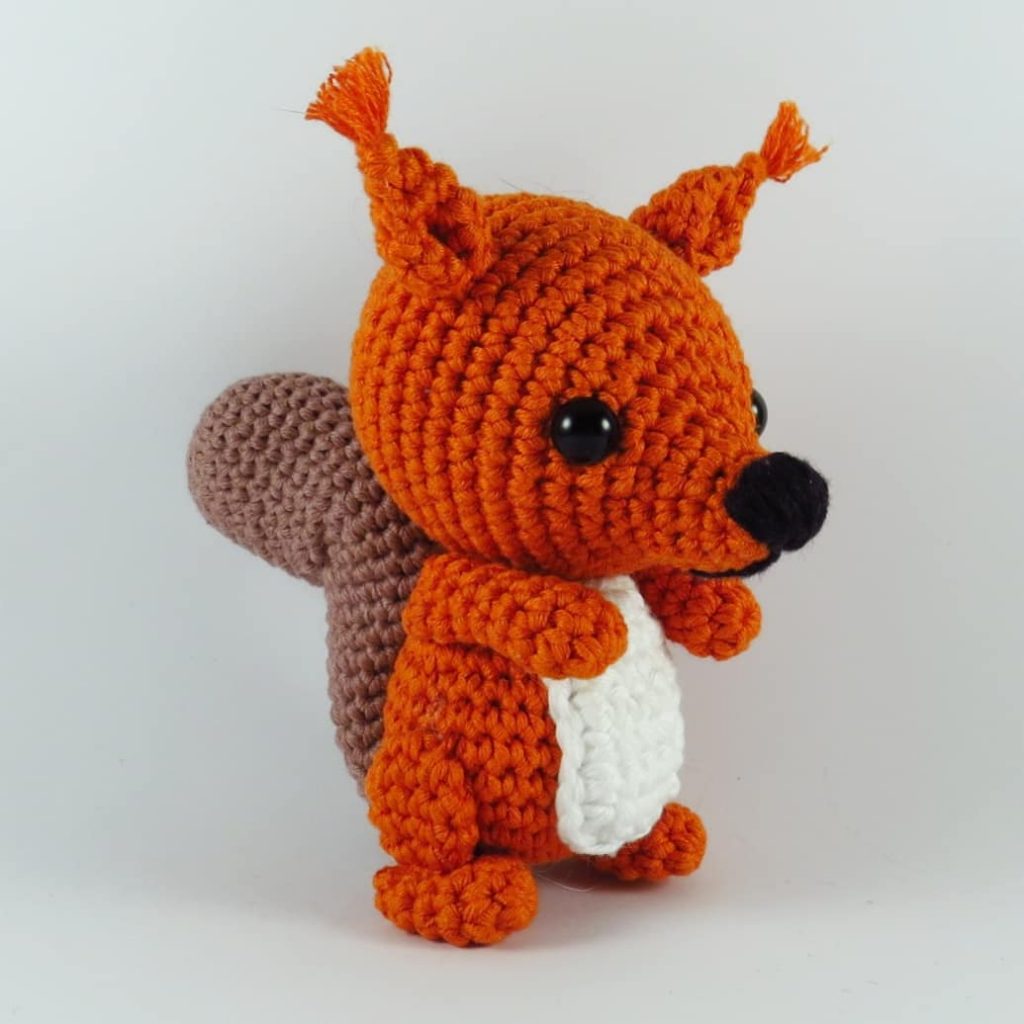
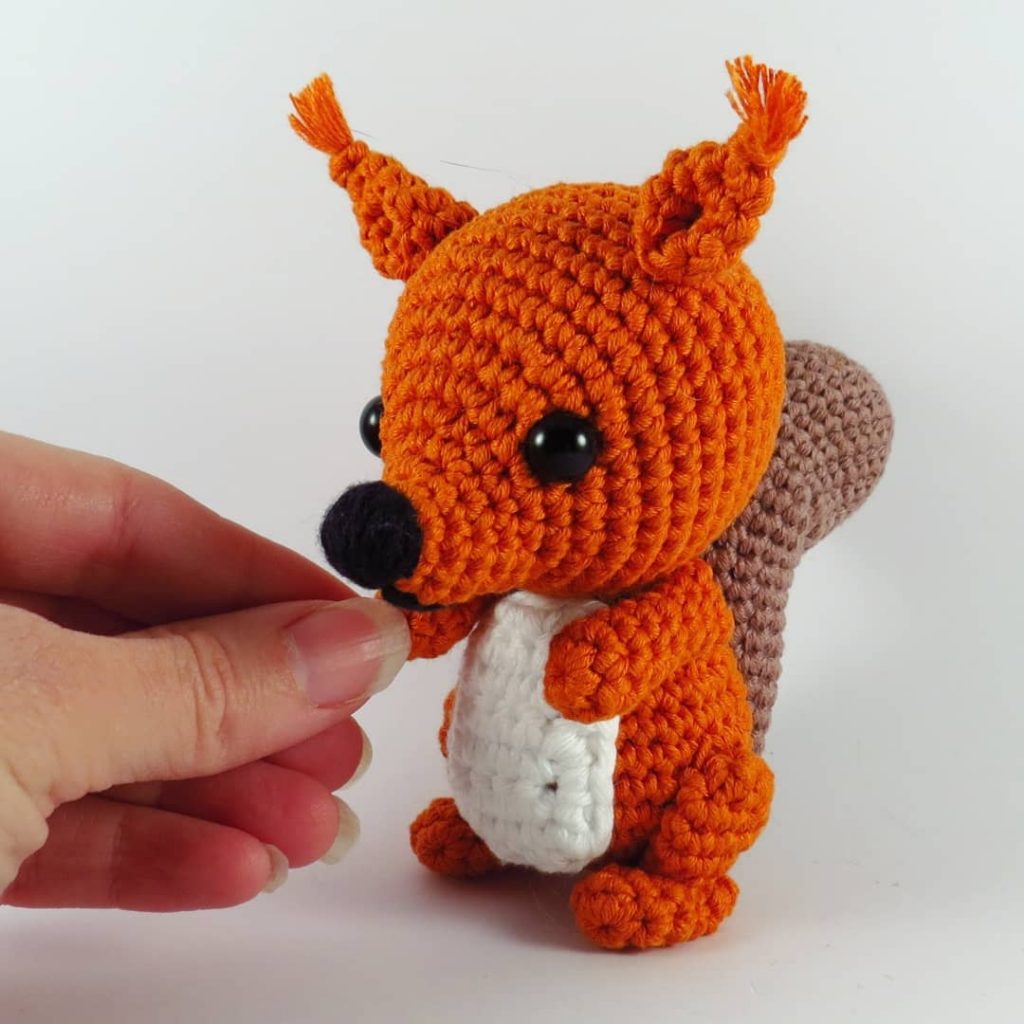
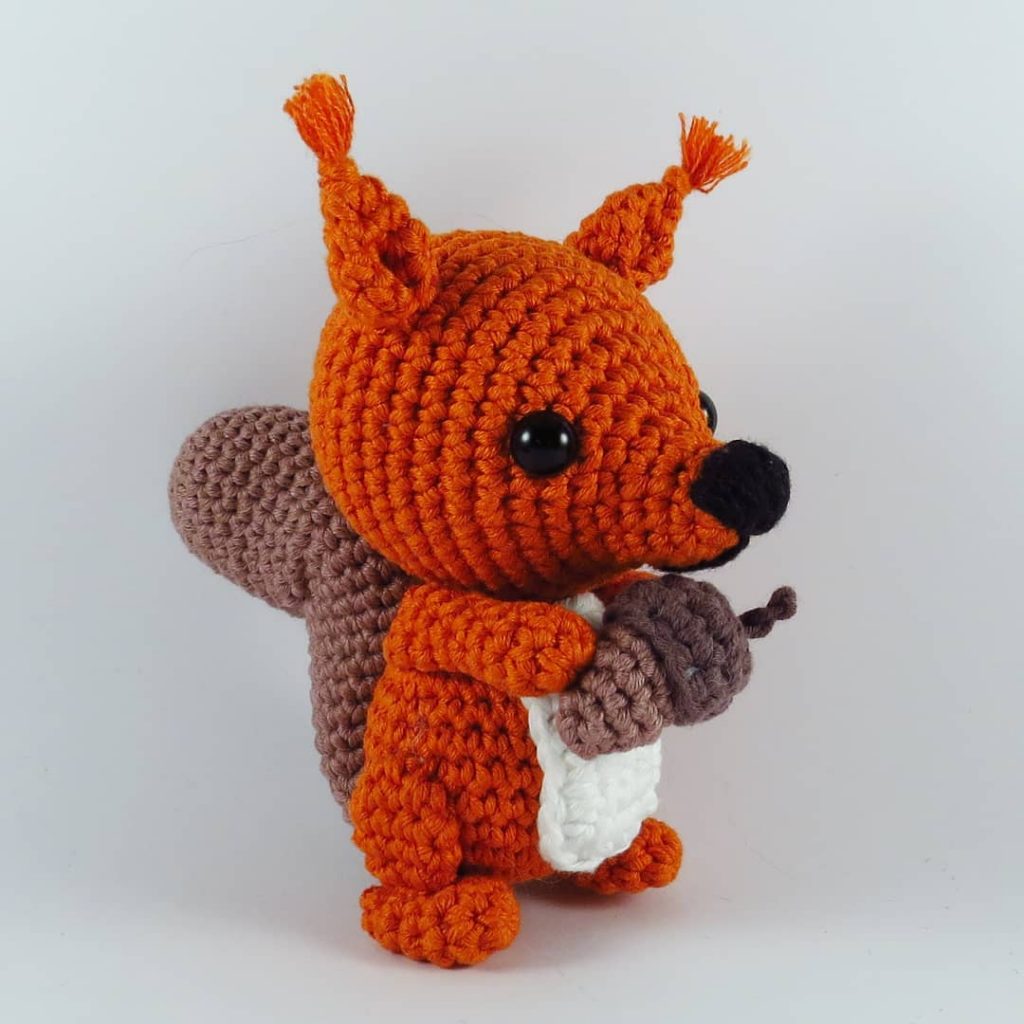
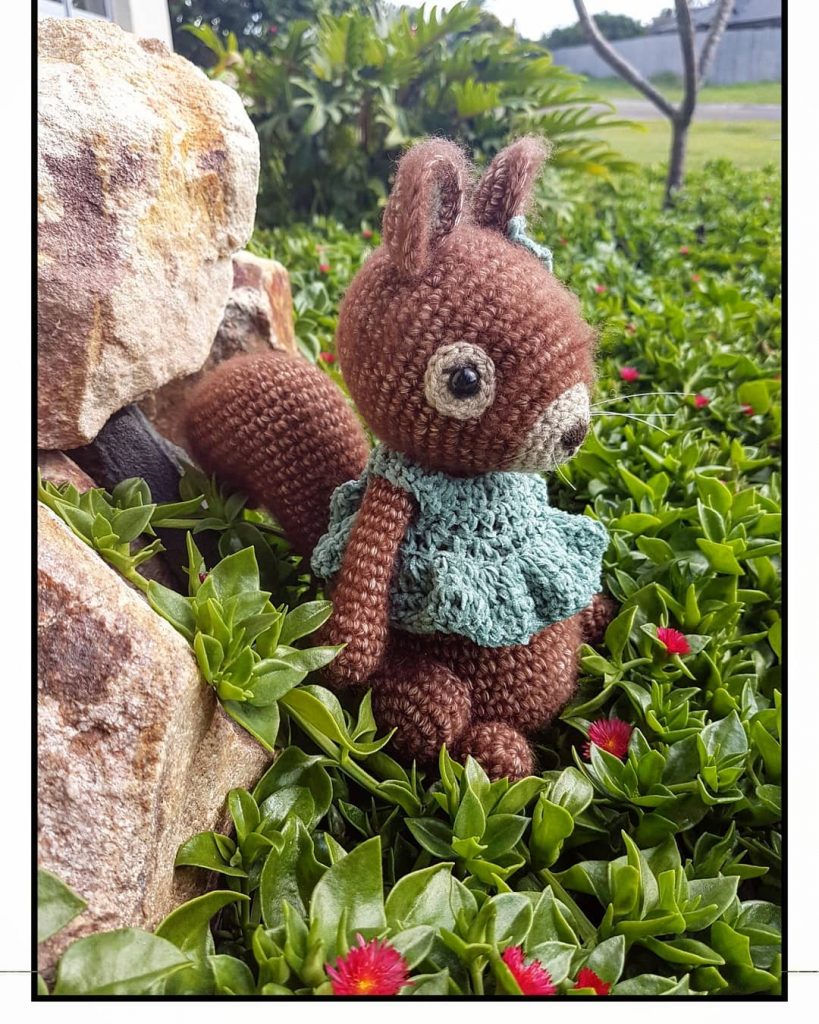
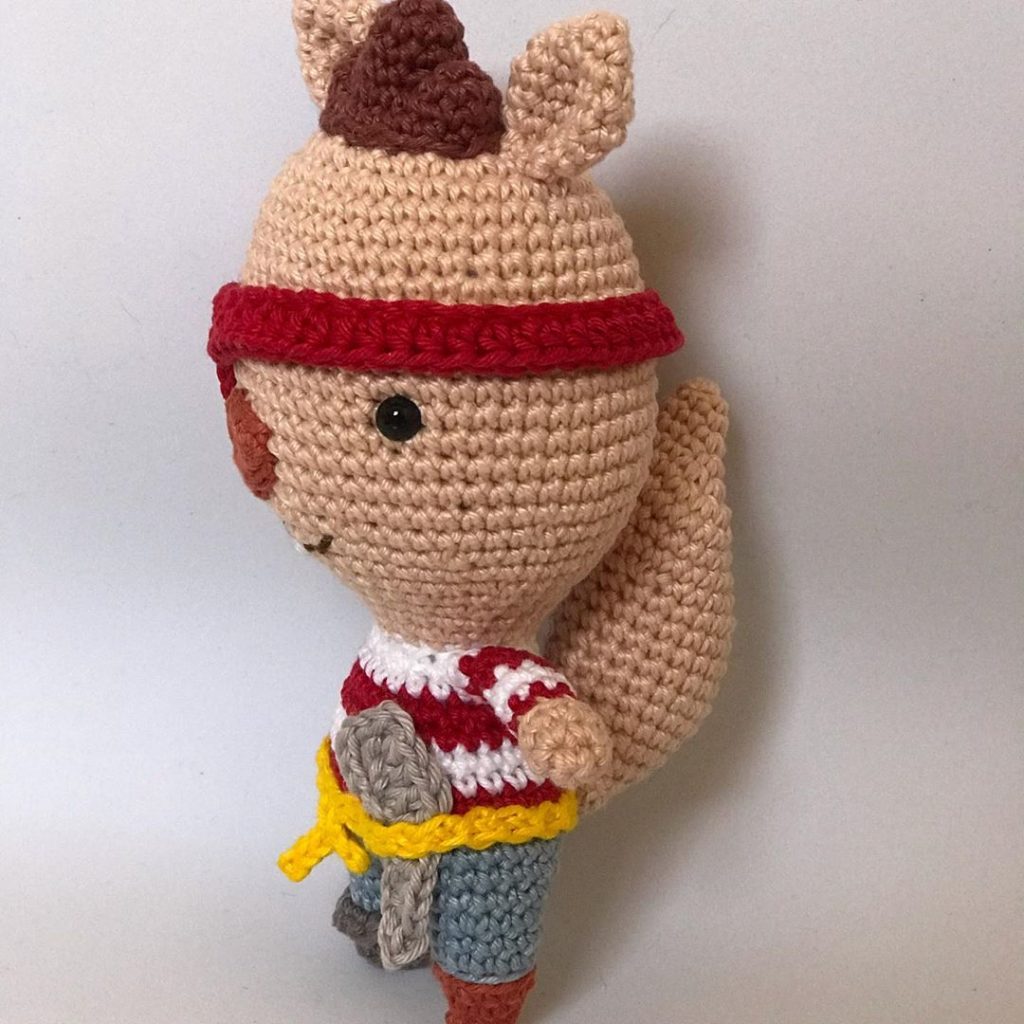
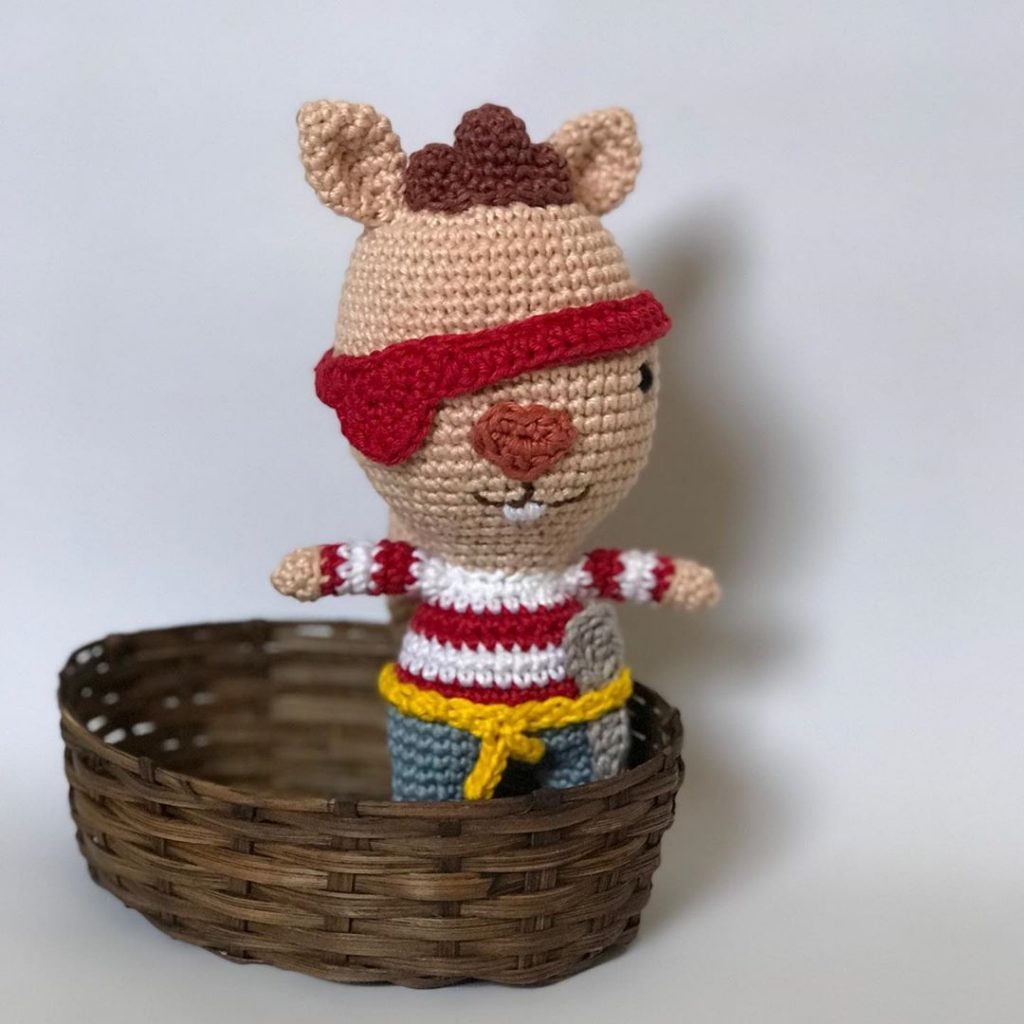
Todays daily new amigurumi free crochet pattern is Amigurumi Sweet Squirrel.
I want to give you some informations about this pattern ;
How to read the rows: Each row has a sequence as given below. Example: 1sc then 2sc in next st means repeat that sequence 1sc then 2sc in next st followed by 1sc then 2sc in next st over and over to the end of that particular row. The number inside the parentheses ( ~ ) is the number of stitches you should have at the end of that particular row. Add in a marker at the end of row 2 and move that marker at the end of every row.
Supplies:
Red Heart Comfort yarn in any color
3.75mm hook for head and body
4.5mm hook for limbs this is optional, you can use the same hook for the entire project. If you want the ami to be the same size as mine then use what I used.
blunt end yarn needle for sewing
scissors
polyester stuffing
yarn for eyes and mouth instructions under the assembly section
steel pet brush for brushing out tail
Abbreviations:
st = stitch
sc = single crochet
sl st = slip stitch
hdc = half double crochet
dc = double crochet
FLO = front loops only
ch = chain
f/o = finish off
If You have troubles understanding the rows, scroll up and look in the1st “Read Me” section
With 3.75mm hook. Starting at the top of the head:
There is a full video tutorial for the head and body here
1) magic circle with 6sc (6)
2) 2sc in each st (12)
3) 1sc then 2sc in next st (18)
4-5) 1sc in each st for 2 rows
6) 2hdc in the next 3st, 1sc in next 15st (21)
7) 1hdc in next 6st, 1sc in next 15st (21)
8) (2tog 3 times) then (1sc in next 3st then 2tog, repeat to marker) (15)
9) 1sc in next 3st then 2tog (12)
10) 1sc then 2tog (8)
11) 2sc in each st (16)
12) 1sc in next 3st then 2sc in next st (20)
stuff head firmly and full. Shape as you stuff, make sure to shape the muzzle too. See video for tips on stuffing and shaping
13) 1sc in next 3st then 2sc in next st (25)
14) 1sc in next 3st then 2tog (20)
15) 1sc in next 3st then 2tog (16)
16) 1sc in next 2st then 2tog (12)
sl st next st and f/o leaving a tail long enough to sew up the gap. Weave in and out of the FLO of the remaining st, stuff the rest of the body firmly and full, shape as you stuff. Use a stuffing stick or the back end of a pencil to push the stuffing into the right spots. If unsure how to shape please view part one of the video tutorial. Pull the yarn tail to close up the gap. Knot off and hide yarn tail inside body.
If you have any troubles with the next part of the pattern please view part two of the video tutorial. Part two is in the following order: Tail, limbs, ears. Then we add the face details. We sew the tail on last. Use what you need in the video and skip over parts you don’t need. Video is here
With 4.5mm hook Arms and Legs: Make 4
1) ch 8
2) starting with 2nd ch, 1sc in each ch (7)
f/o. Fold chain and sew the edges closed, going through one visible loop only of each side. Hide the starting yarn tail inside limb and use the finishing yarn tail to sew the limbs to the body.
Tail: with 4.5mm hook
1) magic circle with 6sc (6)
2) 1sc in next 2st then 2sc in next st (8)
3) 1sc in each st for 1 row
4) 1sc in next 3st then 2sc in next st (10)
5) 1sc in next 4st then 2sc in next st (12)
6-7) 1sc in each st for 2 rows
8) 1sc in next 2st then 2tog (9)
9-10) 1sc in each st for 2 rows
f/o leaving a tail for sewing.
Do not stuff. brush out tail if you have a pet brush handy.
Tip: I would sew the limbs on before crocheting the ears, (instructions for ears is in assembly section), onto the body. I used the arms as a guide, making sure the ears are in line with the arms.

More Amigurumi Squirrel Ideas:
