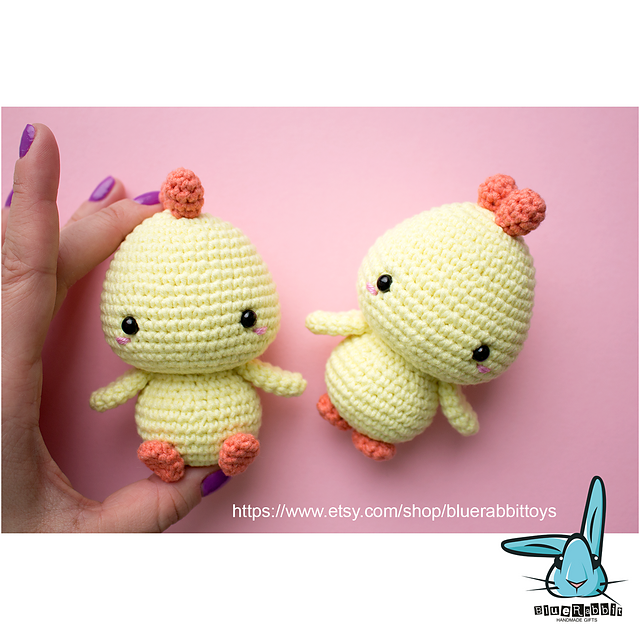
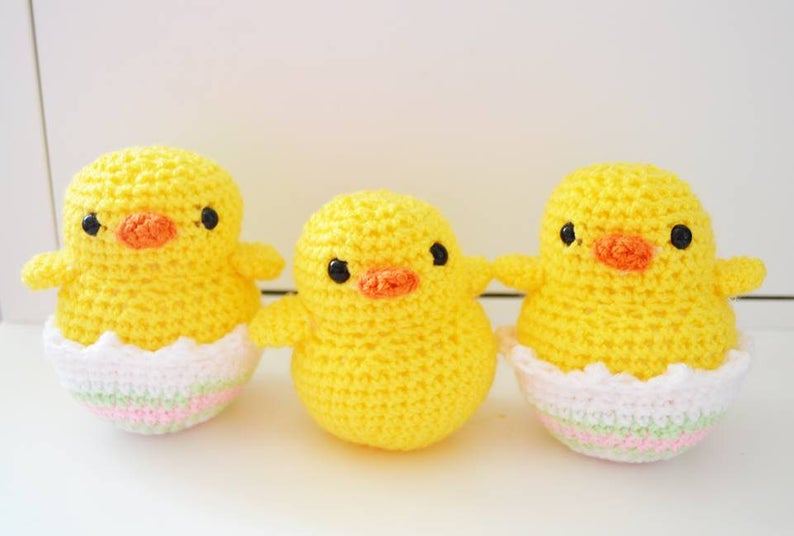
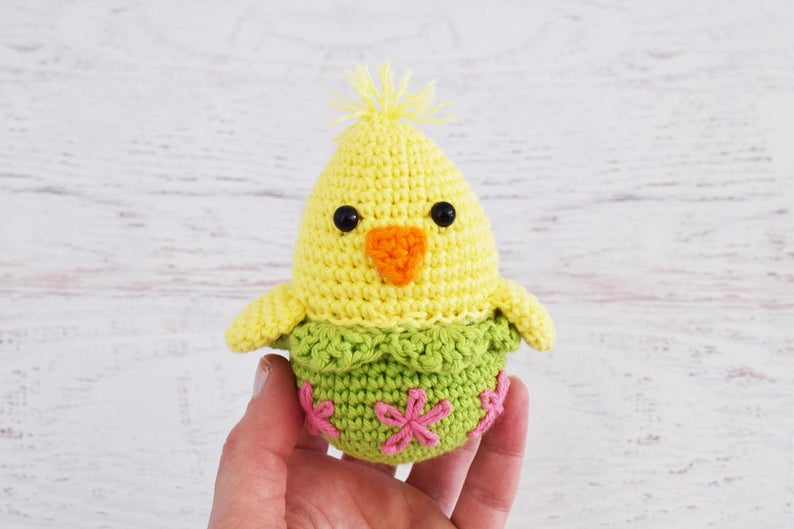
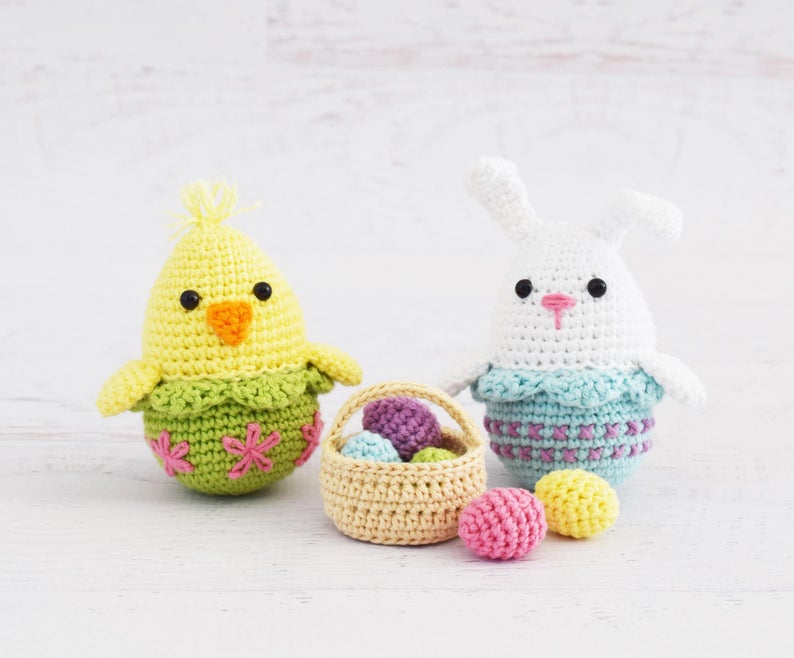
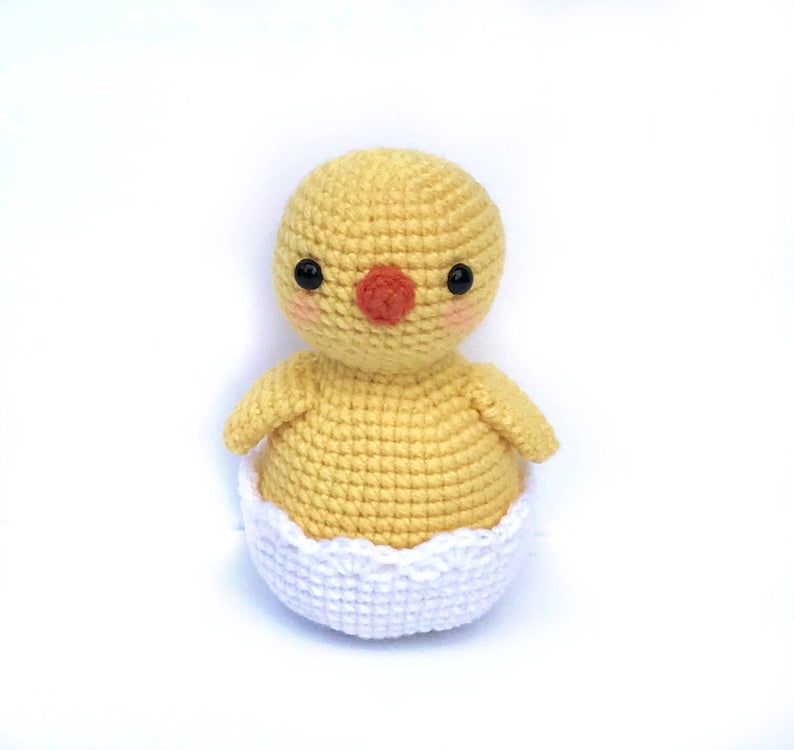
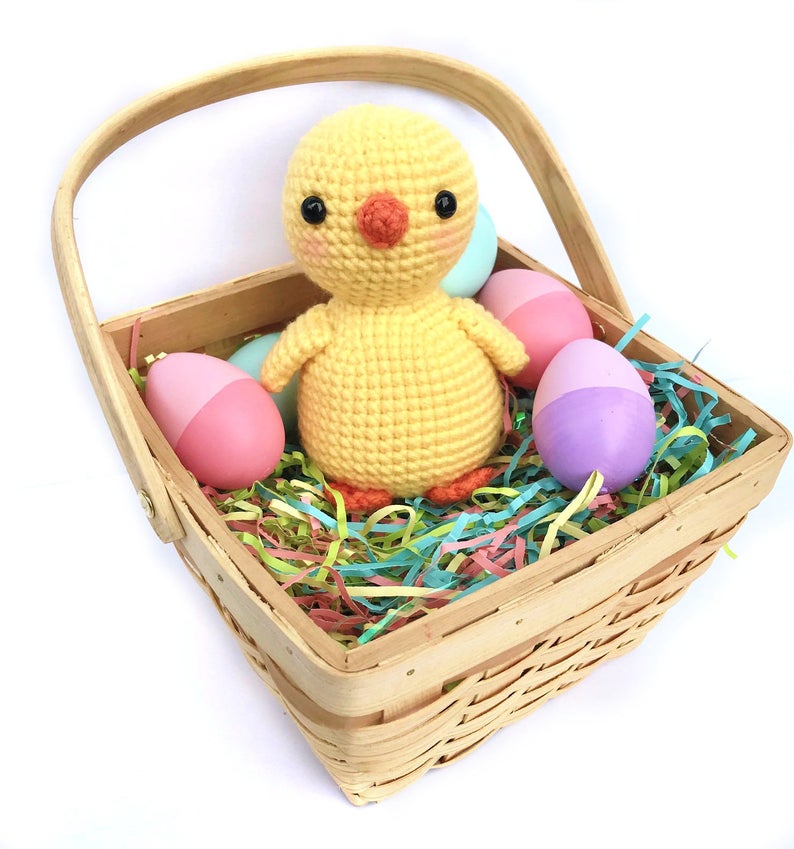
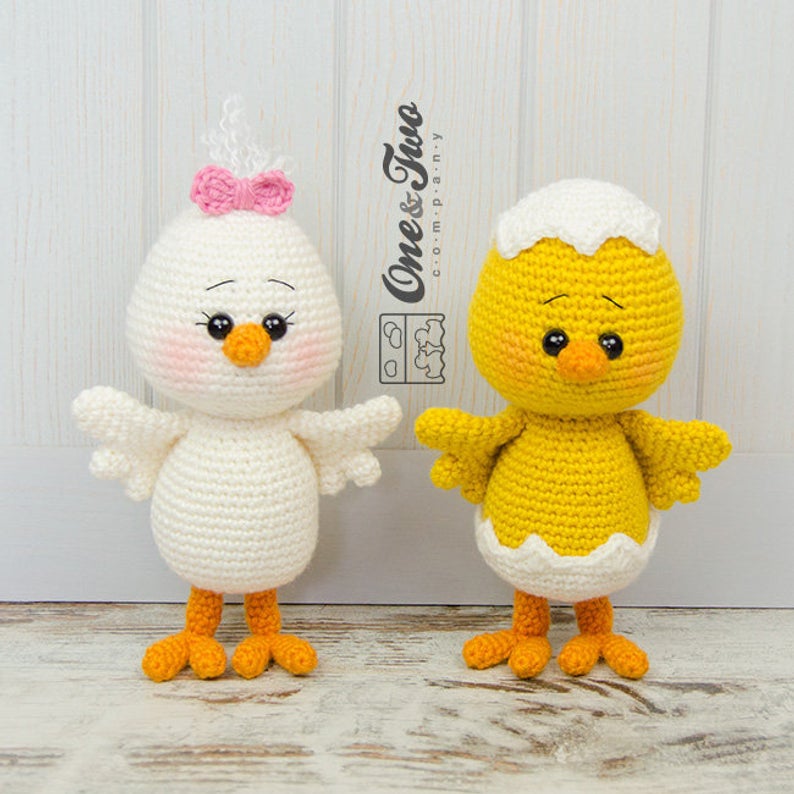
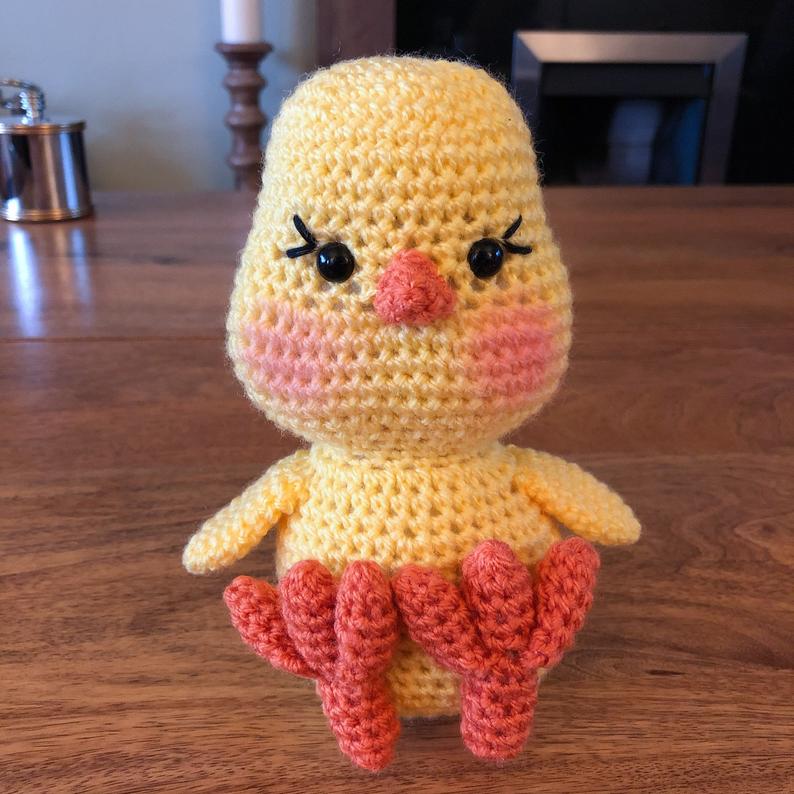
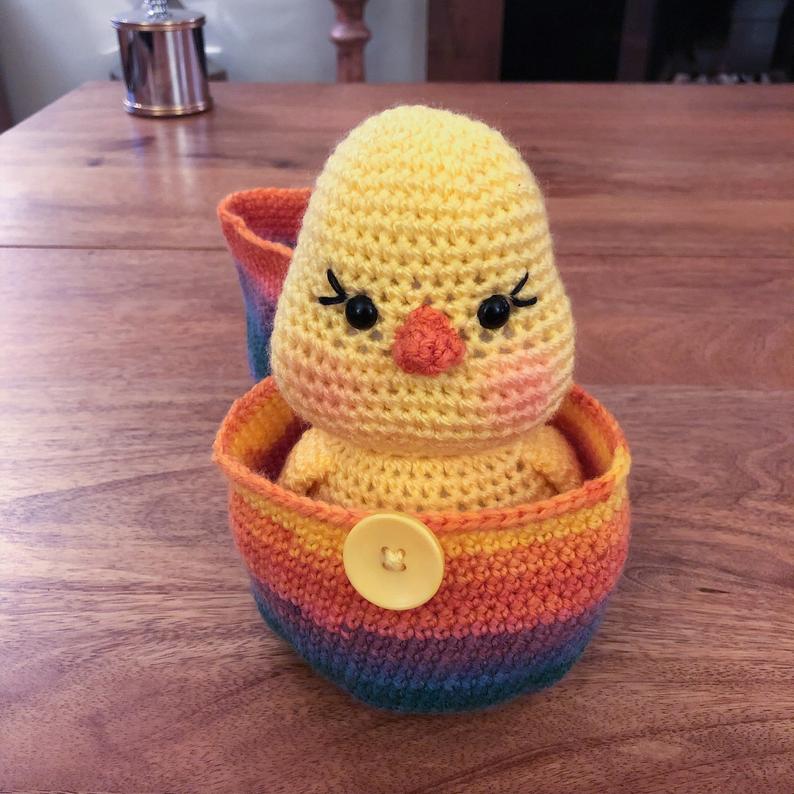
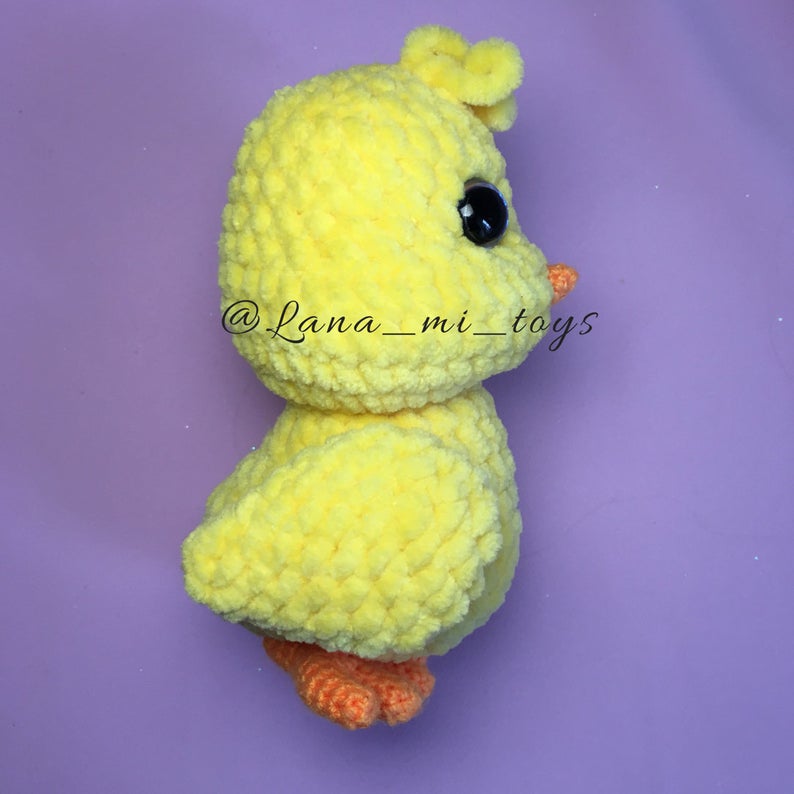
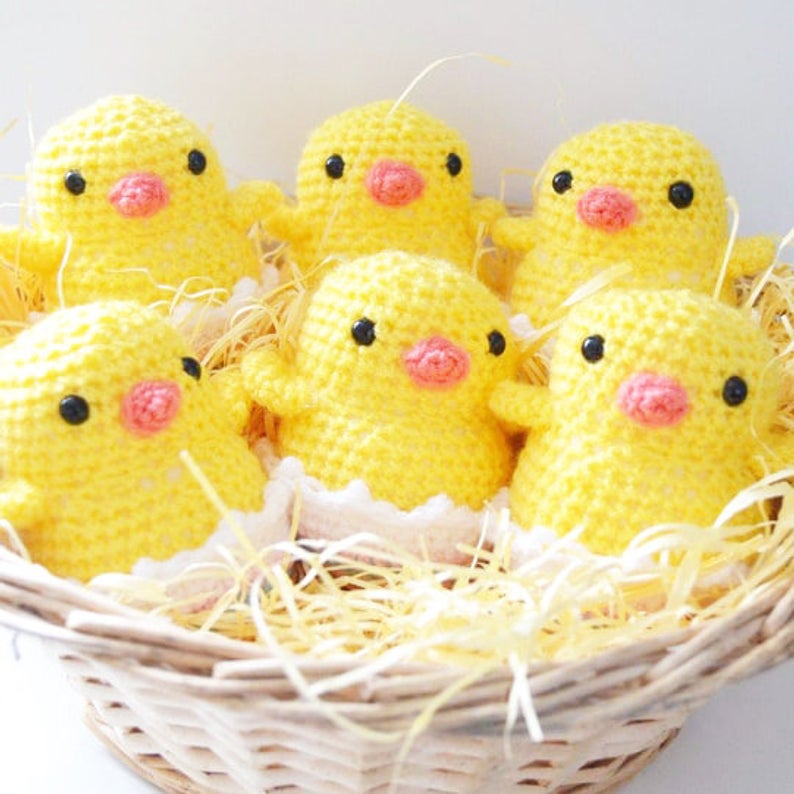
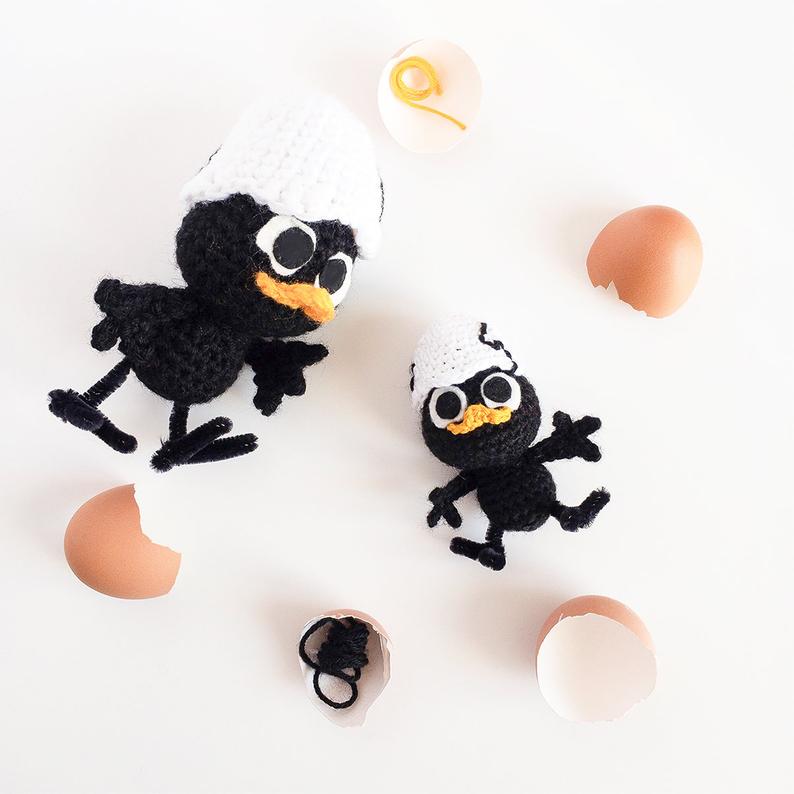
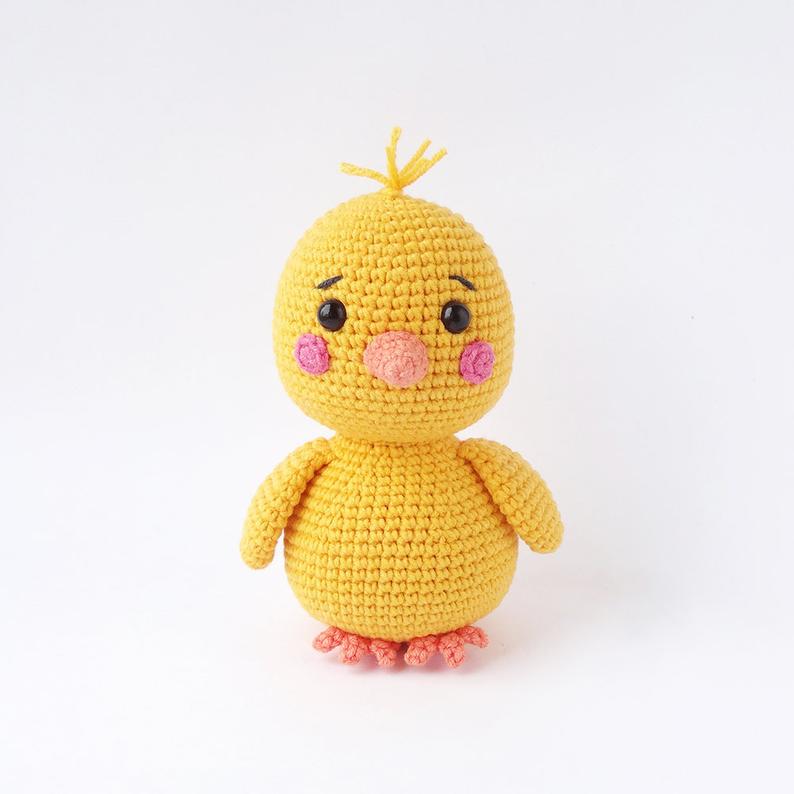
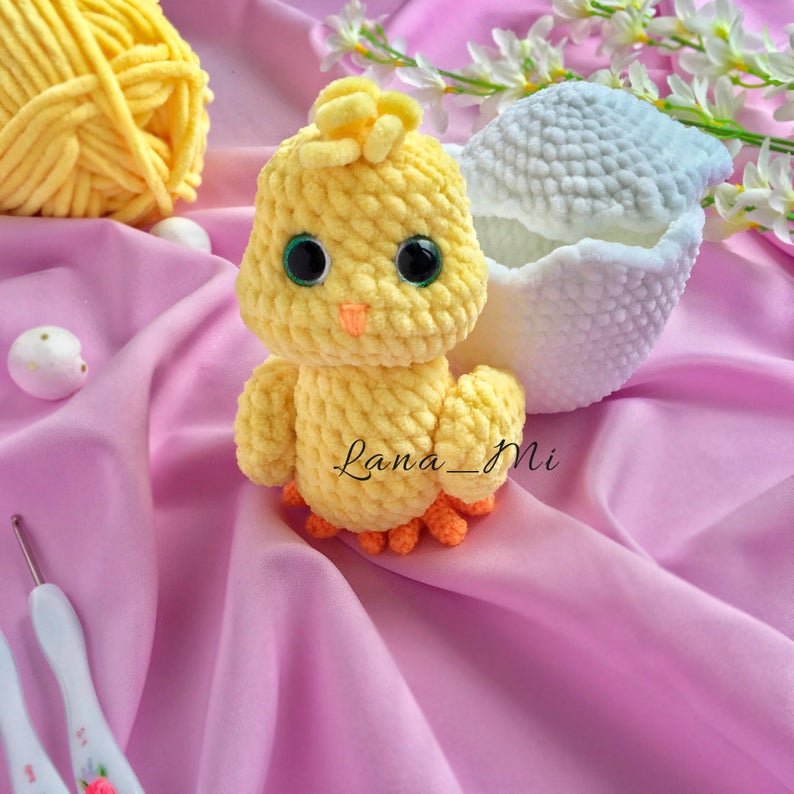
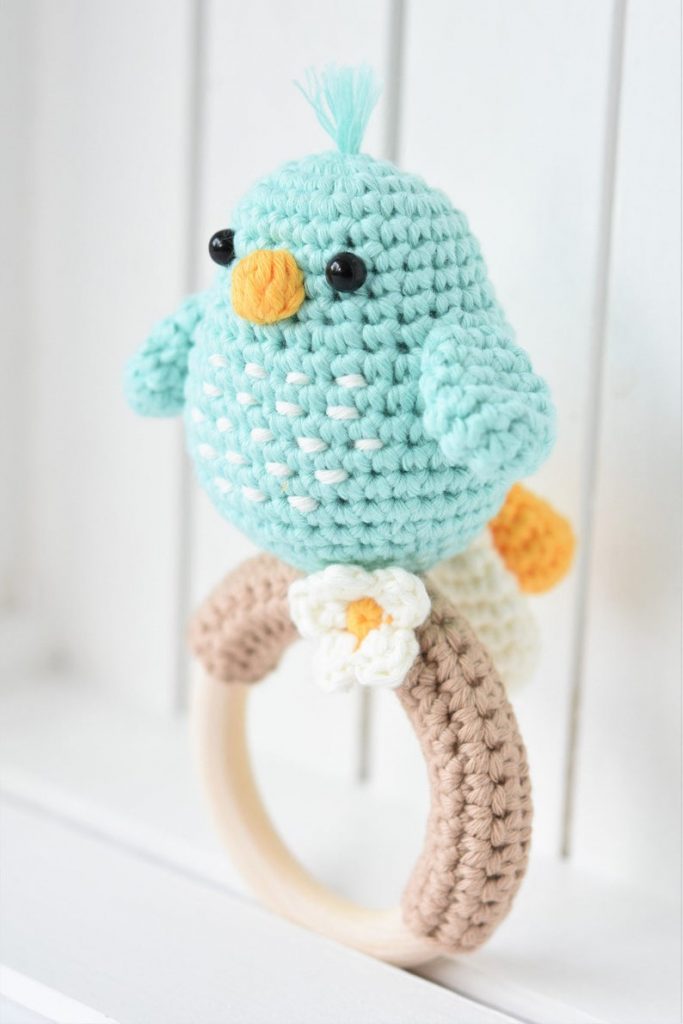
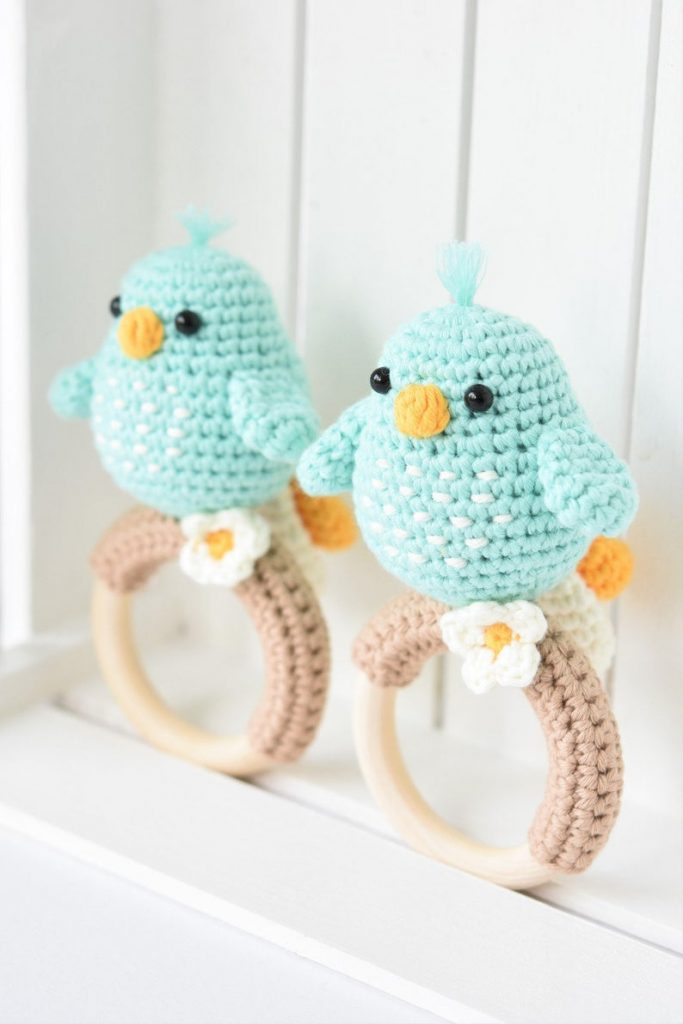
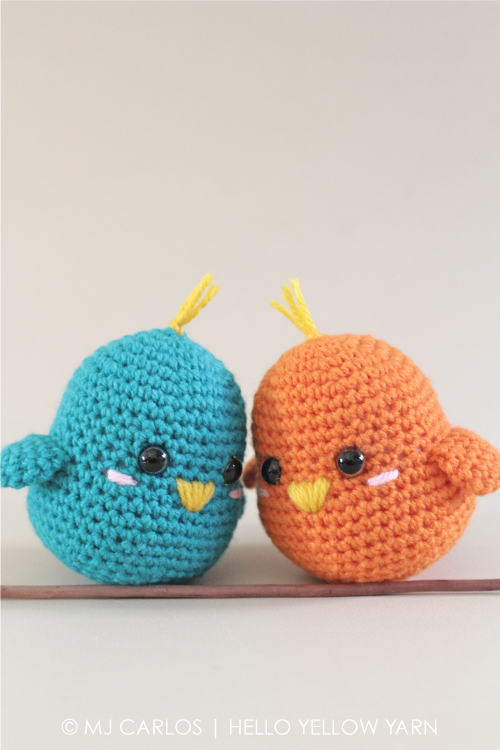
Chirp chirp! Hop hop! Make these adorable little hatchling and bunny for this coming Easter. They are super cute and very easy to make. They can be made as a decorative piece or add them to an Easter basket full of chocolate eggs!
YOU WILL NEED:
- 4mm crochet hook
- 8ply (DK/Light worsted) acrylic yarn ball in light yellow and white
- small amount of dark yellow and pink yarn
- 4x 12mm plastic safety eyes
- toy stuffing
- yarn needle
- scissors
- pink blush
- cotton bud
- small white fluffy pom-pom (for bunny’s tail)
- hot glue gun
ABBREVIATIONS (US Crochet Terms)
ch – chain
sc – single crochet
hdc – half double crochet
dc – double crochet
Rnd – round
st – stitch
sl st – slip stitch
inc – increase (2 sc in one stitch)
dec – decrease (sc 2 together)
rep – repeat
PATTERN NOTES
- You’ll need to know how to make a magic ring/circle.
- You will be crocheting in spirals.
- Invisible decrease technique was used for this pattern – if you’re not familiar with this decrease, a regular single crochet decrease is perfectly fine to do.

BABY CHICK
BODY (in light yellow)
Rnd 1: 6 sc in magic ring (6)
Rnd 2: Inc in each st around (12)
Rnd 3: Sc 1, inc; rep 6 times (18)
Rnd 4: Sc 2, inc; rep 6 times (24)
Rnd 5: Sc around (24)
Rnd 6: Sc 3, inc; rep 6 times (30)
Rnd 7: Sc around (30)
Rnd 8: Sc 4, inc; rep 6 times (36)
Rnds 9 – 17: Sc around (36)
Attach safety eyes between Rounds 11 & 12, 3 stitches apart.
Rnd 18: Sc 4, dec; rep 6 times (30)
Rnd 19: Sc around (30)
Stuff the body.
Rnd 20: Sc 3, dec; rep 6 times (24)
Rnd 21: Sc 2, dec; rep 6 times (18)
Rnd 22: Sc 1, dec; rep 6 times (12)
Continue to stuff the body firmly.
Rnd 23: Dec 6 times (6)
Fasten off and leave a long tail. To close, use your yarn needle and weave the tail end through all 6 stitches in the front loops only then pull the tail end carefully. Weave in and hide tail end in the body.
REPORT THIS AD
WING (MAKE 2, in light yellow)
Ch 6. Skip 1st ch from hook. 1 sc in next st, 1 hdc in next st, 2 dc in next st, 1 hdc in next st, 1 sc in last st. (6)
Fasten off and leave a long tail for sewing.
EGGSHELL (in white)
Rnd 1: 6 sc in magic ring (6)
Rnd 2: Inc in each st around (12)
Rnd 3: Sc 1, inc; rep 6 times (18)
Rnd 4: Sc 2, inc; rep 6 times (24)
Rnd 5: Sc 3, inc; rep 6 times (30)
Rnd 6: Sc 4, inc; rep 6 times (36)
Rnds 7 – 10: Sc around (36)
Rnd 11: Sl st in next st, 2 hdc in next st, ch 1, 2 hdc in next st, sl st; rep 9 times (63)
Fasten off. Weave in and hide yarn tails.
ASSEMBLY

1. Sew the wings onto the sides of the body, between Rounds 11 & 12. Weave in and hide yarn ends.
REPORT THIS AD

2. Using dark yellow yarn, embroider the beak with a couple of horizontal backstitches between Rounds 12 & 13, 2 stitches wide between the eyes. Draw the needle back through the last stitch and come out one round below. Loop the yarn over the horizontal stitches then draw through the bottom stitch. Weave in and hide yarn ends.

3. Embroider each foot using dark yellow yarn. Insert needle between Rounds 20 & 21 (should be aligned with the outer edge of each eye) then make 2 diagonal backstitches 2 rounds tall above to the left, 2 vertical backstitches 2 rounds tall directly above, then 2 diagonal backstitches 2 rounds tall above to the right. Weave in and hide yarn ends.
REPORT THIS AD

4. Loop 2 short strands of yellow yarn through the top of the head to make the crest.

5. Loop 2 short strands of yellow yarn through the back of the body on Round 17 to make the tail. Place the baby chick in the eggshell.
REPORT THIS AD

EASTER EGG BUNNY
BODY (in white)
Make the same way as the BABY CHICK’S body.
EAR (MAKE 2, in white)
Rnd 1: 5 sc in magic ring (5)
Rnd 2: Inc in each st around (10)
Rnds 3 – 9: Sc around (10)
Fasten off and leave a long tail for sewing. Do not stuff.
REPORT THIS AD
ARM (MAKE 2, in white)
Rnd 1: 5 sc in magic ring (5)
Rnd 2: Inc in each st around (10)
Rnds 3 – 4: Sc around (10)
Rnd 5: Sc 3, dec; rep 2 times (8)
Rnds 6 – 7: Sc around (8)
Fasten off and leave a long tail for sewing. Lightly stuff the arm.
FOOT (MAKE 2, in white)
Rnd 1: 5 sc in magic ring (5)
Rnd 2: Inc in each st around (10)
Rnds 3 – 7: Sc around (10)
Rnd 8: Sc 3, dec; rep 2 times (8)
Rnd 9: Sc around (8)
Fasten off. Do not stuff. Sew each foot closed using the yarn tail. Weave in and hide yarn ends.
ASSEMBLY


1. Using pink yarn, embroider the nose with several horizontal backstitches between Rounds 12 & 13, 2 stitches wide between the eyes. Draw the needle back through the last stitch and come out 3 rounds below. Insert the needle back behind the horizontal stitches through the piece. Weave in and hide yarn ends.
2. Sew the arms onto the sides of the body between Rounds 11 & 12. Weave in and hide yarn ends.
3. Use a cotton bud to lightly apply blush to the ears. Pinch the bottom part of each ear and sew the ends together.
4. Sew the base of each ear on top of the body over Rounds 2 & 3. Weave in and hide yarn ends.
5. Carefully apply hot glue on each foot (over Rounds 6 – 9) and attach to the bottom of the body. Apply glue onto the pom-pom and attach the pom-pom to the back of the body over Rounds 17 – 19.
REPORT THIS AD
You could also turn the baby chick and bunny into a backpack charm for the kids. Just use a smaller hook and attach a keyring or chain to the top of the body!
