Hello dear Amigurumi Followers
Today we share one free amigurumi crochet pattern again for you. As you know we share new amigurumi free patterns every day. The main crochets are amigurumi gazelles, amigurumi bears, amigurumi pola, amigurumi pandas, amigurumi penguins, amigurumi giraffes, amigurumi llama, amigurumi pigs, amigurumi bunny, amigurumi clowns, amigurumi lambs, amigurumi bees, amigurumi unicorns, amigurumi dolls, amigurumi foxes, amigurumi penguins, amigurumi dinosaurs, amigurumi elephants, amigurumi hippos, amigurumi monkeys, amigurumi cats, amigurumi dogs and more …
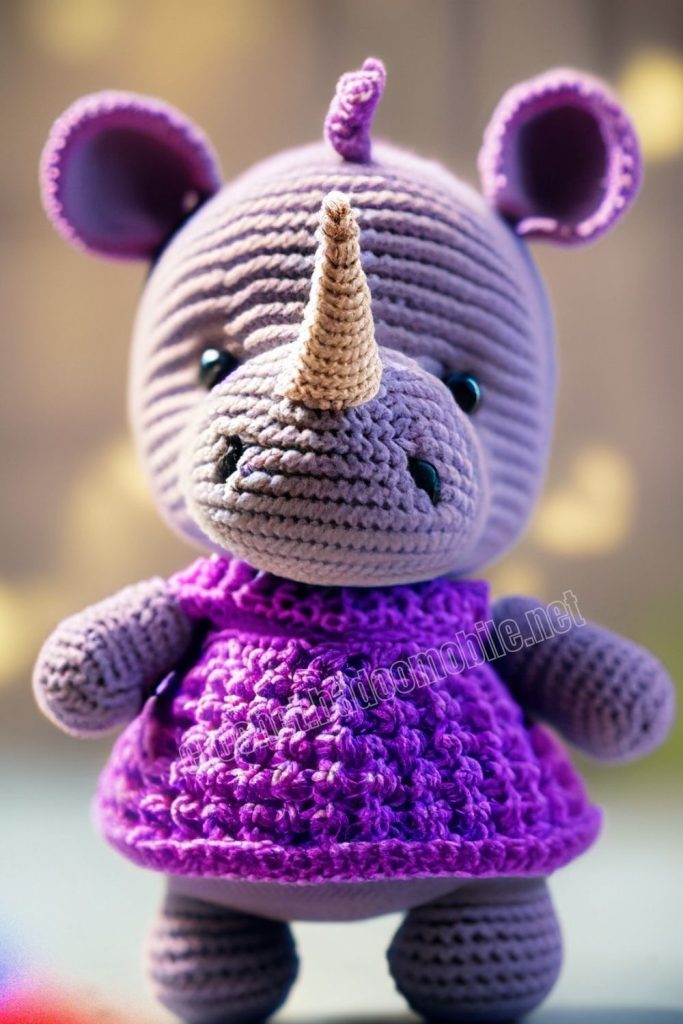
Todays daily new amigurumi free crochet pattern is Amigurumi Crochet Rattle Rhino.
I want to give you some informations about this pattern ;

Materials
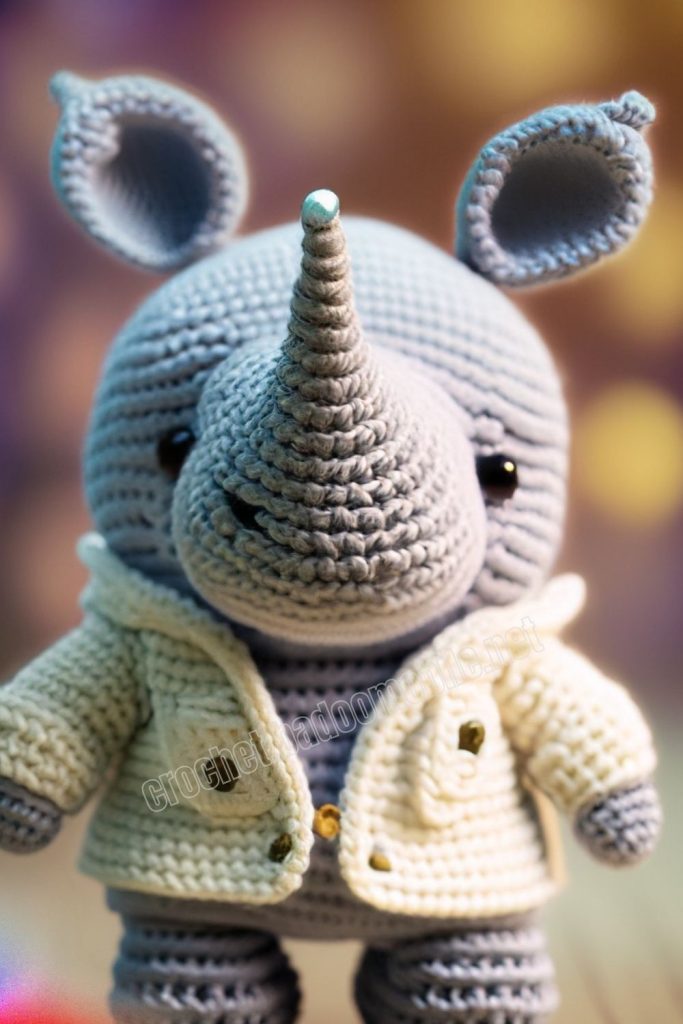
– The yarn (semi-cotton, cotton) is blue (I have an azure color Gazzal Organic Baby Cotton) and a milky color (I have YarnArt Jeans color 03)
– Threads (Iris) black
– Hook 2.0 mm
– Wooden ring (outer diameter 65 mm)
– Zvenelka
– Knitted needle with blunt tip
– Holofiber
⠀
Abbreviations
AR – Amigurumi Magic ring
LL: Lifting loop Click for mean!
MR – Amigurumi Magic ring
App – application
sc : Single Crochet
inc : Increase
dec : Decrease
tr : Triple Crochet/ Treble Crochet
st: Stitch
dc : Double Crochet
hdc: Half Double Crochet
sl-st : Slip Stitch
ch : Chain
..in : make increase into same stitch as many as the number which is given in front of “inc” abbreviation (exp; 3inc, 4inc..).
FLO : Crochet into front loops only
BLO : Crochet into back loops only
BL : Bobble Stitch – do 5dc all in the same stitch and then yarn over and pull through all the loops on your hook (the original loop + 1 loop for each partially completed dc)
Amigurumi Crochet Rattle Rhino Free Pattern:
Head
With a blue thread, dial:
1) 6 sc in MR (6)
2) 6 inc (12)
3) (1sc, inc)*6 (18)
4) (2sc, inc)*6 (24)
5) (Зsc, inc)*6 (30)
6) (4sc, inc)*6 (36)
7) 36 sc
8) (5sc, inc)*6 (42)
9)-14) 42 sc
15) (5sc, dec)*6 (36)
16) 9sc, 1dec, Зsc, 1dec, (1sc, 1dec)*2, Зsc, 1dec,9sc (31)
17) 31 sc
18) 10sc, (1dec,1sc)*4, 9sc (27)
19) 27sc
20) 1sc, dec, 2sc, 1dec, 1Зsc, 1dec, 2sc, 1dec, 1sc (23)
21)-23) 23sc (23)
24) 1sc, (1dec, 2sc)*5, 1dec (17)
25) (1sc, 1dec)*5, 2sc (12)
26) 6dec (6)
Pull off the remaining loops with a needle, fasten and cut the thread, leaving the end for sewing.
Big tusk
With a milky thread, dial
1) 4sc in MR (4)
2) (1sc, 1inc)*2 (6)
3) (2sc, 1inc)*2 (8)
4) (Зsc, 1inc)*2 (10)
5) (4sc, 1inc)*2 (12)
6) (5sc, 1inc)*2 (14)
Fasten and cut the thread, leaving a 10 cm long sewing end.
Small tusk
With a milky thread, dial
1) 4sc in MR (4)
2) (1sc, 1inc)*2 (6)
3) 6sc (6)
Fasten and cut the thread, leaving a sewing end 10 cm long.
Clamp for Ring
Cast on 10 ch with a blue thread (The number of loops depends on the thickness of the ring and the yarn, therefore, having knitted 3-4 rows, you need to try on the clamp on the ring. It should sit very tightly!)
– Turn the work and starting from the 2nd loop, knit 9 sc
– 1LL and knit back 9sc
So we continue to knit to the length you need. I have 32 rows. Fasten and cut the thread, leaving the end for sewing.
Collar
1) With a milk-colored thread, dial 15 ch plus 2LL (17)
2) Turn the work and, starting from 3 loops, knit 2 “in each loop (30)
3) Turn the work and, starting from the first loop, knit 3dc in each loop (90)
4) Turn the work and starting from the first loop, knit 90dc (90).
Leave the end of the thread for sewing.
EARS
Outer part (2 pcs)
With a blue thread, dial:
1) 6sc in MR (6)
2) 6inc (12)
3) (1sc,1inc) *3 (18)
Fasten and cut the thread.
Inner part (2pcs)
With a milky thread, dial:
1) 6sc in MR (6)
2) 6inc (12)
Fasten and cut the thread.
Sew the inner part of the ear with the wrong side to the front side of the outer part.
Assembly
Fold the ears at the base in half and connect with a needle. Sew the ears to the top of the head between 10 and 11 rows From the center.
Tusks lightly stuffed with holofiber, sew on the nose of the toy.
Embroider eyes and eyebrows with black thread. Sew the clamp to the ring.
Sew the head to the clamp. Sew on the collar.
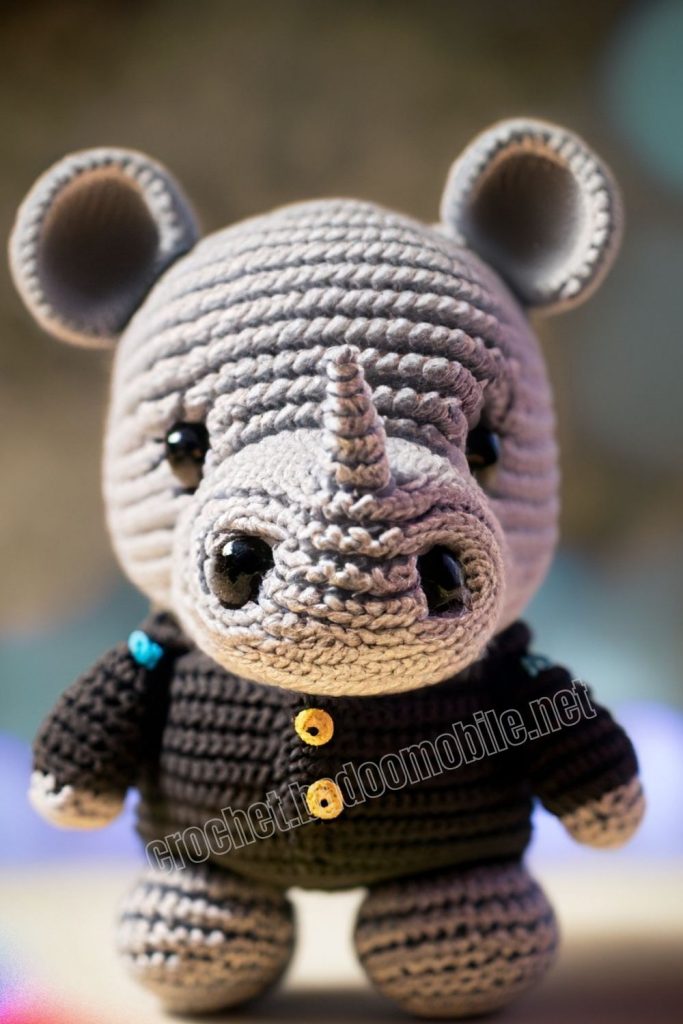
Our rhino is ready!
Enjoy your creativity!
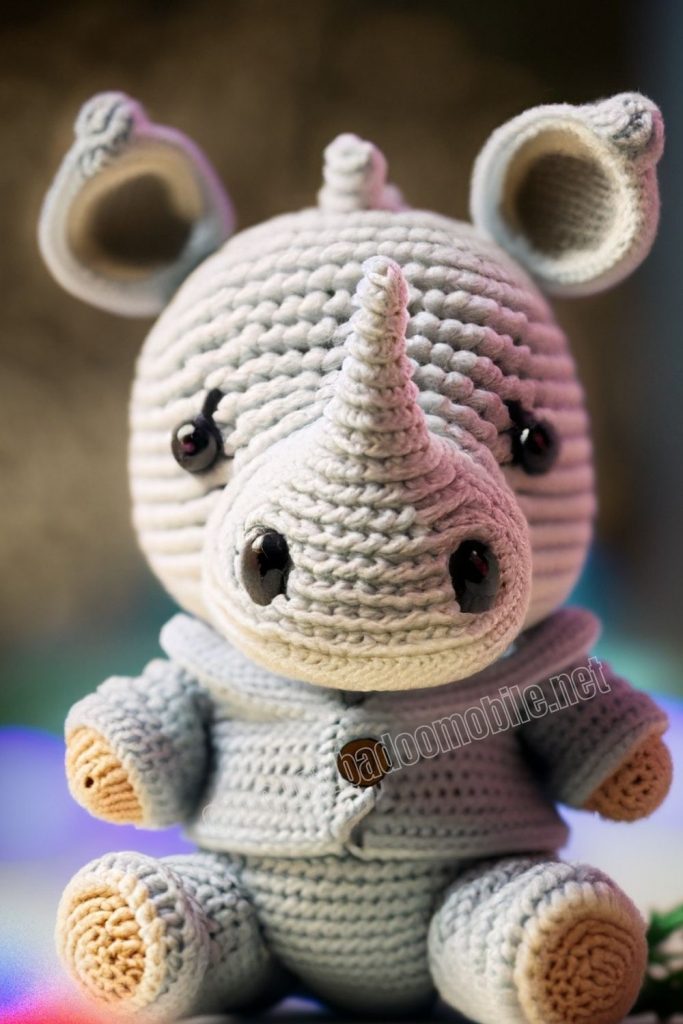
More Amigurumi Rhino Ideas: