Hello dear Amigurumi Followers
Today we share one free amigurumi crochet pattern again for you. As you know we share new amigurumi free patterns every day. The main crochets are amigurumi gazelles, amigurumi bears, amigurumi pola, amigurumi pandas, amigurumi penguins, amigurumi giraffes, amigurumi llama, amigurumi pigs, amigurumi bunny, amigurumi clowns, amigurumi lambs, amigurumi bees, amigurumi unicorns, amigurumi dolls, amigurumi foxes, amigurumi penguins, amigurumi dinosaurs, amigurumi elephants, amigurumi hippos, amigurumi monkeys, amigurumi cats, amigurumi dogs and more …
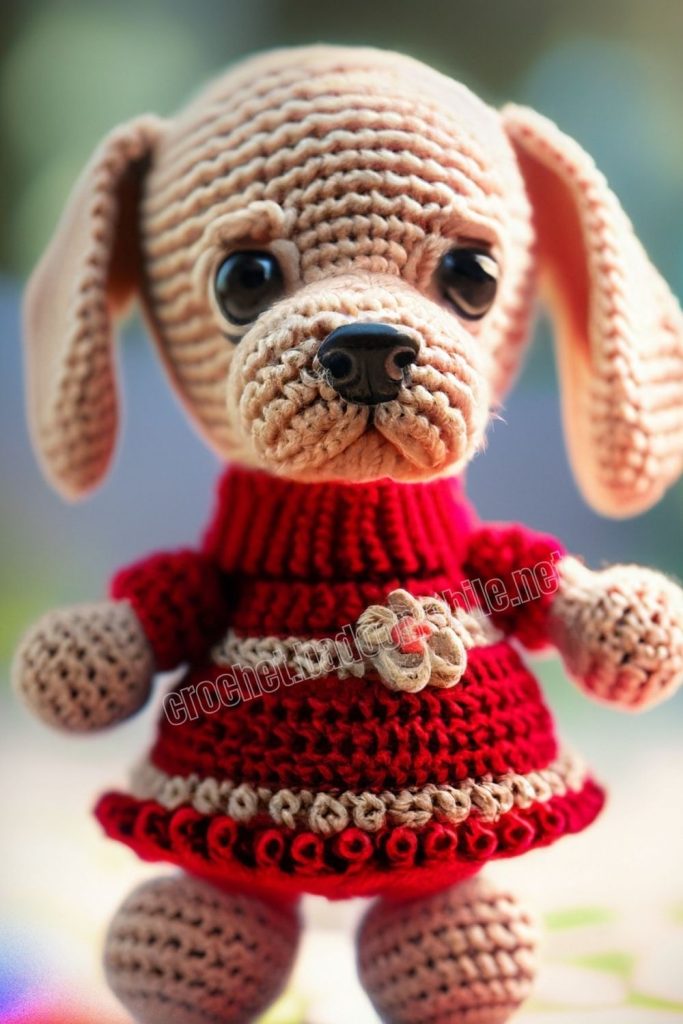
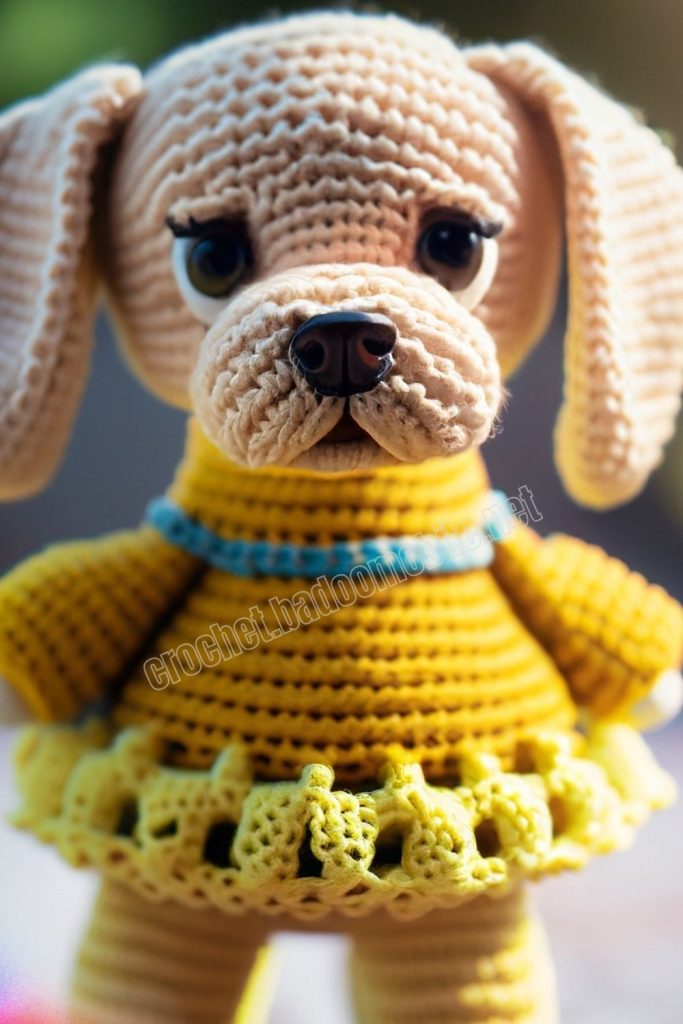
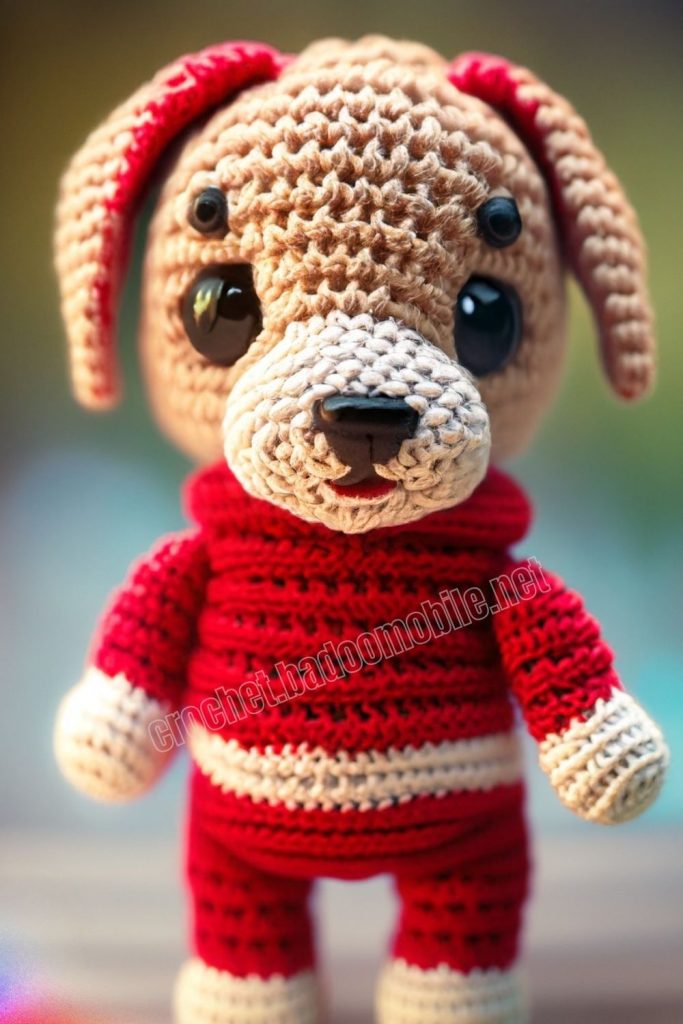
Todays daily new amigurumi free crochet pattern is Amigurumi Cute Dog.
I want to give you some informations about this pattern ;

Necessary materials
1. Alize cotton gold hobby (about half a hank)
color No. 382 – for the body
2. Alize cotton gold hobby No. 56 – for a scarf (red)
3. YarnArt Baby for spout No. 338 (brown) completely
a little
4. Some blue, black and white yarn for the eyes (I
used alize cotton gold hobby by sharing
thread into two equal parts)
5. Hook No. 1.6
6. Filler
7. Dry pastels for toning
Abbreviations
AR – Amigurumi Magic ring
MR – Amigurumi Magic ring
3in1 – crochet 3 columns in one loop
sc : Single Crochet
inc : Increase
dec : Decrease
tr : Triple Crochet/ Treble Crochet
st: Stitch
dc : Double Crochet
hdc: Half Double Crochet
sl-st or Slst: Slip Stitch
ch : Chain
tch: Turnin chain crochet
..in : make increase into same stitch as many as the number which is given in front of “inc” abbreviation (exp; 3inc, 4inc..).
FLO : Crochet into front loops only
BLO : Crochet into back loops only
Amigurumi Cute Dog Free Pattern:
Body
1 Rnd: 12 sc in MR (pull over the joint) (If you use cotter pins with discs instead of a plastic joint, then your 1st row will be divided into two rows: 1 – 6 sc in MR (6), 2 – 6 inc (12), then crochet according to the description)
2 Rnd: (1 sc, 1 inc)*6 (18)
3 Rnd: (2 sc, 1 inc)*6 (24)
4 Rnd: 24 sc (24)
5 Rnd: (the marker runs down the middle of the back) 5 sc, inc, 11 sc, inc,6 sc (26)
6 Rnd: 6 sc, inc, 12 sc, inc, 6 sc (28)
7 Rnd: 28 sc (28)
8 Rnd: 6 sc, inc, 14 sc, inc, 6 sc (30)
9 Rnd: 7 sc, inc, 14 sc, inc, 7 sc (32)

10 Rnd: 32 sc (32)
11 Rnd: 7 sc, inc, 16 sc, inc, 7 sc (34)
12 Rnd: 8 sc, inc, 16 sc, inc, 8 sc (36)
13 Rnd: 36 sc (36)
14 Rnd: 8 sc, inc, 18 sc, inc, 8 sc (38)
15 Rnd: 9 sc, inc, 18 sc, inc, 9 sc (40)
16 Rnd: 9 sc, inc, 20 sc, inc, 9 sc (42)
17 Rnd: 10sc, inc, 20 sc, inc, 10 sc (44)
18 Rnd: 44 sc (44)
19 Rnd: inc, 3 sc, inc, (6sc, inc)*5, 3 sc, inc (shaping the butt and tummy) (52)
20 – 25 Rnd: (6 Rnds) 52 sc (52)
26 Rnd: dec, 3 sc, dec, (6 sc, dec)*5, 3 sc, dec (44)
27 Rnd: 44 sc (44)
28 Rnd: 10 sc, dec, 20 sc, dec, 10 sc (42)
29 – 30 Rnd: 42 sc (42)
31 Rnd: 4 sc, put a marker, then 14 sc, go to the other side into the loop where the marker was placed (we get a ring of 15 sc).

We crochet the right leg:
1-5 Rnd: 15 sc (15)
6 Rnd: 9 sc, inc, 2 sc, inc, 2 sc (17)
7 Rnd: 3 sc, inc, 5 sc, 5 inc, 3 sc (23)Make sure that the increase is in front of the foot.
Move the crochet if necessary.
8-9 Rnd: 23 sc (23)
10 Rnd: (1 dec 1 sc)*8 (15)
11 Rnd: dec*8 Pull the hole.
Left leg:
Attach the thread by counting 15 sc in a semicircle
1 Rnd: 15 sc, join in a ring
2 – 6 Rnd: 15 sc (photo)
7 Rnd:2 sc, inc, 2 sc, inc, 9 sc (17)
8 Rnd: sc, 5 inc, 5 sc, inc, 5 sc (23)Increases should be in front of the foot, shift the crocheting if necessary.
9-10 Rnd: 23 sc (23)
11 Rnd: (dec, sc)*8 (15)
12 Rnd: dec*8. Pull the hole.
Fill the leg, sew a hole between the legs.
Head
1 Rnd: 6 sc in MR (6)
2 Rnd: 6 inc (12)
3 Rnd: 3 ch, skip 2 sc, from the 3rd column (sc, inc) * 5 (18)
4 Rnd: 4 sc under the arch of 3 ch, (2 sc, inc) * 5 (24)
5 Rnd: (3 sc, inc)*6 (30)
6 Rnd: (4 sc, inc)*6 (36)
7 Rnd: (5 sc, inc)*6 (42)
8 Rnd: (6 sc, inc)*6 (48)
9 Rnd – 13 Rnd: 48 sc (48)
Align the marker in the middle of the back of the head, focusing on the hole for the joint.
14 Rnd: 12 sc, dec, 5sc, dec, 6 sc, dec, 5 sc, dec, 12 sc (44)
15 Rnd: 44 sc (44)
16 Rnd: 10 sc, dec, 5 sc, dec, 6 sc, dec, 5 sc, dec, 10 sc (40)
17 Rnd: dec, 8 sc, dec, 4 sc, dec, 5 sc, dec, 4 sc, dec, 8 sc, dec (34)
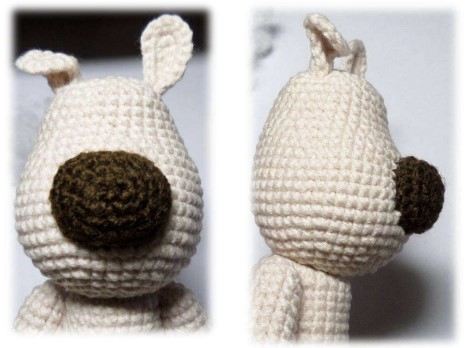
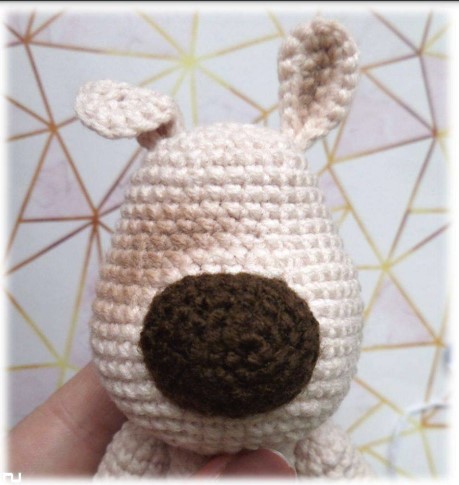
18 – 21 Rnd: 34 sc (34) Attach the head to the body. We stuff in the course of crocheting.
22 Rnd: (3 sc, dec)*6, 4 sc (28)
23 Rnd: 26 sc, dec (27)
24 Rnd: (sc, dec)*9 (18)
25 Rnd: dec*9 (9)
26 Rnd: (dec, sc)*3 (6)
Pull the hole.

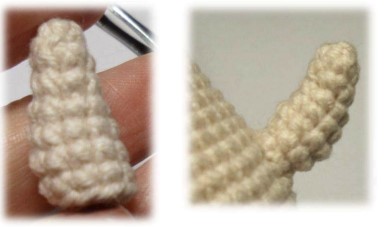
Ears:
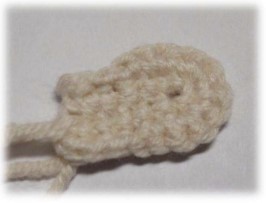
1 Rnd: 7 ch starting from the second loop from the hook 5 sc, 3 sc in one loop, 5 sc, turn
2 Rnd: 3 slst, sc, 4 inc, sc, 3 slst along the bottom of the ear, 1 ch, 3 sc. Fasten the thread, cut, leaving a long tip for sewing.
The second eye is crocheted in the same way.
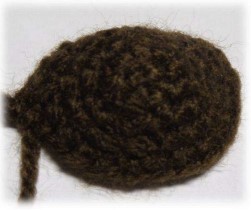
Spout:
1 Rnd: 4 ch, from the second loop from the hook 2 sc, 3sc in one loop, sc, inc
2 Rnd: inc, 2sc, 2 inc, 2 sc, inc
3 Rnd: inc, 4 sc, 2 inc, 4 sc, inc
4 Rnd: 2 inc, sc, dec, sc, 4 inc, 4 sc, 2 inc (23)
5 Rnd: 23 sc. Fasten the thread, cut, leave a long tail for sewing.
Sew to the head, when a small hole remains – stuff it, sew the hole.
Eyes:
start black
1 Rnd: 5 sc in MR, change thread to blue
2 Rnd: 5 inc, change thread to white
3 Rnd: sc, inc, sc, turn
4 Rnd: skip the first loop, from the second 2 sc, sl-st in the last loop, sl-st in the nearest loop of the 2nd row (blue).
We fix the thread, leave a long tip, go to the opposite side, (for this, without cutting the working thread, I just lay it along the wrong side) we attach to the first loop of the last row, SlSt to the first loop of the 3rd row (white), SlSt to the nearest loop 2nd row (blue).
Fasten the thread, leave it for sewing. We crochet the second eye in the same way. Before sewing on the eyes, I tinted the area of one eye (see photo).
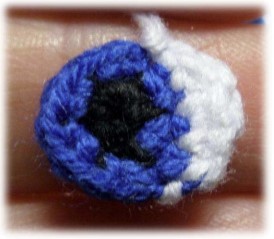
We sew on the eyes as in the photo, embroider the upper eyelid (with the main color), eyebrows and a smile (brown).

Arms:
1 Rnd: 6 sc in MR
2 Rnd: 6 inc (12)
3 Rnd– 20 Rnd (18 Rnds): 12 sc (12)
21 Rnd: dec*6 . Pull the hole.
The second handle is crocheted in the same way. We attach the arms to the body with a thread mount.
Tail:
1 Rnd: 6 sc in MR
2 Rnd: 6 sc (6)
3 Rnd: (2 sc, inc)*2 (8)
4 Rnd: 8 sc
5 Rnd: (3 sc, inc)*2 ( 10)
6 Rnd- 7 Rnd: 10 sc (10)
Sew to body.
After the toy is fully assembled, we tint the inside of the ear, one side and the ass on one side of the tail.
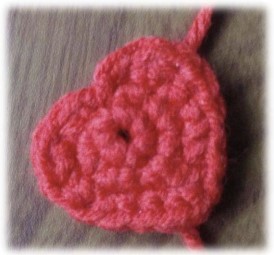
Heart:
1 Rnd: 6 sc in MR
2 Rnd: 2 inc, (sc, dc, sc) in one loop, 2 inc, slst
3 Rnd: sc, inc hdc, hdc, inc, sc, (sc, hdc, sc) in one loop, sc, inc, hdc, inc hdc, sc, slst. Yarn fasten, cut.
Sew a heart on the dog.
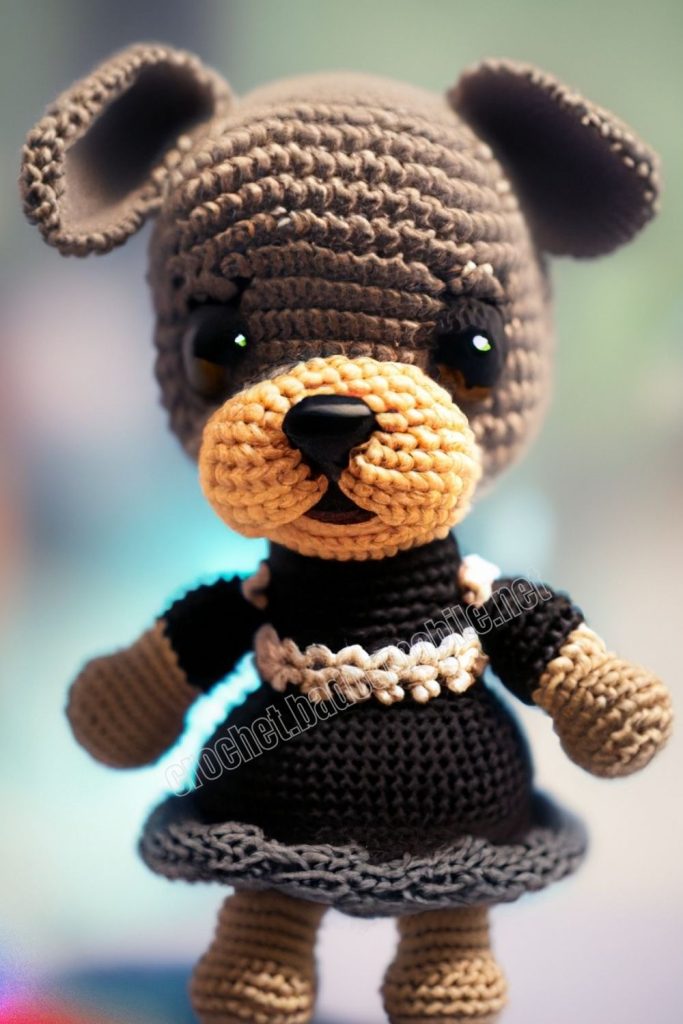
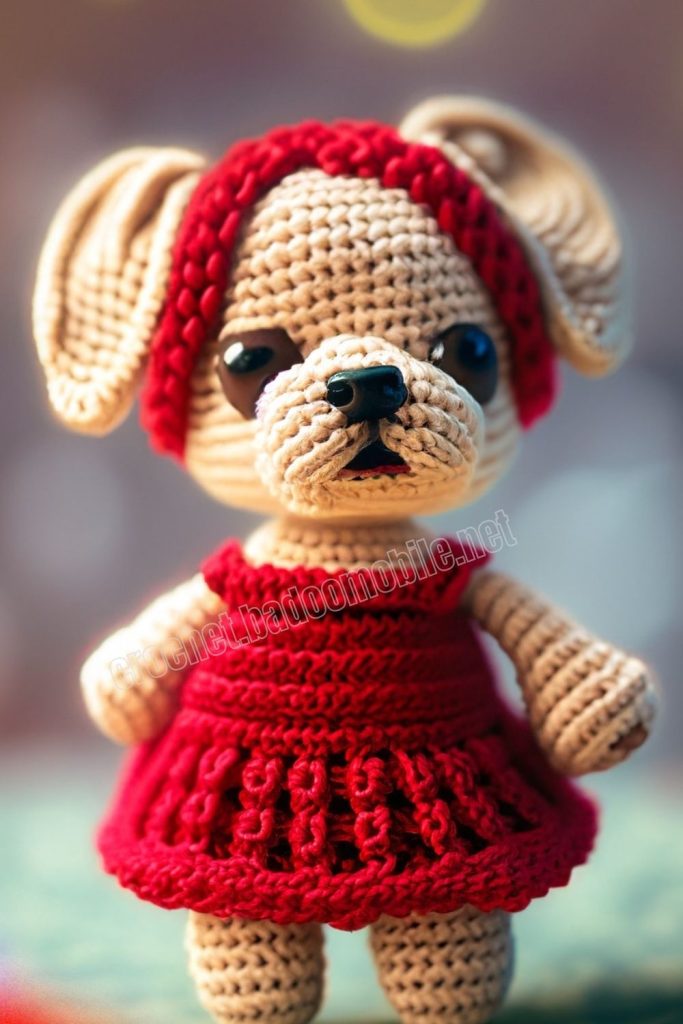
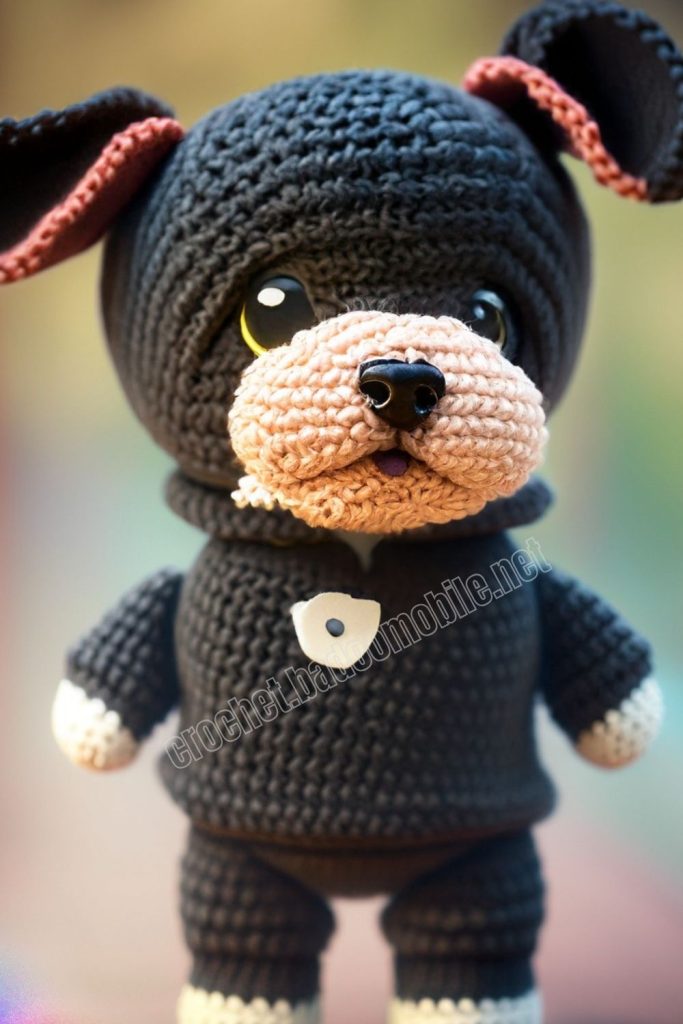
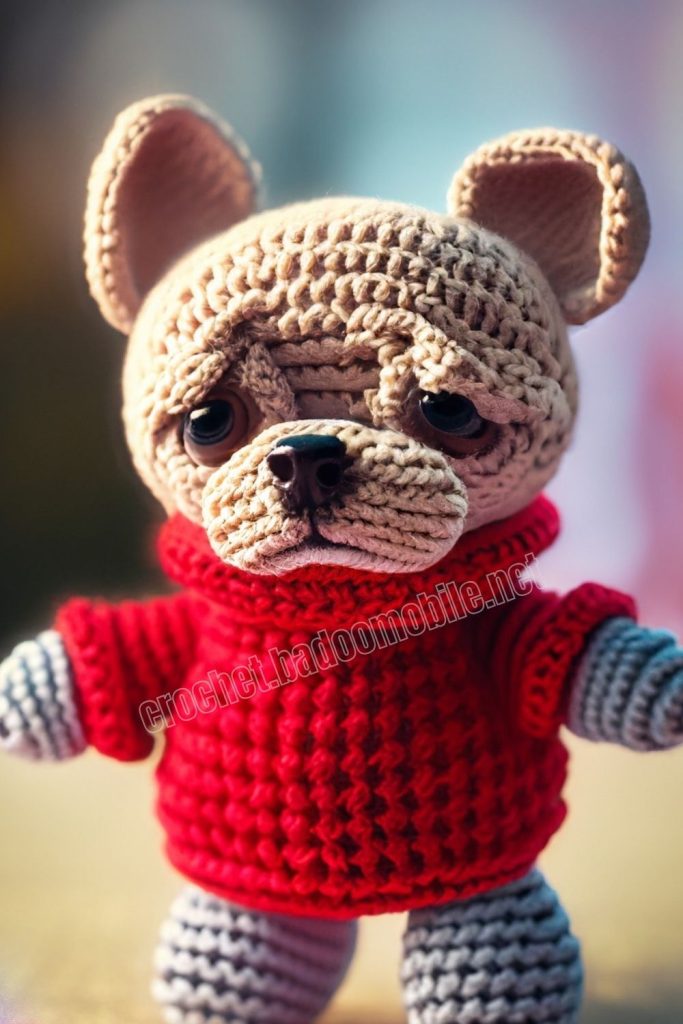
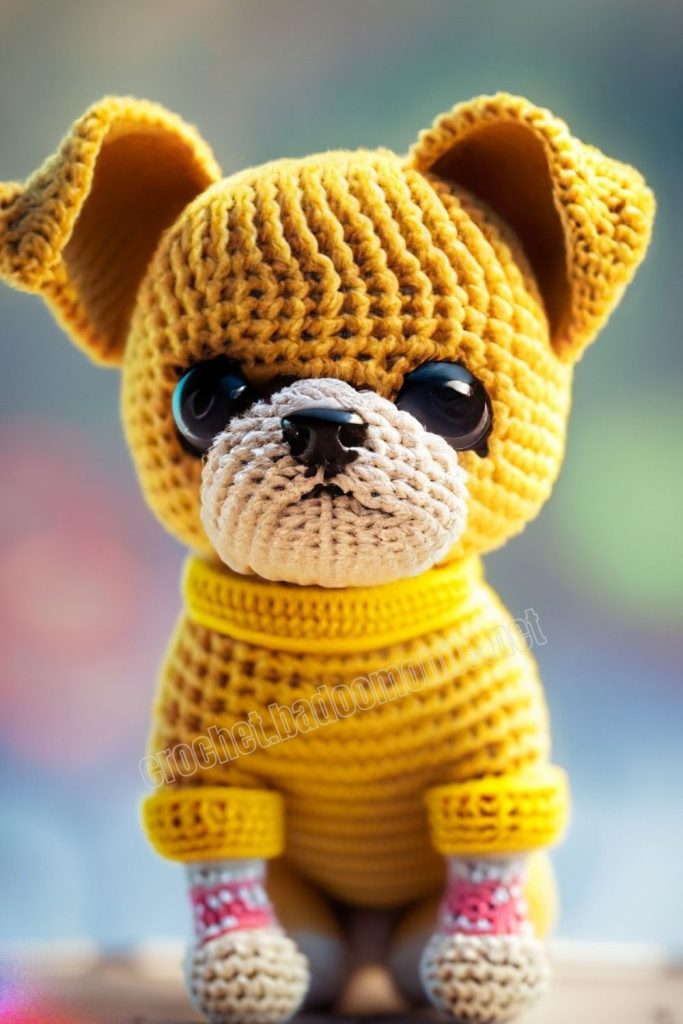
More Amigurumi Dog Ideas: