Material
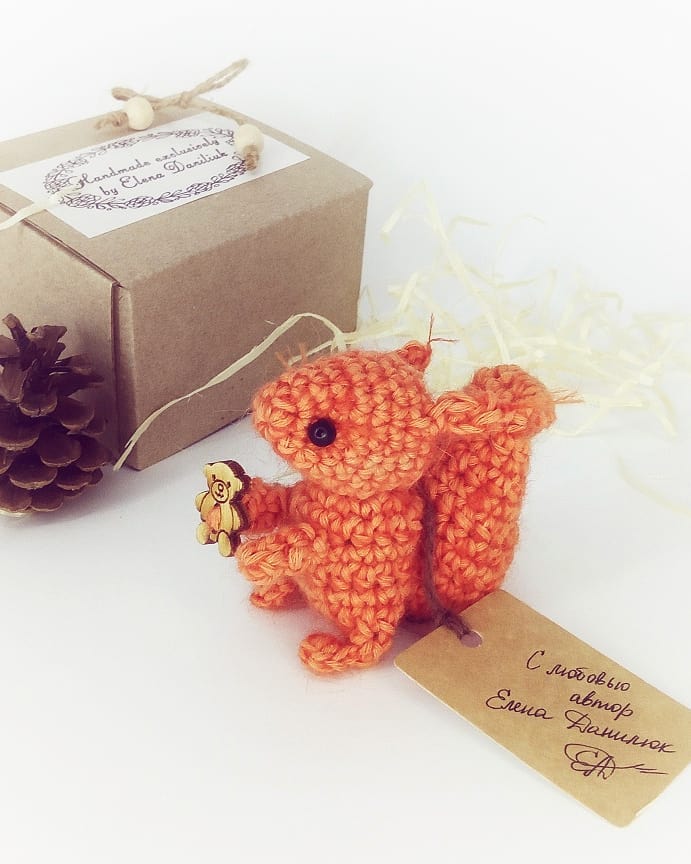
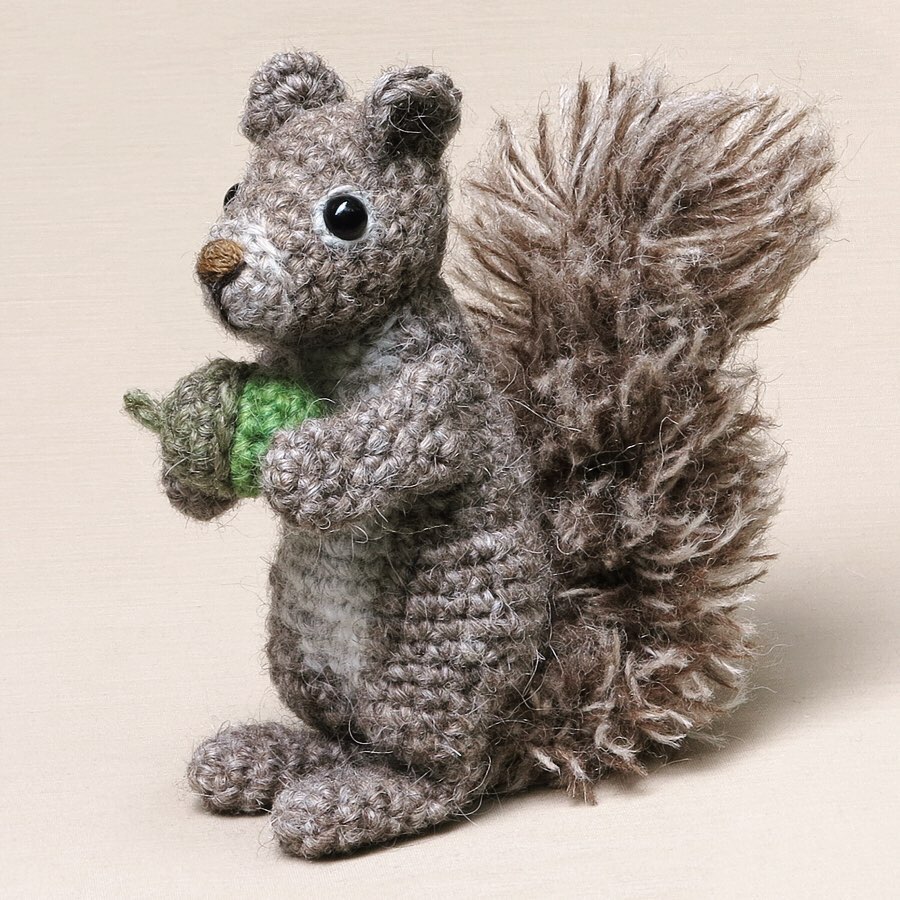
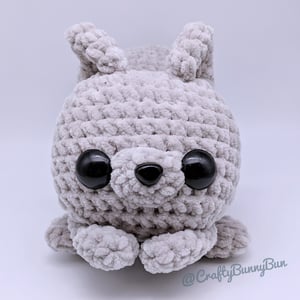
You can make this pattern in any size you wish by simply using a different yarn weight. Here I will list the material I used for the 3 squirrel sizes pictured above:
The largest squirrel:
- 7mm crochet hook
- Very Chunky Chenille yarn in color of choice
- 20mm button eyes, black triangular nose
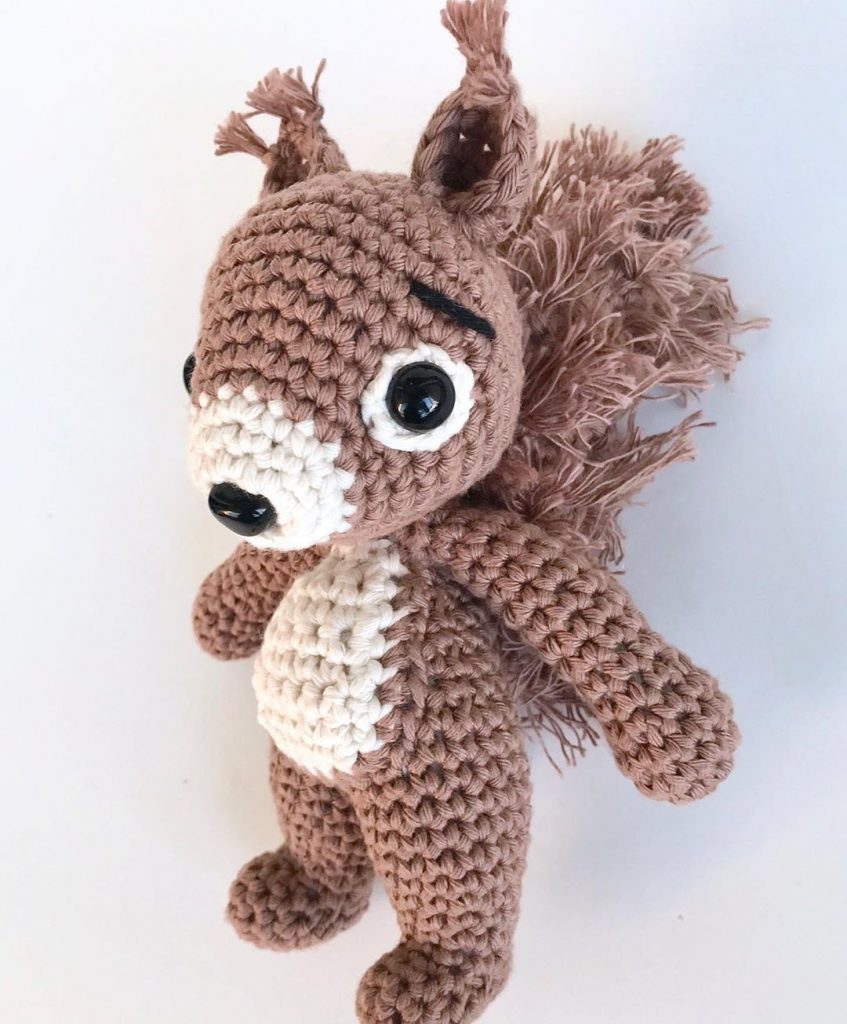
Medium sized squirrel:
- 5 mm crochet hook
- Chunky Chenille yarn in color of choice (this brand is less chunky than the one above)
- 20mm button eyes, black triangular nose
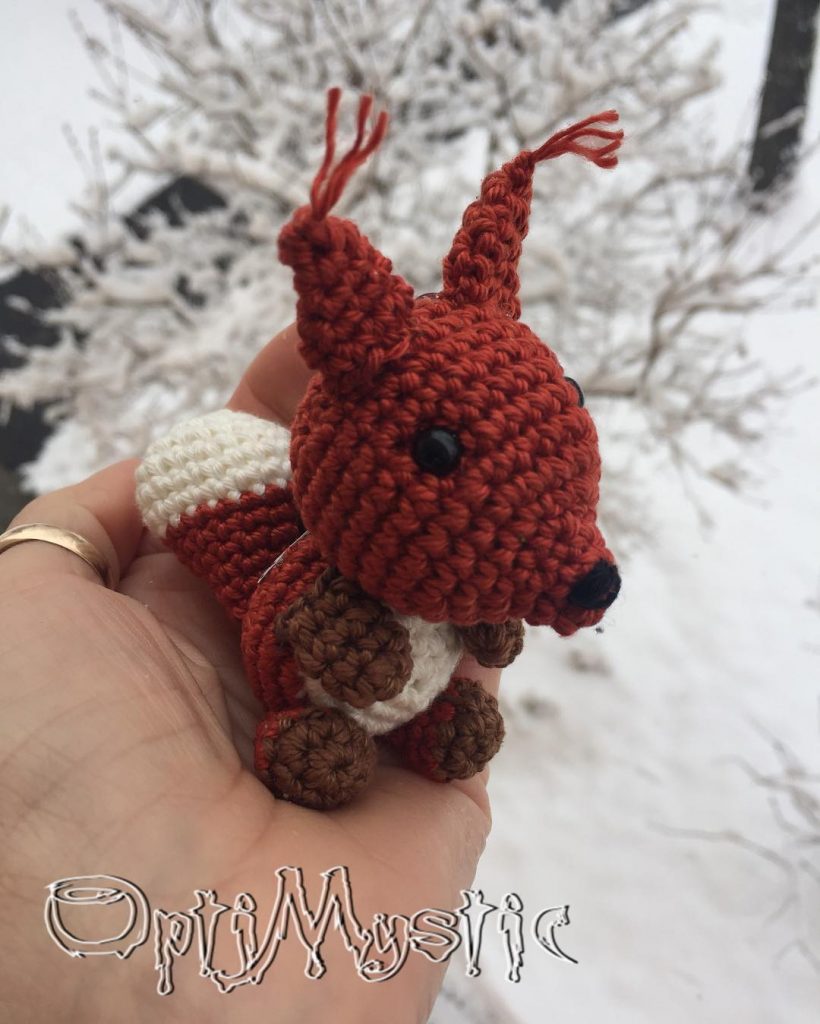
Small sized squirrel:
- 3mm crochet hook
- DK yarn in color of choice
- 8mm safety eyes, small black triangular nose
Abbreviations (US)
- MC: Magic circle
- 2-sc inc: 2 sc in next st (increase by 1)
- 3-sc inc: 3 sc in next st (increase by 2)
- sc2tog: 2 sc together (decrease by 1)
- sc3tog: 3 sc together (decrease by 2)
- hdc: half double crochet
- 2-hdc inc: 2 half double crochet in next st (increase by 1)
Instructions
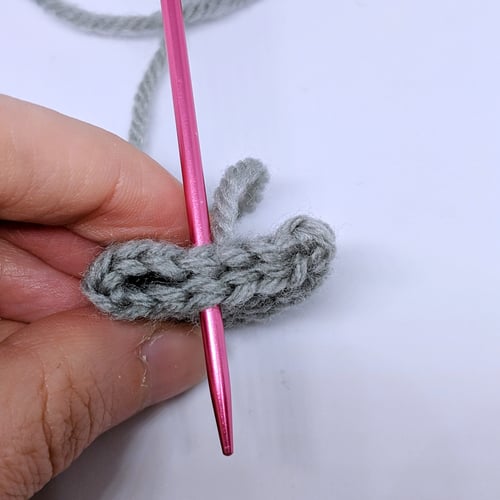
This pattern is made in a spiral of continuous rounds
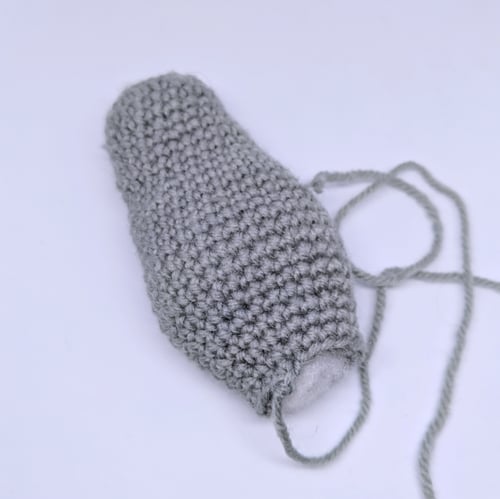
Body (make 1)
| Row # | Instructions | Sts |
| R1 | 4-sc MC | 4 |
| R2 | 3-sc inc × 4 | 12 |
| R3 | sc, 3-sc inc, [sc × 2, 3-sc inc] × 3, sc | 20 |
| R4 | sc × 2, 3-sc inc, [sc × 4, 3-sc inc] × 3, sc × 2 | 28 |
| R5 | sc × 3, 3-sc inc, [sc × 6, 3-sc inc] × 3, sc × 3 | 36 |
| R6 | sc × 4, 3-sc inc, [sc × 8, 3-sc inc] × 3, sc × 4 | 44 |
| R7 | sc × 5, sc2tog, [sc × 9, sc2tog] × 3, sc × 4 | 40 |
| R8-13 | sc × 40 | 40 |
| R14 | sc × 4, sc3tog, [sc × 7, sc3tog] × 3, sc × 3 | 32 |
| R15 | sc × 3, sc3tog, [sc × 5, sc3tog] × 3, sc × 2 | 24 |
| Place eyes between R11 and R12 with about 5 stitch holes between them. Stuff well. (The eye placement depends on how well you stuff the body. The location I indicated is for a very firmly stuffed body. Use your own judgement for the location) | ||
| R16 | sc × 2, sc3tog, [sc × 3, sc3tog] × 3, sc | 16 |
| R17 | [sc, sc3tog] × 4 | 8 |
Finish off, sew the ends together to close the gap with the tapestry needle.
Important tip for any amigurumi you make:
Shape the stuffed body by pressing firmly on its sides to resemble the shape you are trying to achieve. Stuffed amigurumi shapes are like a rubbery piece of clay that can actually be shaped quite a bit! Always take advantage of that fact.
Snout (make 1)
| Row # | Instructions | Sts |
| R1 | 6-sc MC | 6 |
| R2 | 2-sc inc × 2, 2-hdc inc, 2-sc inc × 2, 2-hdc inc | 12 |
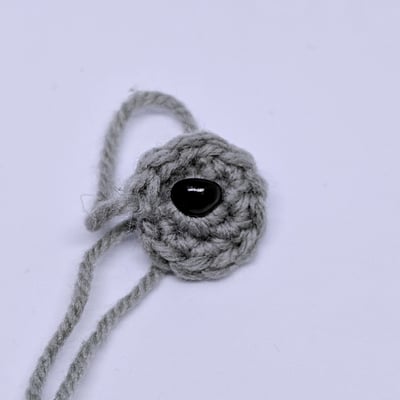
Do one slip stitch, then finish off leaving a long tail. Insert the triangular nose in the center of the magic circle that started the snout.
Ears (make 2)
| Row # | Instructions | Sts |
| R1 | 5-sc MC | 5 |
| R2 | 2-sc inc, sc, 2-sc inc, sc, 2-sc inc | 8 |
| R3 | [sc, 2-sc inc] × 4 | 12 |
| R4 | [sc × 2, 2-sc inc] × 4 | 16 |
Finish off. Leave long tail. Don’t stuff. Sew the ends flat to close the ears opening. as per the picture
Legs (make 4)
| Row # | Instructions | Sts |
| R1 | 5-sc MC | 5 |
| R2 | 2-sc inc × 5 | 10 |
| R3-7 | sc × 10 | 10 |
Leave long tail. Do not stuff. Sew the ends flat together like you did with the ears.
Tail (make 1)
| Row # | Instructions | Sts |
| R1 | 6-sc MC | 6 |
| R2 | 2-sc inc × 6 | 12 |
| R3 | [2-sc inc, sc] × 6 | 18 |
| R4-6 | sc × 18 | 18 |
| R7 | [2-sc inc, sc × 2] × 6 | 24 |
| R8-10 | sc × 24 | 24 |
| R11 | [2-sc inc, sc × 3] × 6 | 30 |
| R12-20 | sc × 30 | 30 |
| R21 | [sc2tog, sc × 3] × 6 | 24 |
| R22-23 | sc × 24 | 24 |
| R24 | [sc2tog, sc × 2] × 6 | 18 |
| R25-26 | sc × 18 |
Leave a really long tail (about 2 feet or 60cm long). Stuff lightly, do NOT overstuff.
Assembly
- Start by attaching the snout (optionally put a little bit of stuffing under it) on the squirrel body between the eyes. The snout is placed on R11 at the top and R13 at the bottom.
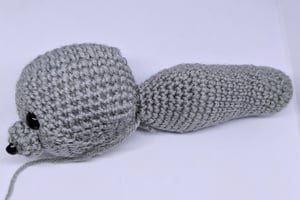
- Attach the tail to cover R11 and R12 from behind. The tail is intentionally not placed any lower on the body, that is because the weight of the tail and position will allow the squirrel to sit on its behind legs like the natural squirrel sitting position. You’ll see later. Don’t cut the tail after you attach the tail, you’ll need it for the next steps!
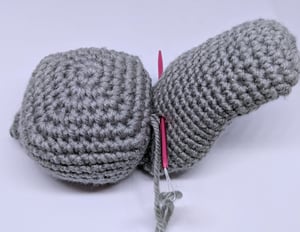
- Using the tapestry needle and the remaining yarn tail, pin the tail to the body about 4 rows (R6)above the attachment point as per the picture
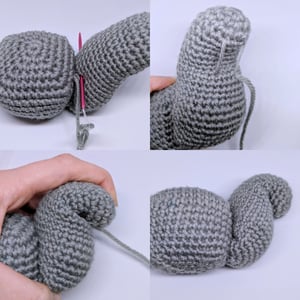
- Use the remaining yarn tail to curl the end of the tail on itself. Use your hand to put it into shape and pin it as per the picture to stay curled.
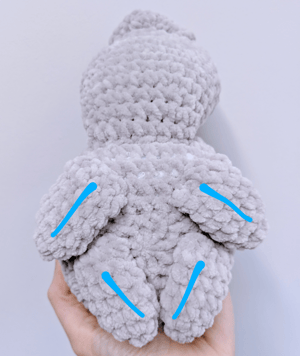
- Attach unstuffed legs to the bottom of the squirrel body. You can place them in a couple of ways for extra cuteness. For example, you can make the two front legs point slightly toward each other as per the picture. Tip, use pins to see how they look like before you attach them in. Also pin each leg to the body few rows after the attachment point. This way the legs are secured closer to the body for maximum cuteness.
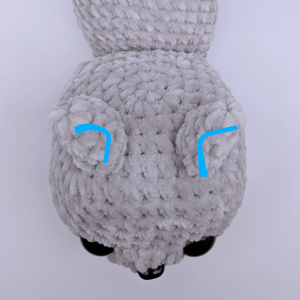
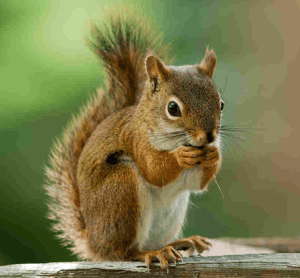
- Attach the ears in the locations indicated in the pictures. Note how the ears are place to face slighly to the side rather than to the front. This is closer to how squirrels ears naturally look like. Here is a picture of a real squirrel to see it more clearly.
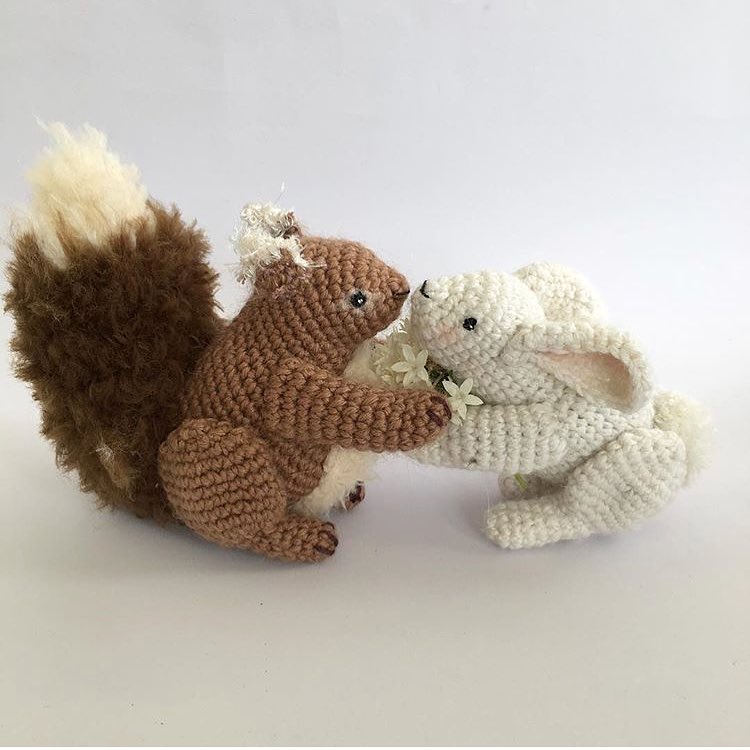
More Amigurumi Squirrel Ideas: