Hello dear Amigurumi Followers
Today we share one free amigurumi crochet pattern again for you. As you know we share new amigurumi free patterns every day. The main crochets are amigurumi gazelles, amigurumi bears, amigurumi pola, amigurumi pandas, amigurumi penguins, amigurumi giraffes, amigurumi llama, amigurumi pigs, amigurumi bunny, amigurumi clowns, amigurumi lambs, amigurumi bees, amigurumi unicorns, amigurumi dolls, amigurumi foxes, amigurumi penguins, amigurumi dinosaurs, amigurumi elephants, amigurumi hippos, amigurumi monkeys, amigurumi cats, amigurumi dogs and more …
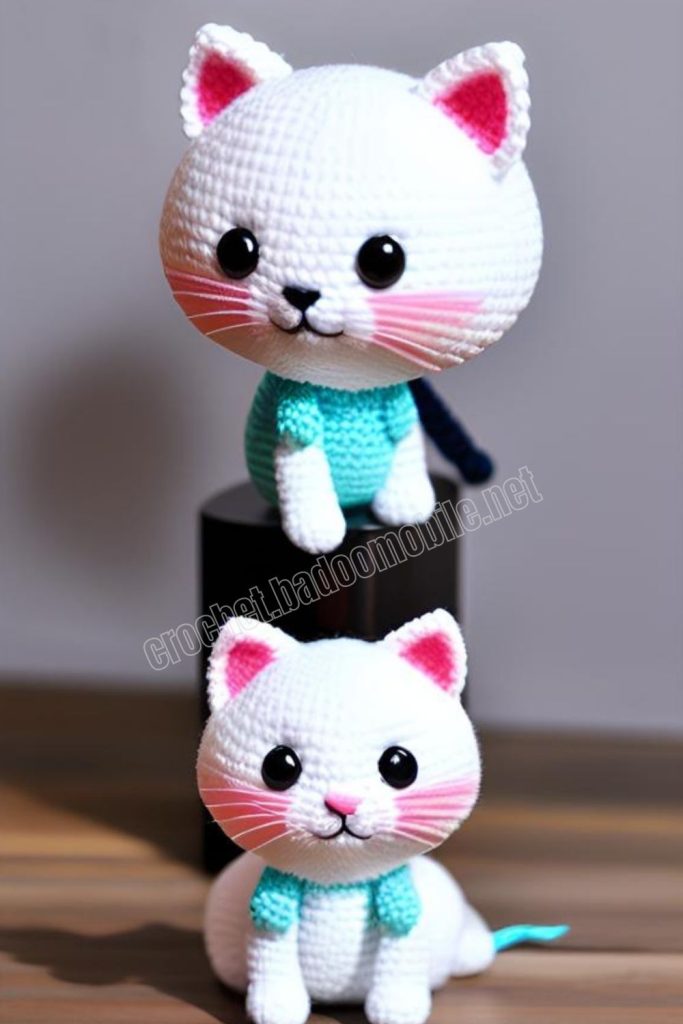
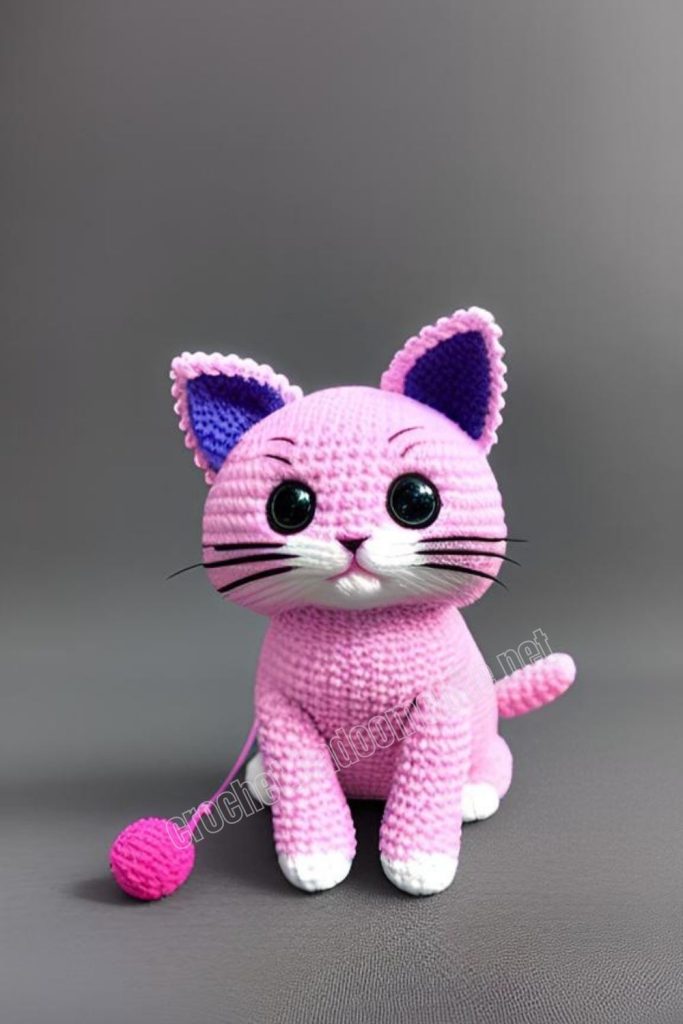
Todays daily new amigurumi free crochet pattern is Amigurumi Kitty Irina.
I want to give you some informations about this pattern ;
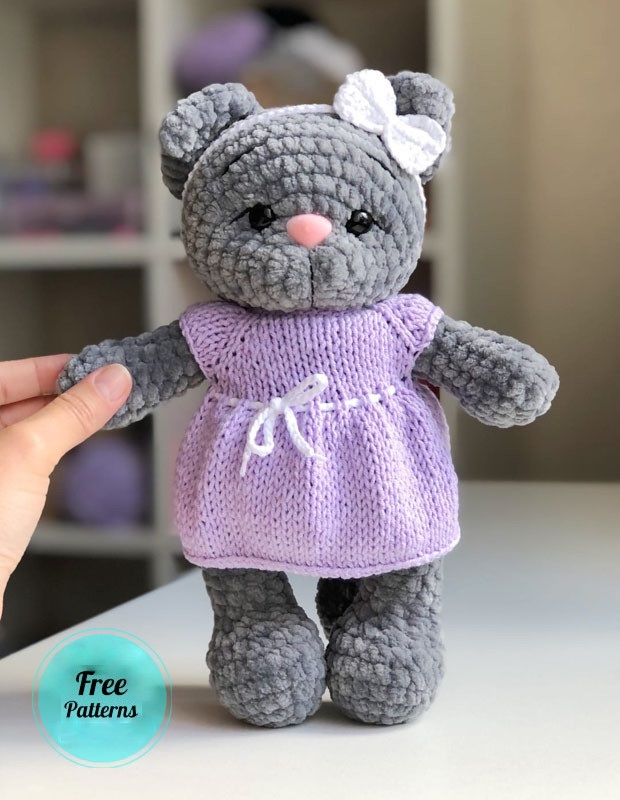
You will need:
– Plush yarn Himalaya Dolphin Baby or LaVita yarn Velur (I crochet from it) 1 skein
Yarnart jeans yarn for dress and headband
– Hook No. 4-4.5 for a cat
– Crocheting needles No. 3.5-4 for the dress
– Safety eyelets 10-14 mm
– Spout on a secure mount 14-18 mm
– Filler: holofiber, sintepuh, sinteshar
– Large eye needles, scissors
Abbreviations
MR – Amigurumi Magic ring
sc : Single Crochet
inc : Increase
dec : Decrease
tr : Triple Crochet/ Treble Crochet
st: Stitch
dc : Double Crochet
hdc: Half Double Crochet
sl-st or Slst: Slip Stitch
ch : Chain
tch: Turnin chain crochet
FLO : Crochet into front loops only
BLO : Crochet into back loops only
Amigurumi Kitty Irina Free Pattern:
HEAD
1) 6 sc in MR
2) inc x 6 (12)
3) (1 sc, inc) x 6 (18)
4) 3 sc, (1 sc,inc) x 6, 3 sc (24)
5) 4 sc, inc, (2 sc,inc) x 5, 4 sc (30)
6) 3 sc, (3 sc,inc) x 6, 3 sc (36)
7) 5 sc, inc,(4 sc,inc) x 5, 5 sc (42)
8 – 12) 42 sc
On the 5th or 6th row, you can put eyes. The distance is approximately 4 sc. The spout is one row lower (approximately 3-4 rows) It is better to fill the toy after inserting the eyes and nose.
13) (5 sc, dec) x 6 (36)
14) 36 sc
15) (4 sc, dec) x 6 (30)
16) (3 sc, dec) x 6 (24)
17) (2 sc, dec) x 6 (18)
On this row you can stuff a toy
18) (1 sc, dec) x 6 (12)
19) dec to end

Muzzle tightening
We take a long plush thread and insert it into the needle. Insert the needle from below under the eyes, bring it out at point 1, insert it at point 2 and back down.

Pull and tie two knots. Further, the same for the second eye. Can be pulled several times.

Next, we insert the needle under the nose (point 1) and bring it down (point 2), thus tightening the middle of the muzzle. We hide the thread in the head and cut it off.

LEGS
1) 6 ch, in the second loop from the hook 4 sc, in the last loop 3 sc, on the other side 3 sc, inc (12)
2) inc, 3 sc, 3 inc, 3 sc, 2 inc (18)
3) 1 sc, inc, 4 sc, inc, 3 sc, inc, 4 sc, inc, 2 sc (22)
4-5) 22 sc
6) 6 sc (dec, 1 sc) х 4, 4sc (18)
7) 5 sc (4 dec) 5 sc (14)
8) 4 sc (3 dec) 4 sc (11)
9-15) 11 sc
crochet after another 2 sc, so that it is even, slst, fasten and cut the thread, hide the yarn inside, then we will tie the legs into the body.

ARMS
1) 6 sc in MR
2) 6 inc (12)
3-4) 12 sc
5) 4 sc, 2 dec, 4 sc (10)
6-12) 10 sc
crochet after another 1 sc, sl-st, fasten and cut the thread, hide the yarn inside, then we will crochet the arms into the body
BODY
1) 6 sc in MR
2) inc x 6 (12)
3) (1 sc, inc) x 6 (18)
4) (2 sc, inc) x 6 (24)
5) (3 sc, inc) x 6 (30)
6) (4 sc, inc) x 6 (36)
on the next row we will tie the legs

7) 4 sc, 5 sc together with the foot (see photo below)), 12 sc, 5 sc along with paw, 10 sc
8-9) 36 sc
10) (4 sc, dec) x 6 (30)
11 – 30 sc
12) (3 sc, dec) x 6 (24)
13 – 14) 24 sc
15) (2 sc, dec) x 6 (18)
on the next row we crochet paws
16) 3 sc, 4 sc together with the foot, 5 sc, 4 sc together with the foot, 2 sc (18)
17) 18 sc

EARS
1) 6 sc in MR
2) 6 sc
3) inc x 6 (12)
4) (1 sc, inc) x 6 (18)
5) 18 sc
Fold in half and crochet 9 sc. Leave the thread for sewing.
TAIL
1) 6 sc in MR
2) (1 sc, inc) х 3 (9)
3-4) 9 sc
5) (1 sc, dec) x 3 (6)
6-12) 6sc
Leave the thread for sewing.
ASSEMBLY
Sew the head to the body
The tail is sewn between 8 and 9 side by side
We sew the ears between 14 and 15 side by side across,
distance about 4-5 columns
We fix the eyes between 5 and 6 side by side
Nose between 3 and 4 side by side

DRESS
Knitting terms:
K – knit
P – purl loop
E.st – edge st edge stitch
V (raglan) – (yarn over, knit, yarn over)
Cast on 28 stitches
1) E.st, 26 K, E.st
2) E.st, 26 P, E.st
3) E.st, 3 K, V, 4 K, V, 8 K, V, 4 K, V, 3 K, E.st (36)
4) E.st, 34 P, E.st (36)
5) E.st, 4 K, V, 6 K, V, 10 K, V, 6 K, V, 4K, E.st (44)
6) E.st, 42 P, E.st (44)
7) E.st, 5 K, V, 8 K, V, 12 K, V, 8 K, V, 5 K, E.st (52)
8) E.st, 50 P, E.st (52)
9) E.st, 6 K, V, 10 K, V, 14 K, V, 10 K, V, 6 K, E.st (60)
10) E.st, 58 P, E.st (60)
11) E.st, 7 K, V, 12 K, V, 16 K, V, 12 K, V, 7 K, E.st (68)
12) E.st, 66 P, E.st (68)
13) E.st, 9 K, 14 loops close the sleeve, 20 K, 14 loops close the sleeve, 9 K, E.st (40)
14) E.st, 9 P, pick up one loop under the sleeve, 20 P, 1 loop under sleeve, 9 P, E.st (42)
15) E.st, 40 K with increase (crochet),E.st (82)
Next, knit to the desired length, I have 18 rows
We close the loops on the front row
Fold in half and sew from the wrong side. We sew not to the end, but about 2/3
We sew on a button. From air loops we make a hook for a button.
More Amigurumi Kitty Ideas:

