Hello dear Amigurumi Followers
Today we share one free amigurumi crochet pattern again for you. As you know we share new amigurumi free patterns every day. The main crochets are amigurumi gazelles, amigurumi bears, amigurumi pola, amigurumi pandas, amigurumi penguins, amigurumi giraffes, amigurumi llama, amigurumi pigs, amigurumi bunny, amigurumi clowns, amigurumi lambs, amigurumi bees, amigurumi unicorns, amigurumi dolls, amigurumi foxes, amigurumi penguins, amigurumi dinosaurs, amigurumi elephants, amigurumi hippos, amigurumi monkeys, amigurumi cats, amigurumi dogs and more …
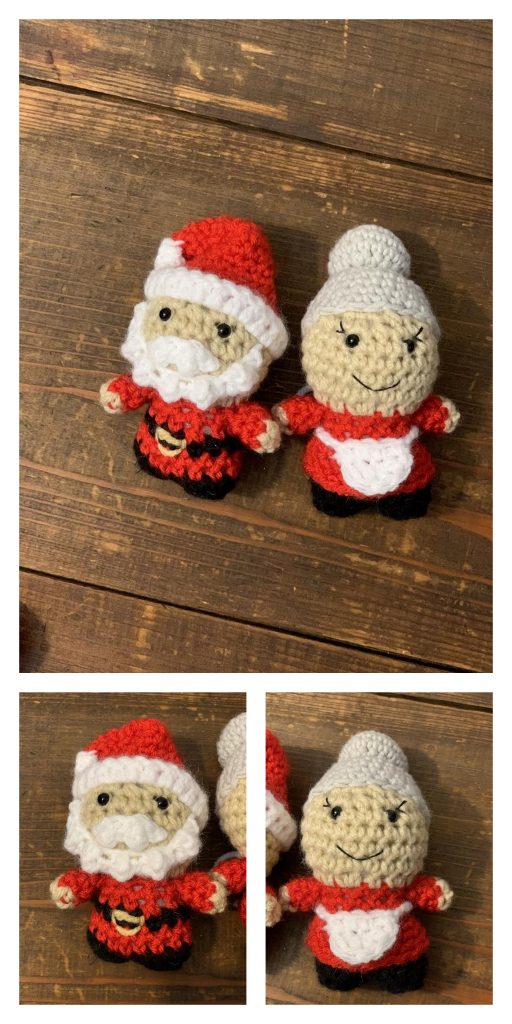
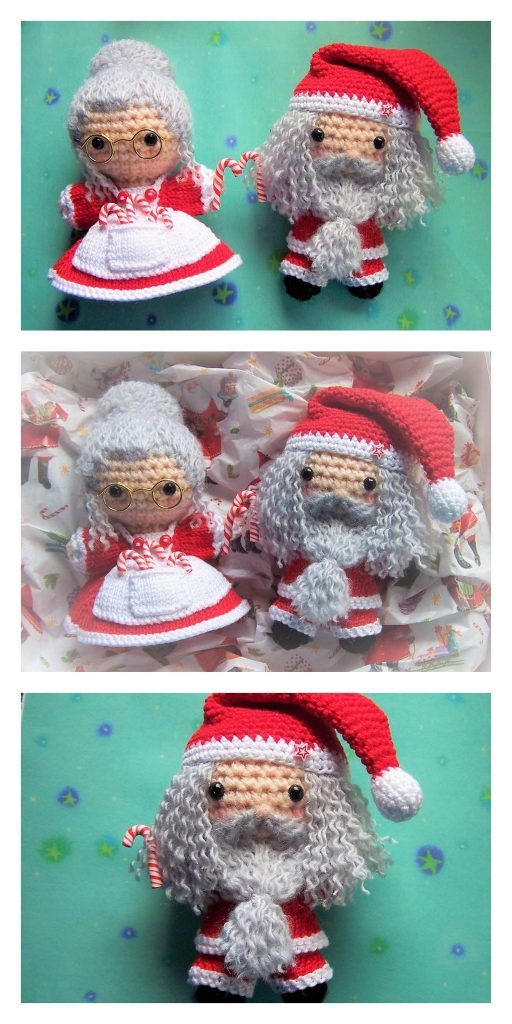
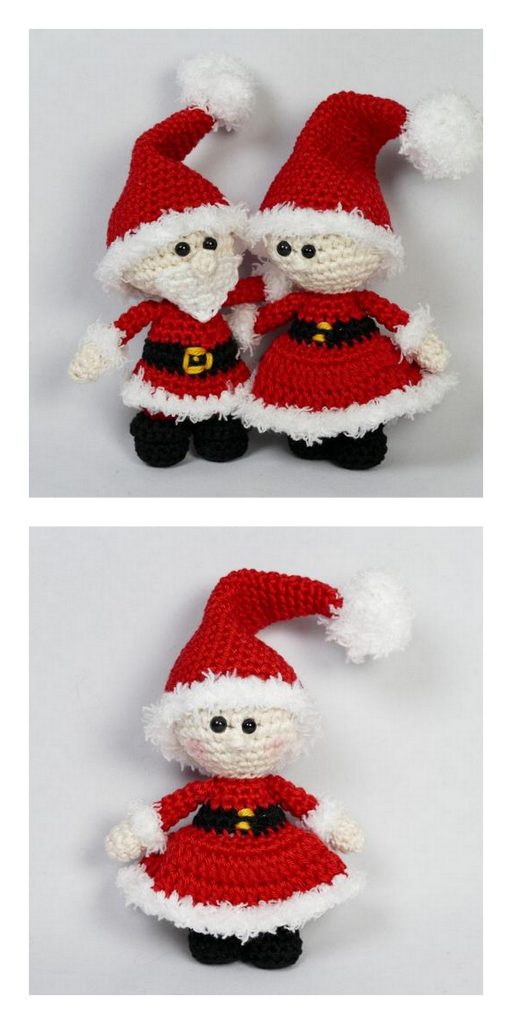
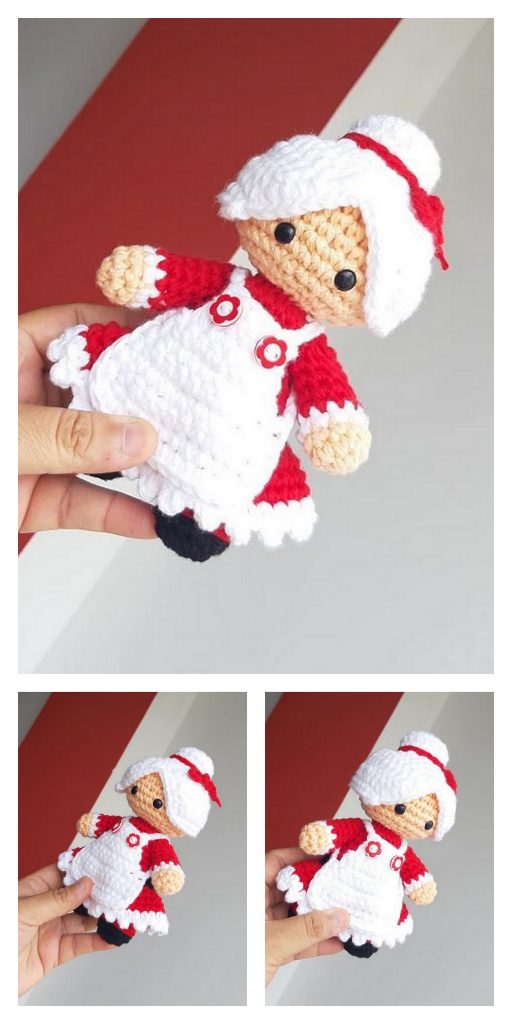
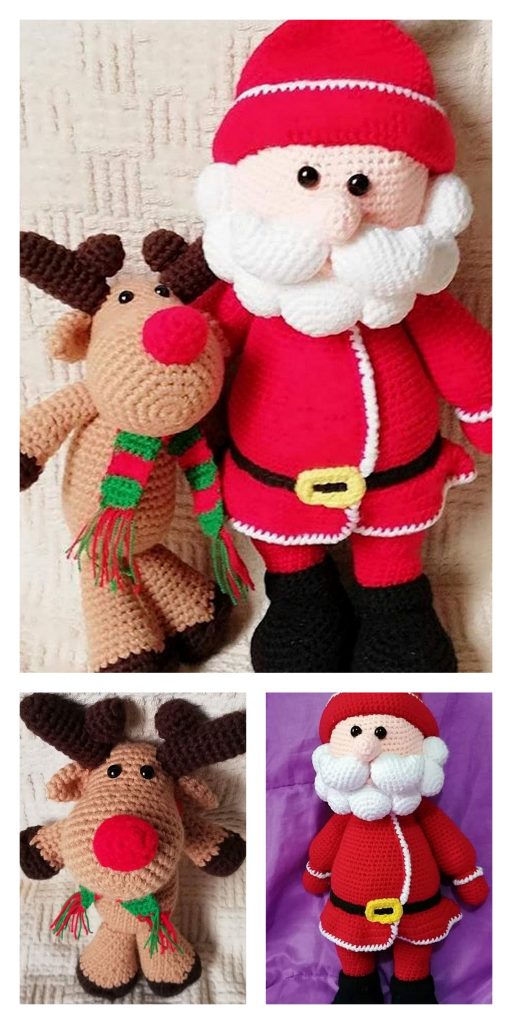
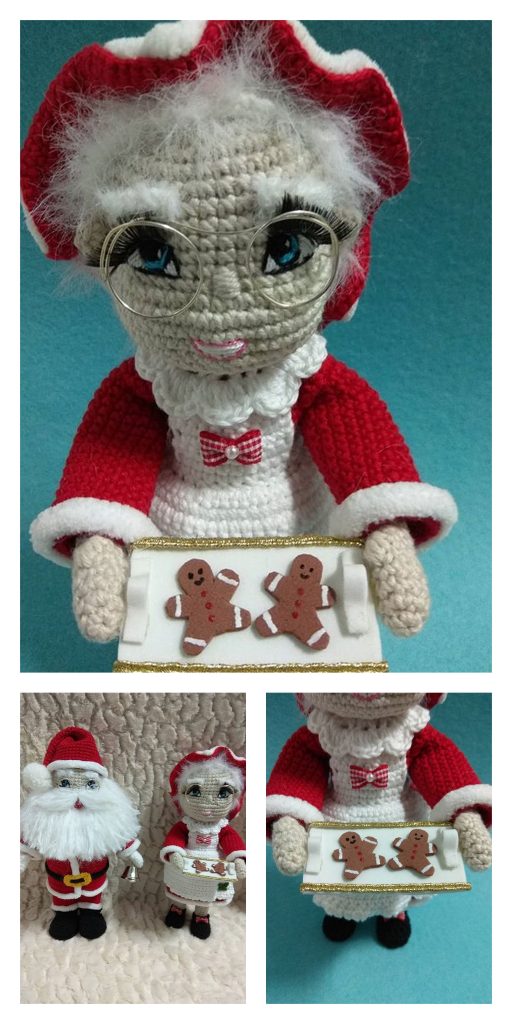
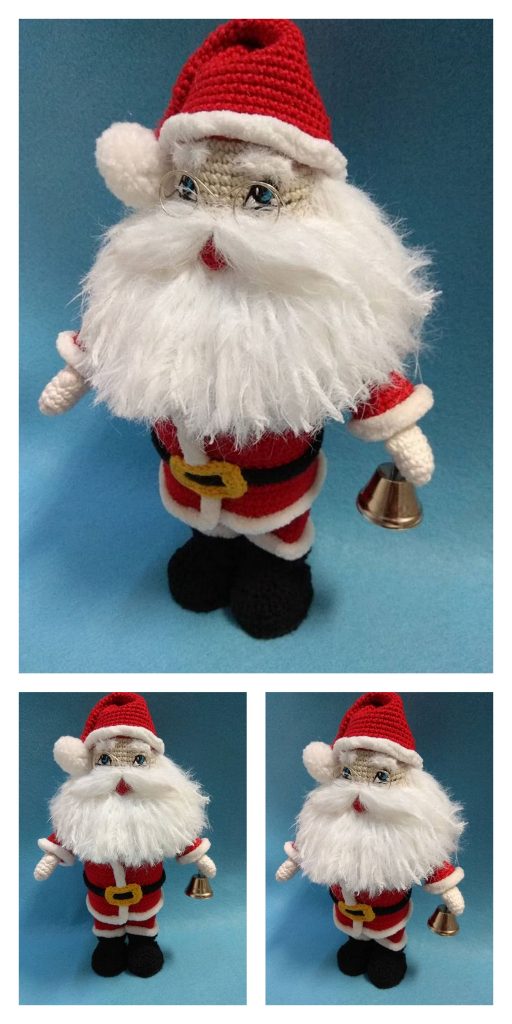
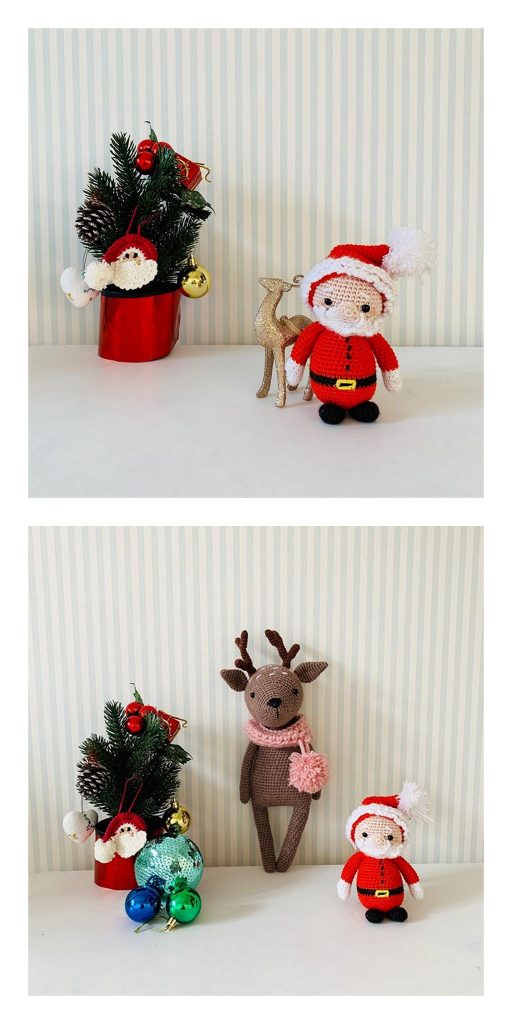
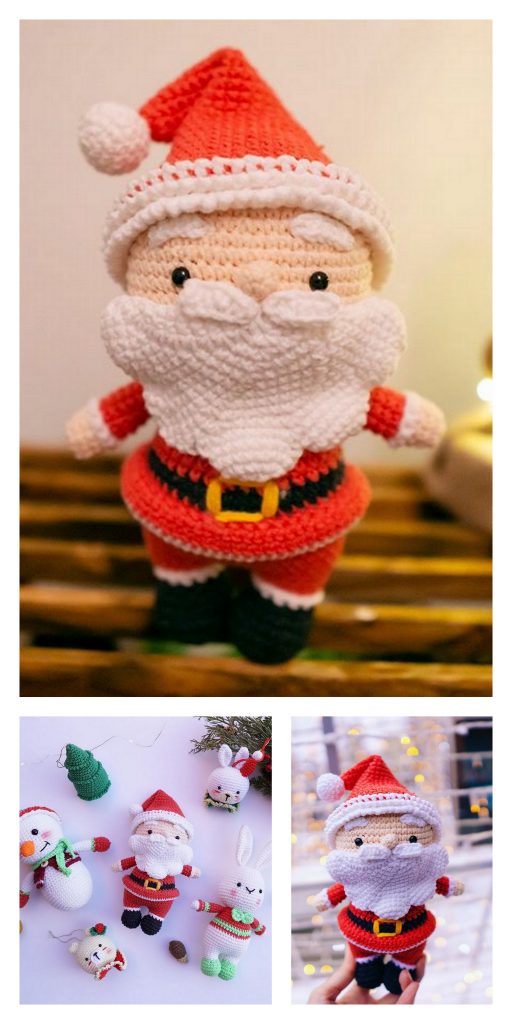
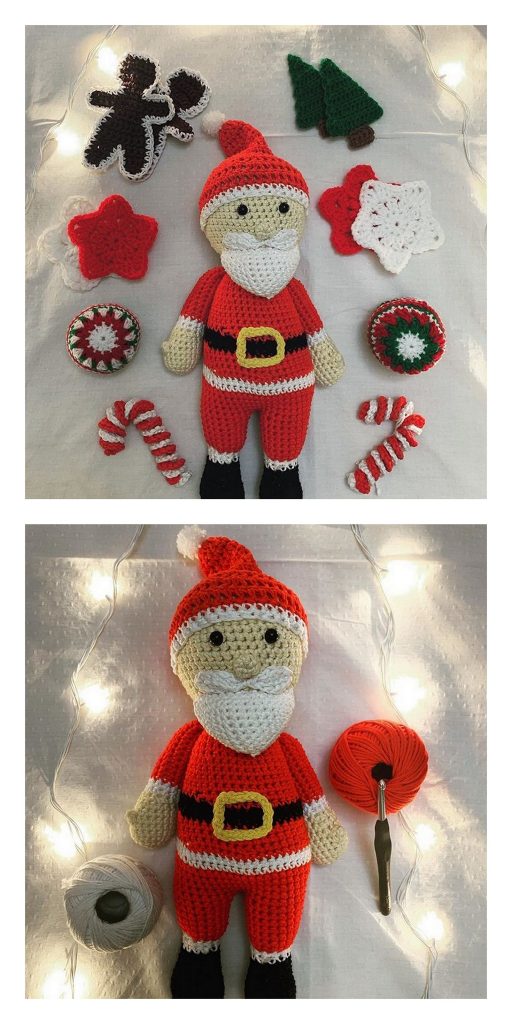
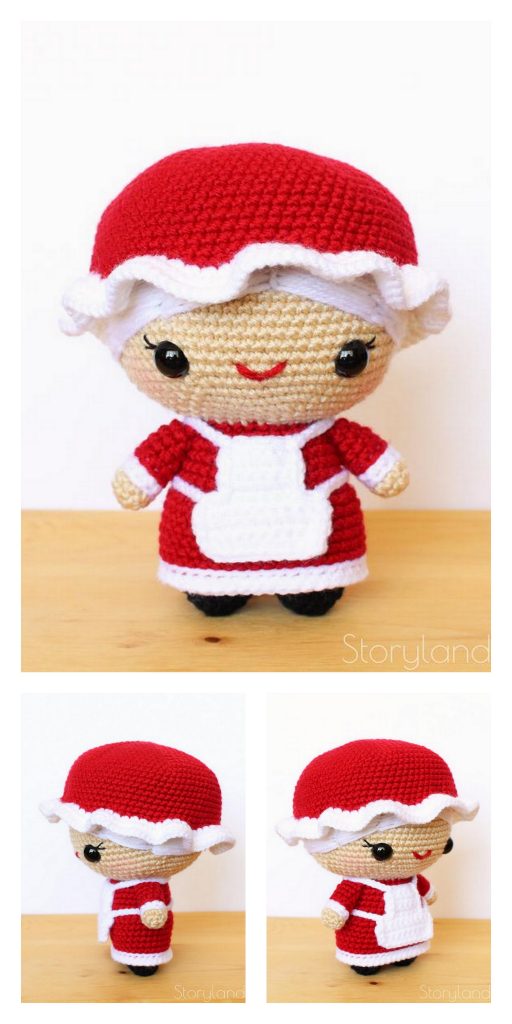
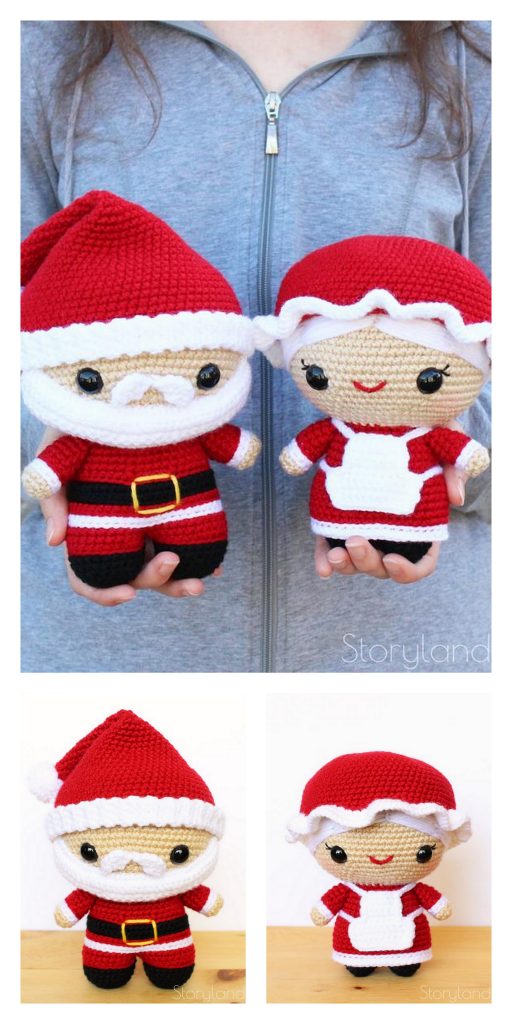
Todays daily new amigurumi free crochet pattern is Amigurumi Santa Claus and Mrs Claus.
I want to give you some informations about this pattern ;
Materials
– Yarn colors: beige, red, white, black, yellow and light grey
– 3mm crochet hook
– Tapestry needle
– Craft glue
– Stuffing
– 5mm safety eyes
– Pins
– Stitch markers
Finished doll size: aprox 8cm (3,14”)
Abbreviations
inc increase
dec decrease
ch chain
slst slip stitch
sc single crochet
hdc half double crochet
dc double crochet
tr treble crochet
[ ] total number of stitches
( ) sequence repetitions
Santa Claus
ARMS
beige and red – single crochet (make two)
Start with beige
1 – 6 sc in magic ring
Change color to red
2 – 4 Sc around [6]
Fasten off (pic 1)
BODY AND HEAD
black, red, yellow and beige – single crochet
Legs (black) – make two
1 – 8 sc in magic ring
Fasten off, leave a tail for sewing.
Repeat for the second leg, don’t fasten off.
2 – Sc around in back loops only
Continue on the other leg [16] (pic 2).
Body (red, black and yellow)
Change color to red
3 – 4 Sc around [16]
Reinforce the stitches between the legs (pic 3)
Change color to black
5 – Sc around [16]
Change color to red
6 – (6 sc, dec) x2 [14]
7 – (5 sc, dec ) x2 [12]
8 – 2 sc, 2 sc joining the first arm, 5 sc, 2 sc joining the second arm, 1 sc [12] (pic 4)
*fold the opening of the arms and go through both sides when joining them to the body
With yellow yarn, embroider a stitch in the center
of the band to mark the belt buckle (pic 5).

Head (beige)
9 – (1 sc, inc) around [18]
10 – (2 sc, inc) around [24]
Stuff the body
11 – 13 Sc around [24]
14 – (2 sc, dec) around [18]
Insert safety eyes between rounds 13 and 14, 5 stitches apart (pic 6)
15 – (1 sc, dec) around [12]
Stuff the head (pic 7)
16 – Dec around [6]
Using a tapestry needle, go through the remaining loops and pull to close the opening
(pics 8 & 9). Fasten off.

HAT
red and white – single crochet and double crochet
Start with red
1 – 4 sc in magic ring
2 – [1 sc, inc] x2 [6]
3 – Sc around [6]
4 – [2 sc, inc] x2 [8]
5 – Sc around [8]
6 – [3 sc, inc] x2 [10]
7 – Sc around [10]
8 – [4 sc, inc] x2 [12]
9 – 11 Sc around [12]
12 – [1 sc, inc] x6 [18]
13 – 14 Sc around [18]
15 – [2 sc, inc] x6 [24]
16 – 18 Sc around [24]
Change color to white
19 – 24 sc
20 – 24 dc (pic 1)
Fasten off.
Fold the white border up (pic 2).

Pompom
1 – 6 sc in magic ring
2 – Sc around [6]
With a tapestry needle, close the opening (pic 3), sew the pompom on the hat.
Try it on Santa’s head and pin the back of the hat, folding it. With red yarn, sew the fold to keep the shape (pic 4).
B E AR D
white – chain, slip stitch, single crochet,
half double crochet, treble crochet
Beard (graph below)
Ch 15
Slst 1, (1 sc, 1 tr) x 5, 1 sc, slst 2 (pic 5)
Fasten off and leave a tail for sewing (pic 6).
Mustache
Ch 7
Slst 1, 1 hdc, slst 2, 1 hdc, slst 1
Fasten off and leave a tail for sewing.


Assembly
Fit the hat on Santa’s head (don’t sew or glue it at this point).
Pin the beard, curving it slightly and inserting the
ends under the hat (pic 7).
Pin the mustache on round 14 (pic 8).
Check the position carefully. If everything is in the right place, sew or glue the beard and mustache on Santa’s face.
Finish it off by attaching the hat on the head.
Mrs Claus
ARMS
beige and red – single crochet (make two)
Start with beige
1 – 6 sc in magic ring
Change color to red
2 – 4 Sc around [6]
Fasten off (pic 1)
BODY AND HEAD
black, red, yellow and beige – single crochet
Legs (black) – make two
1 – 8 sc in magic ring
Fasten off, leave a tail for sewing.
Repeat for the second leg, don’t fasten off.
2 – Sc around in back loops only
Continue on the other leg [16] (pic 2).
Body (red, black and yellow)
Change color to red
3 – 5 Sc around [16]
Reinforce the stitches between the legs (pic 3)
6 – (6 sc, dec) x2 in back loops only [14] (pic 4)
7 – (5 sc, dec ) x2 [12]
8 – 2 sc, 2 sc joining the first arm, 5 sc, 2 sc joining the second arm, 1 sc [12] (pic 5)
*fold the opening of the arms and go through both sides when joining them to the body

Head (beige)
9 – (1 sc, inc) around [18]
10 – (2 sc, inc) around [24]
Stuff the body
11 – 13 Sc around [24]
14 – (2 sc, dec) around [18]
Embroider eyelashes and insert safety eyes between rounds 13 and 14, 4 stitches apart (pic 6)
15 – (1 sc, dec) around [12]
Stuff the head (pic 7)
16 – Dec around [6]
Using a tapestry needle, go through the remaining loops and pull to close the opening (pics 8 & 9).
Fasten off.

SKIRT
red – single crochet
Join red yarn into front loops of round 6 of the body (pic1):
1 – (3 sc, inc) around [20] (pic 2)
2 – 3 Sc around [20]
Fasten off.
HAIR
grey – slip stitch, single crochet, half double
crochet and double crochet
Obs.: work looser stitches so the wig can fit easily on the head.
1 – 6 sc in magic ring
2 – Inc in each stitch around [12]
3 – (1 sc, inc) around [18]
4 – 5 Sc around [18]
6 – (1 sc, dec) around [12]
7 – Slst 12
8 – (1 sc, inc) around [18] (pic 3)
9 – (2 sc, inc) around [24]
10 – 12 Sc around
Try on the wig, if it’s too short, add another
round.
13 – 10 sc, 2 hdc, 1 dc, 2 dc in the next stitch, 2 hdc, slst 1, 2 hdc, 2 dc in the next stitch, 1 dc, 2 hdc, slst 1 to close the round (pic 4).
Fasten off.
Stuff the bun.
Glue the wig on Mrs Claus’s head.

APRON
white – chain, slip stitch and double crochet
Obs.: start the round with a fake double crochet to give the apron a cleaner look.
Ch 4
2 dc in the first chain, 2 dc, 2 dc in the last chain (pic 5).
Fasten off.
Strap
Obs.: leave a long tail at the beginning and end of chains to close it later.
Ch 8, slst 4 on the apron chains, ch 8 (pic 6).
Fasten off (pic 7).
Wrap the apron around Mrs Claus’s body andtie a knot
at the back (pic 8).
Tip: add a drop of craft glue so the knot won’t become loose.

PIN
With yellow yarn, embroider a stitch on the neck (pic 9).

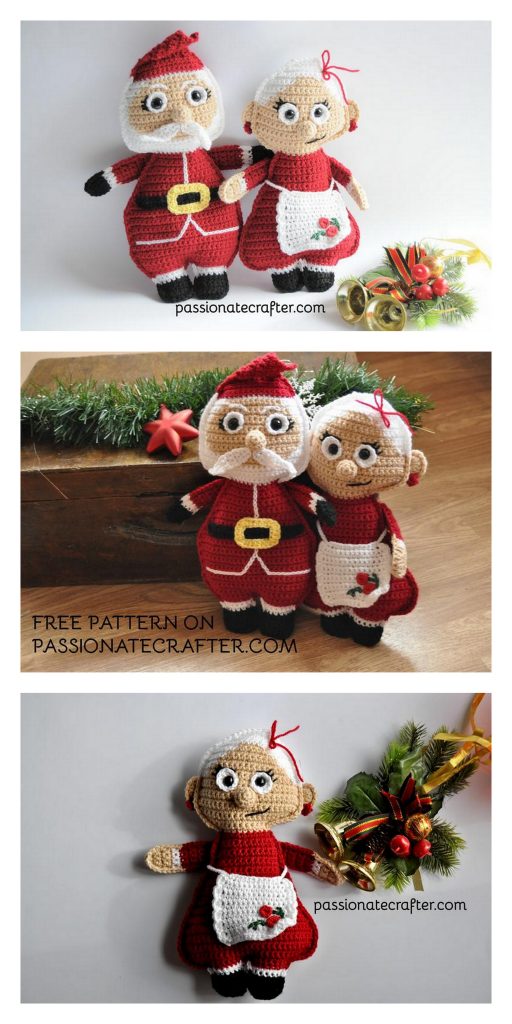
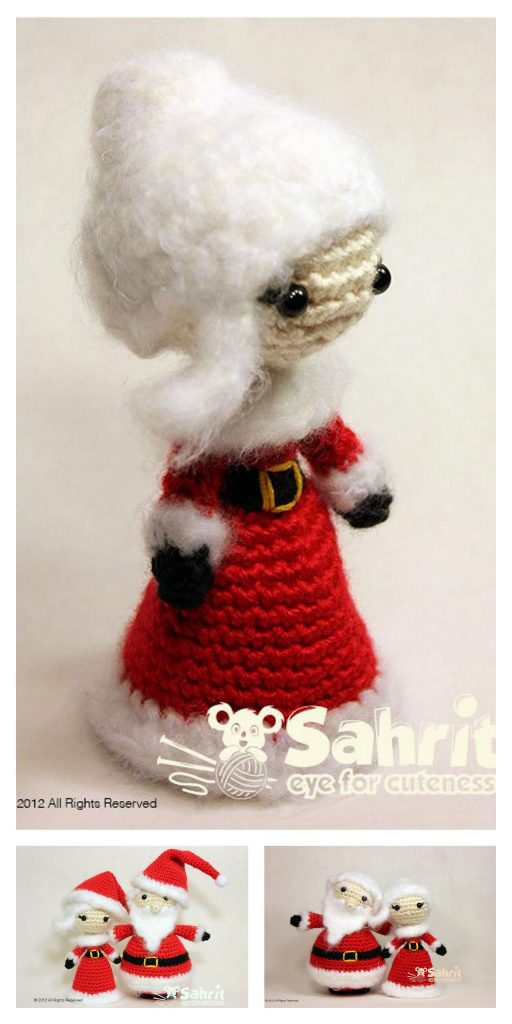
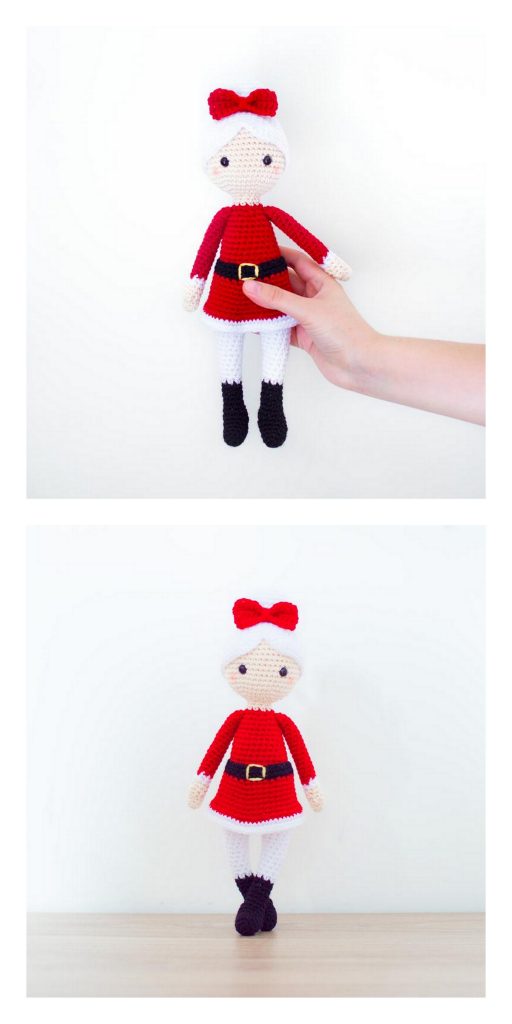
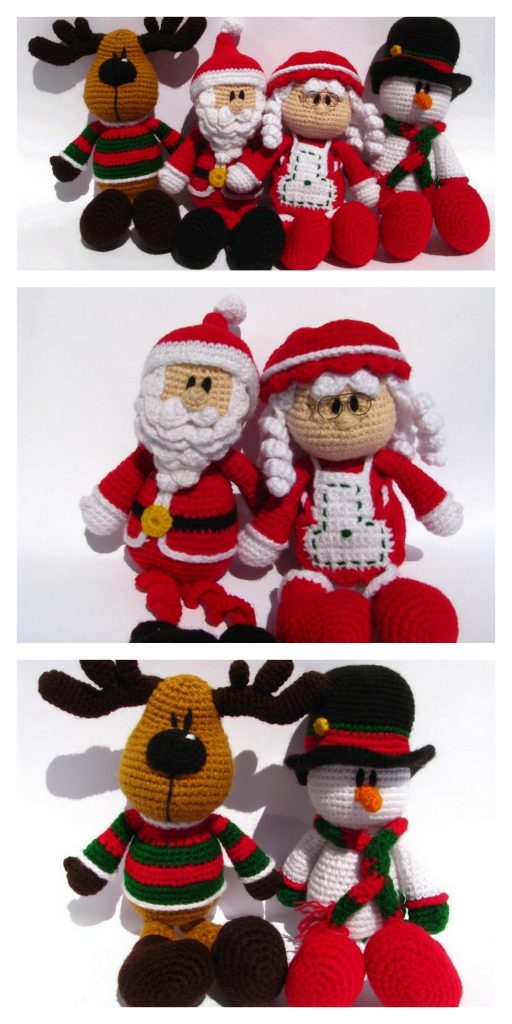
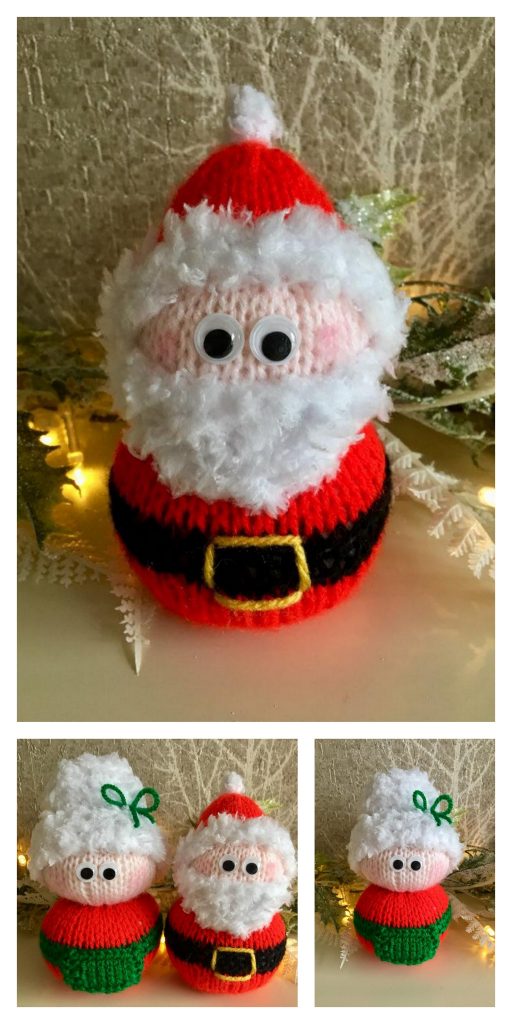
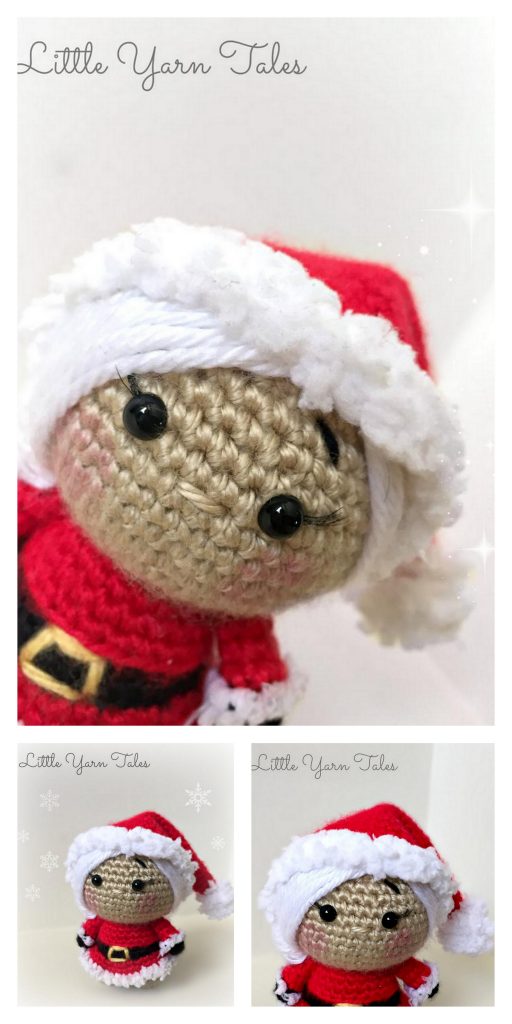
More Amigurumi Santa Claus and Mrs Claus Ideas:

