Hello dear Amigurumi Followers
Today we share one free amigurumi crochet pattern again for you. As you know we share new amigurumi free patterns every day. The main crochets are amigurumi gazelles, amigurumi bears, amigurumi pola, amigurumi pandas, amigurumi penguins, amigurumi giraffes, amigurumi llama, amigurumi pigs, amigurumi bunny, amigurumi clowns, amigurumi lambs, amigurumi bees, amigurumi unicorns, amigurumi dolls, amigurumi foxes, amigurumi penguins, amigurumi dinosaurs, amigurumi elephants, amigurumi hippos, amigurumi monkeys, amigurumi cats, amigurumi dogs and more …
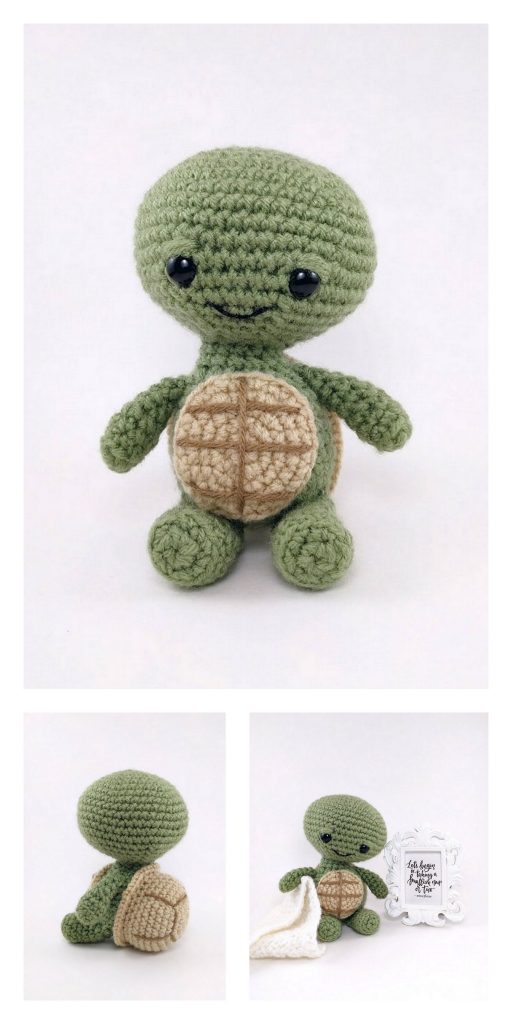
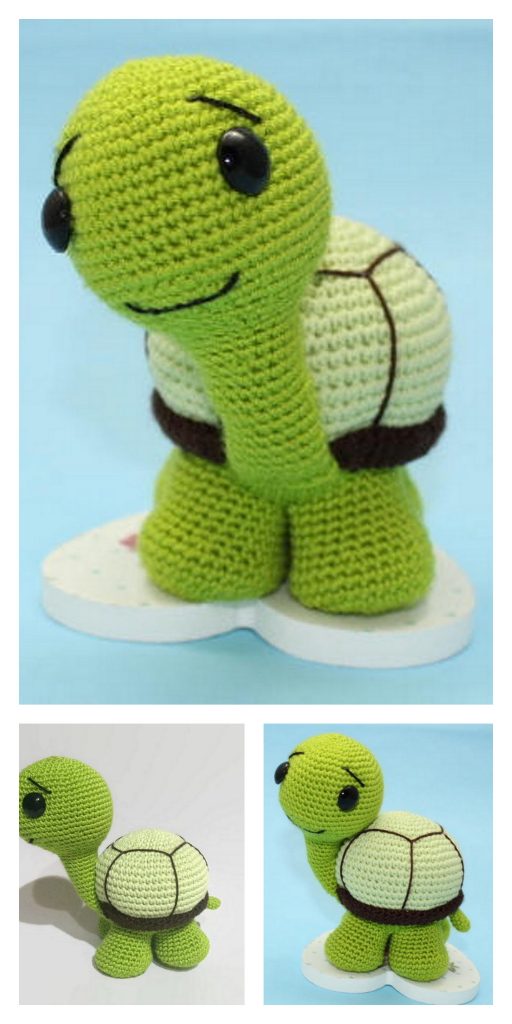
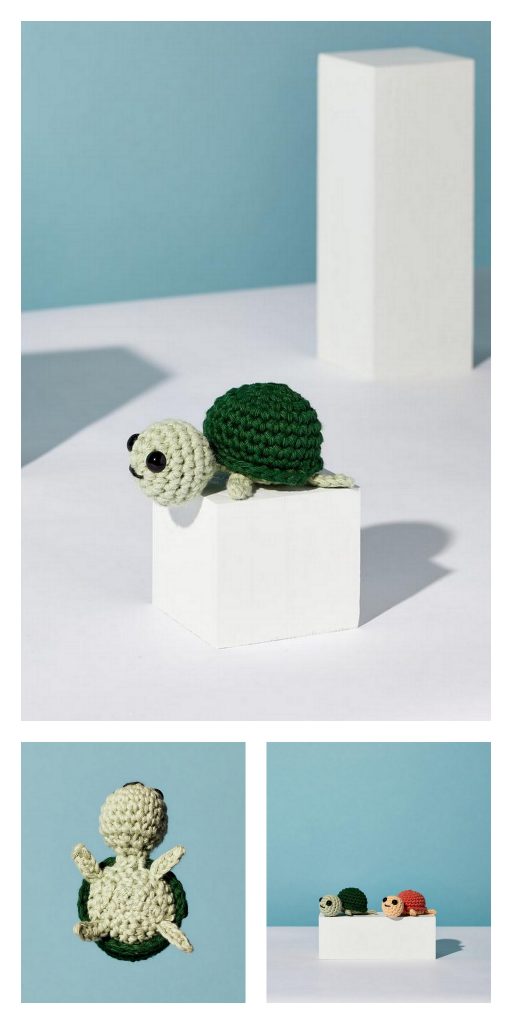
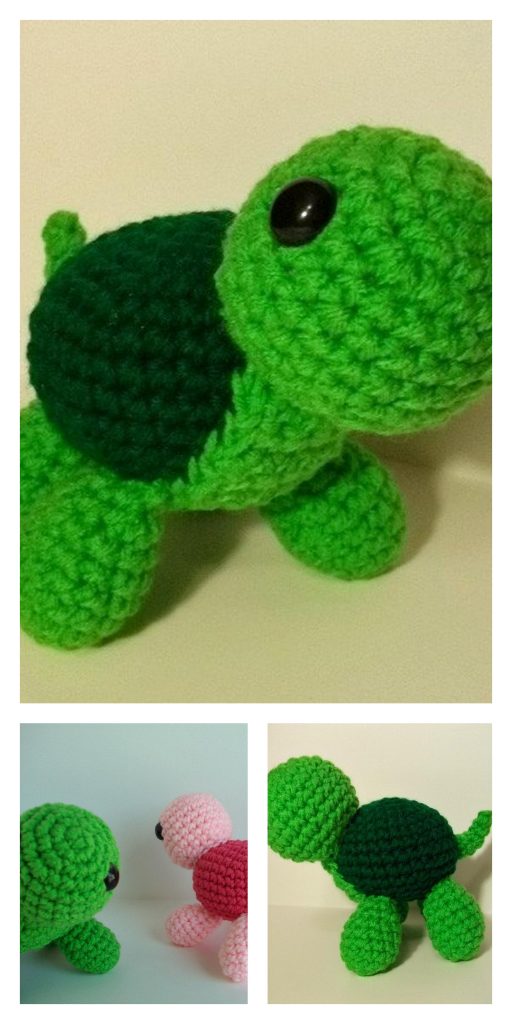
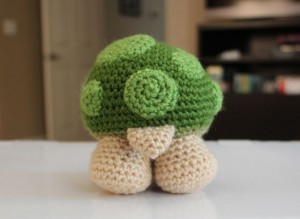
Todays daily new amigurumi free crochet pattern is Amigurumi Little Turtle.
I want to give you some informations about this pattern ;
MATERIALS
- Size USG6/4.00mm crochet hook
- Worsted weight yarn [I used Vanna’s Choice in Beige, Kelly Green(shell), Dusty Green(“belly”), and Fern(polka dots)]
- 9mm safety eyes
- fiber fill
- stitch marker
- yarn needle
ABBREVIATIONS
- st – stitch
- sc – single crochet
- inc – increase (2sc into stitch)
- dec – decrease (sc 2 stitches together)
HEAD
use beige yarn
Rnd 1: 6sc into magic ring
Rnd 2: 2sc into each st [12]
Rnd 3: (sc, inc) repeat around [18]
Rnd 4: sc around [18]
Rnd 5: (2sc, inc) repeat around [24]
Rnd 6: (3sc, inc) repeat around [30]
Rnd 7-10: sc around [30]
Rnd 11: (3sc, dec) repeat around [24]
Rnd 12: (2sc, dec) repeat around [18]

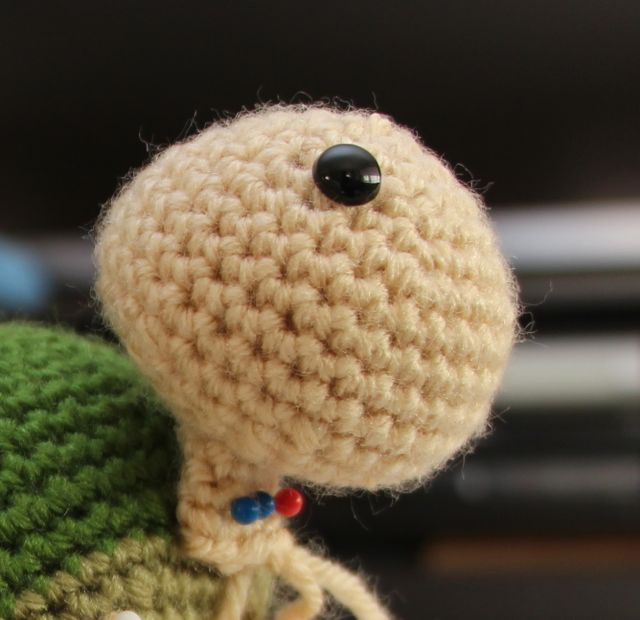
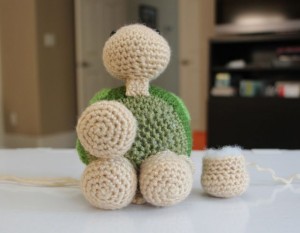
Placement of eyes
**Using my picture as a guide, position your safety eyes and attach the backings at this point. Also start stuffing the head. If you wait until the end, the neck opening will be too small to comfortably stuff the head and it will definitely be too small to attach the backings to the eyes! The head should be stuffed until it is nice and firm but you do not need to stuff the neck at all.**
Rnd 13: (sc, dec) repeat around [12]
Rnd 14: (sc, dec) repeat around [8]
Rnd 15-18: sc around [8]
Leave a long tail for attaching to head
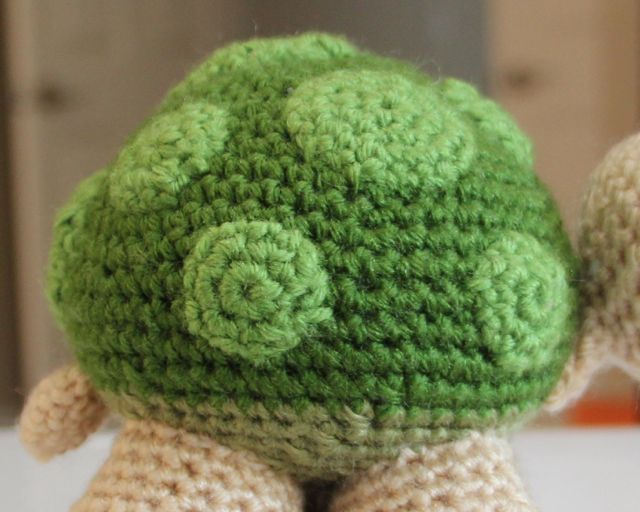
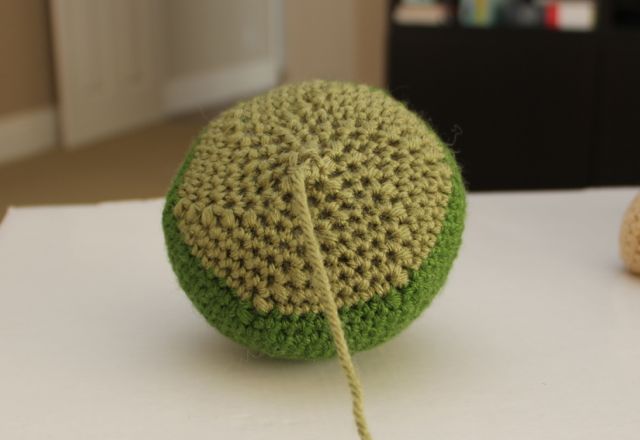
SHELL
The shell is constructed from the top down.
use Kelly Green yarn
Rnd 1: 6sc into magic ring
Rnd 2: 2sc into each stitch [12]
Rnd 3: (sc, inc) repeat around [18]
Rnd 4: (2sc, inc) repeat around [24]
Rnd 5: sc around [24]
Rnd 6: (3sc, inc) repeat around [30]
Rnd 7: (4sc, inc) repeat around [36]
Rnd 8: (5sc, inc) repeat around [42]
Rnd 9: sc around [42]
Rnd 10: (6sc, inc) repeat around [48]
Rnd 11: sc around [48]
Rnd 12: (7sc, inc) repeat around [54]
Rnd 13: sc around [54]
Rnd 14: (8sc, inc) repeat around [60]
Rnd 15-16: sc around [60]
Rnd 17: (8sc, dec) repeat around [54]
Change to Fern yarn color
Rnd 18: (7sc, dec) repeat around [48]
Rnd 19: (6sc, dec) repeat around [42]
Rnd 20: (5sc, dec) repeat around [36]
Rnd 21: (4sc, dec) repeat around [30]
Rnd 22: (3sc, dec) repeat around [24]
Rnd 23: (2sc, dec) repeat around [18]
**Stuff the shell at this point and make sure it is nice and firm before you fasten off your stitches at the end.**
Rnd 24: (sc, dec) repeat around [12]
Rnd 25: (dec) repeat around [6]
Fasten off
FOOT (make 4)
Rnd 1: 6sc into magic ring
Rnd 2: 2sc into each st [12]
Rnd 3: (sc, inc) repeat around [18]
Rnd 4: (2sc, inc) repeat around [24]
Rnd 5-6: sc around [24]
Rnd 7: (2sc, dec) repeat around [18]
Rnd 8-10: sc around [18]
Leave a tail for sewing onto body

TAIL
Rnd 1: 4sc into magic ring
Rnd 2: 2sc into each st [8]
Rnd 3: (sc, inc) repeat around [12]
Rnd 4-5: sc around [12]
Leave a tail for attaching to body
POLKA DOTS (optional)
For my turtle, I made 3 different size polka dots and placed them randomly on the shell.
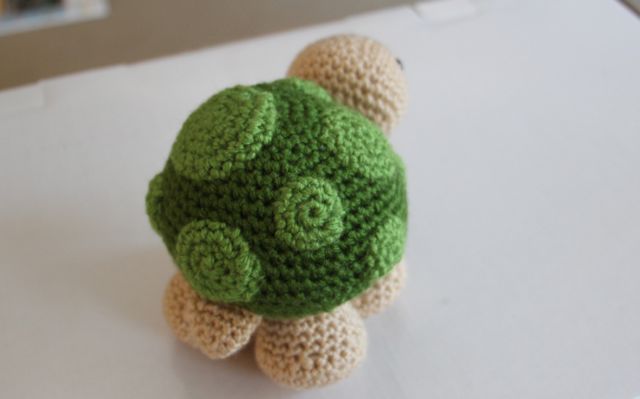
Large Polka Dot (I made one)
- Rnd 1: 6sc into magic ring
- Rnd 2: 2sc into each stitch [12]
- Rnd 3: (sc, inc) repeat around [18]
- Rnd 4: (2sc, inc) repeat around [24]
- Fasten off and leave a long tail for attaching
Medium Polka Dot (I made 3)
- Rnd 1: 6sc into magic ring
- Rnd 2: 2sc into each st [12]
- Rnd 3: (sc, inc) repeat around [18]
- Fasten off and leave a long tail for attaching
Small Polka Dot (I made 5)
- Rnd 1: 6sc into magic ring
- Rnd 2: 2sc into each st [12]
- Fasten off and leave a long tail
ASSEMBLY
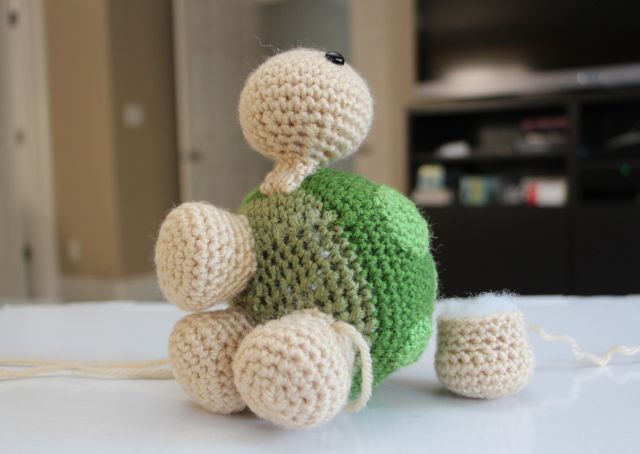
You have already stuffed your turtle’s head and body at this point. Now it is time to attach the two together! First, sew the neck opening closed. Using the above pictures as guides, position the head and neck against the body and pin it into place. You will need to sew the entire back of the neck onto the shell to maintain the upright posture of the head. If you only sew the bottom of the neck in place, the head will be top-heavy and will just fall forward.
After the head is attached to the body, you are ready to attach the feet. Pin each foot in place and make sure they are all symmetrical. One by one, sew each foot to the underside of the shell. Be patient and neat in making your stitches! You want everything to come out smooth and nice!
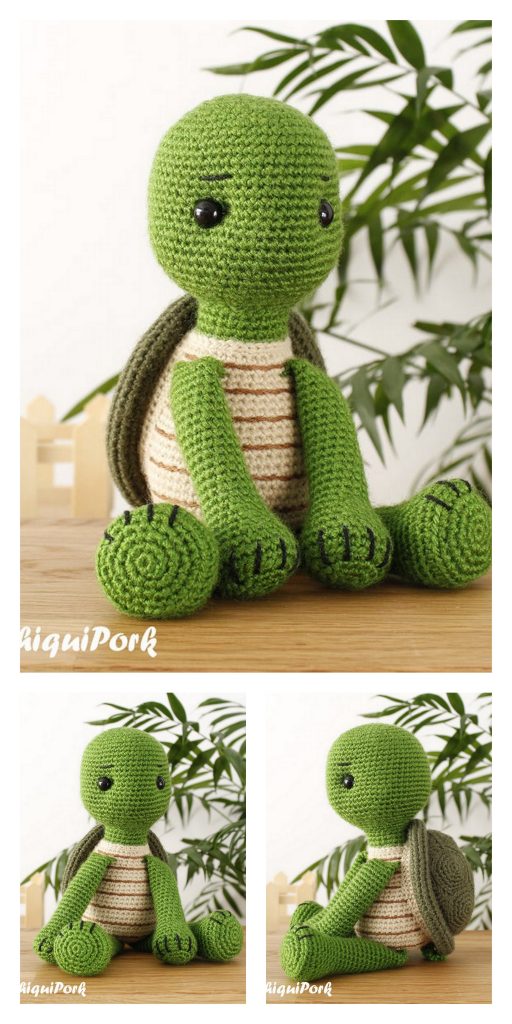
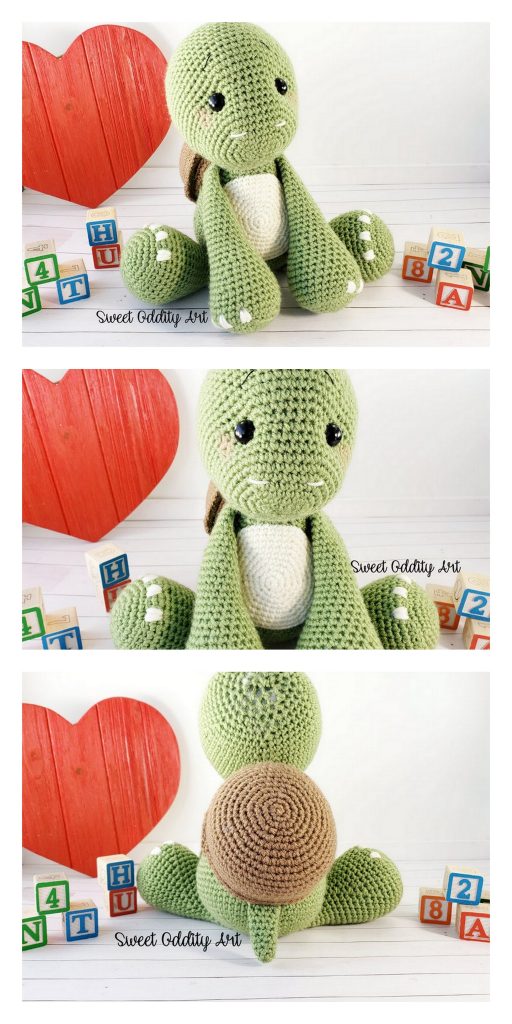
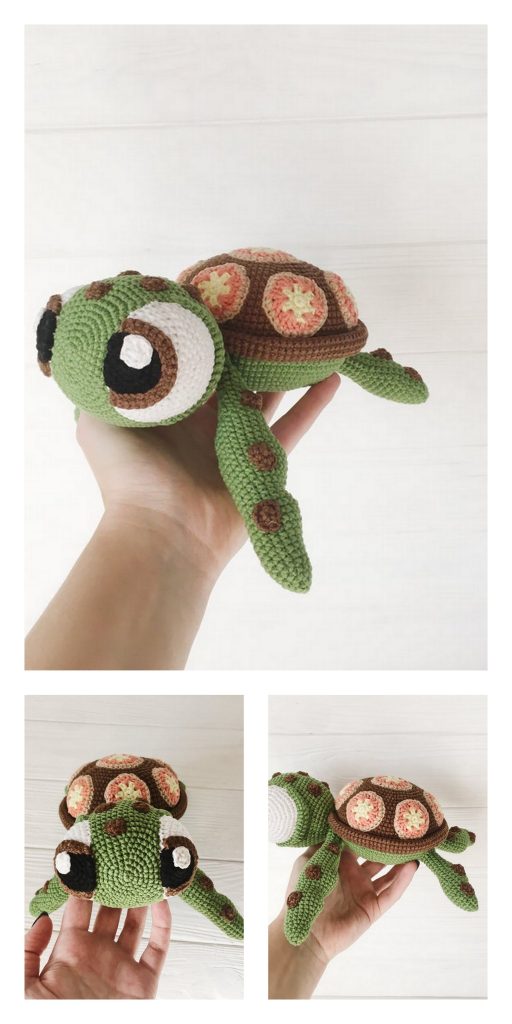
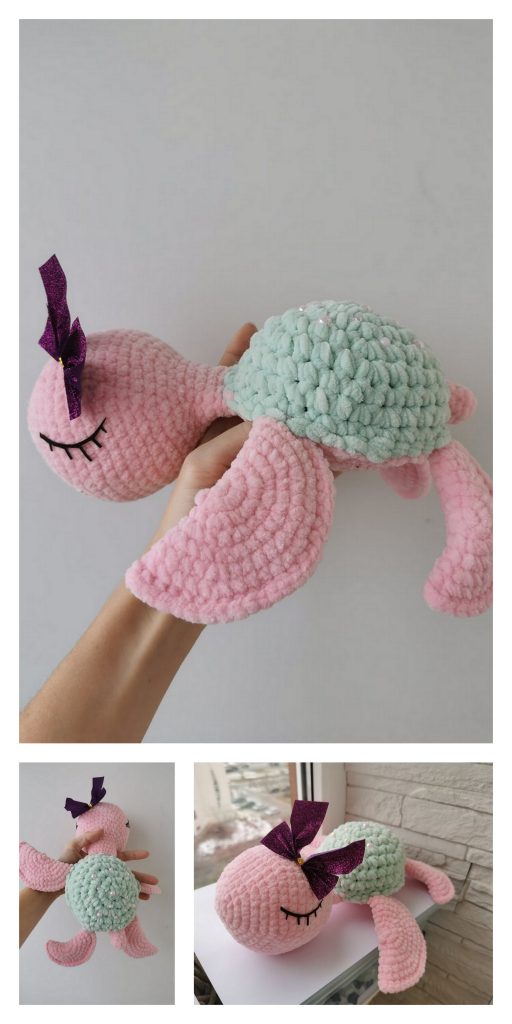
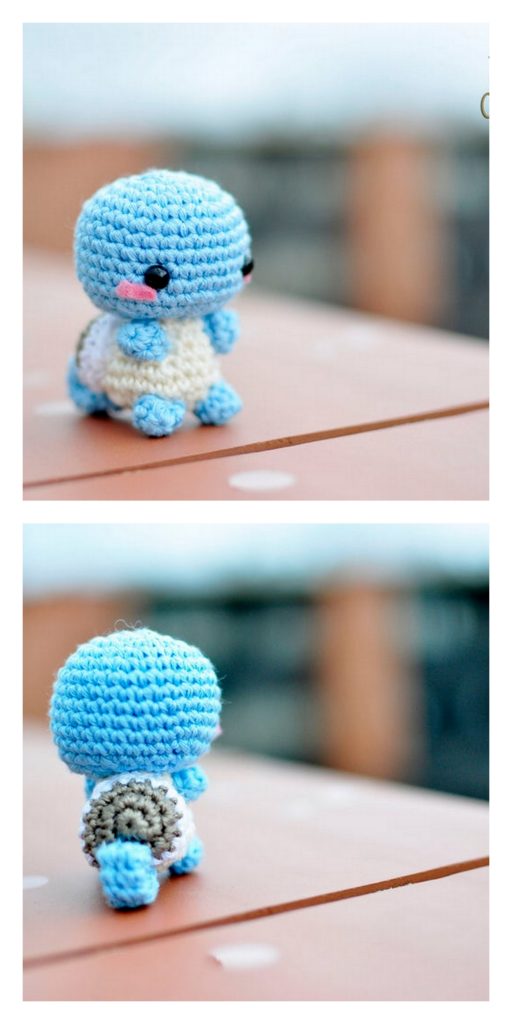
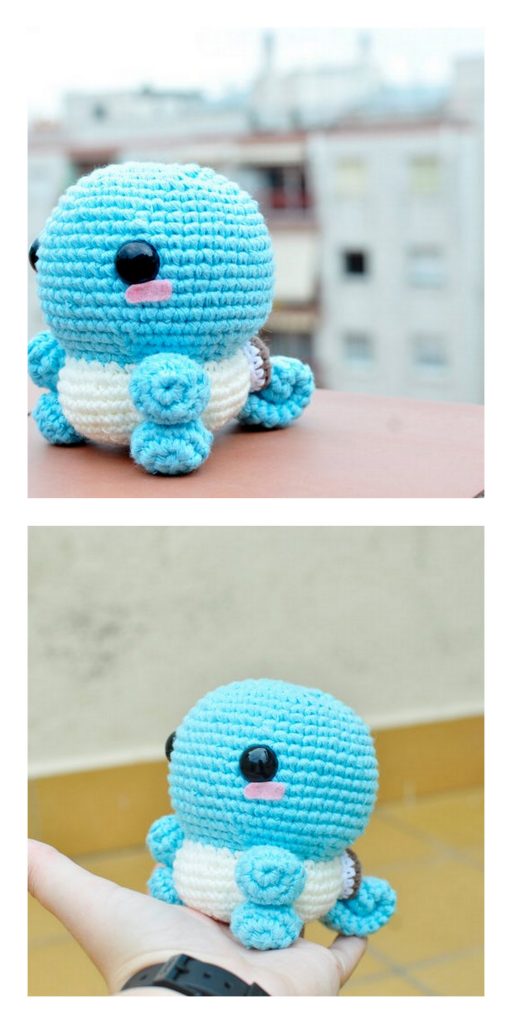
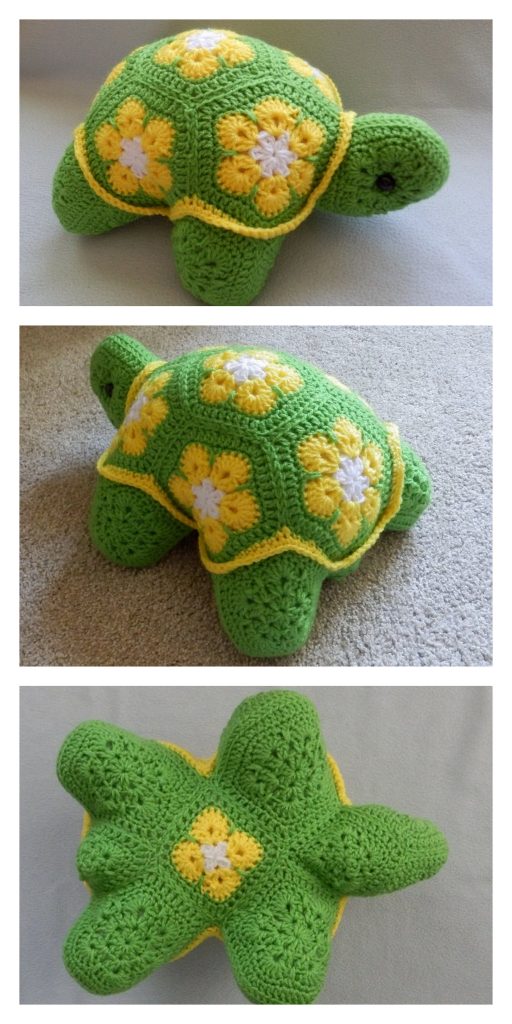
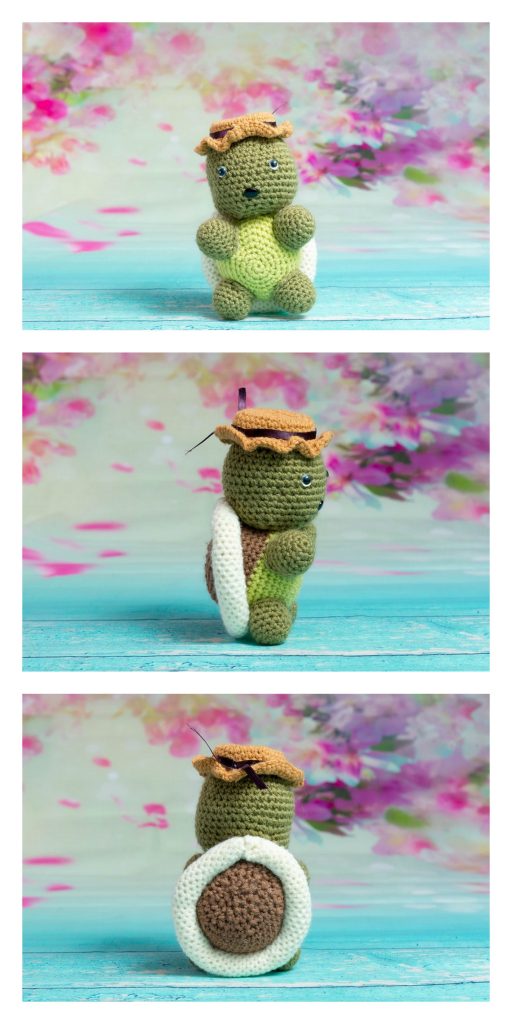
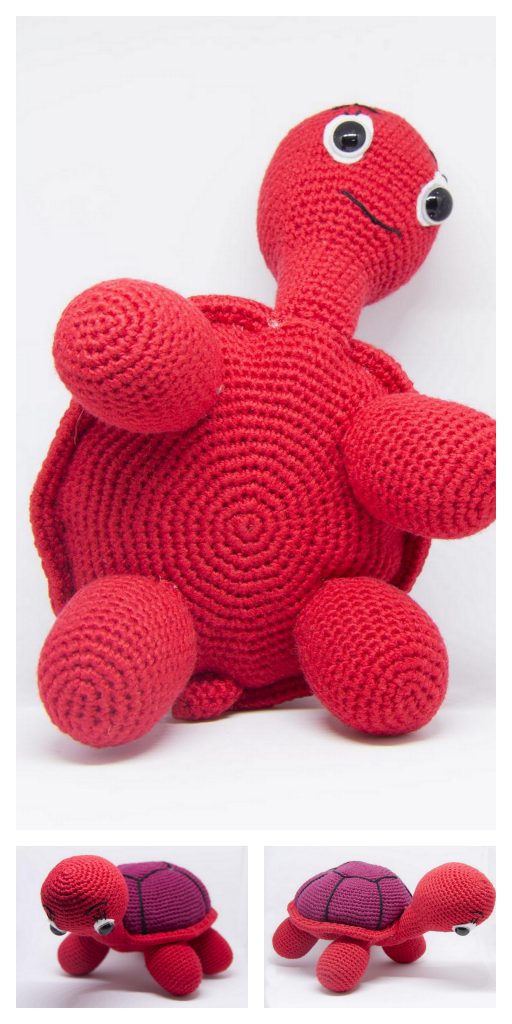
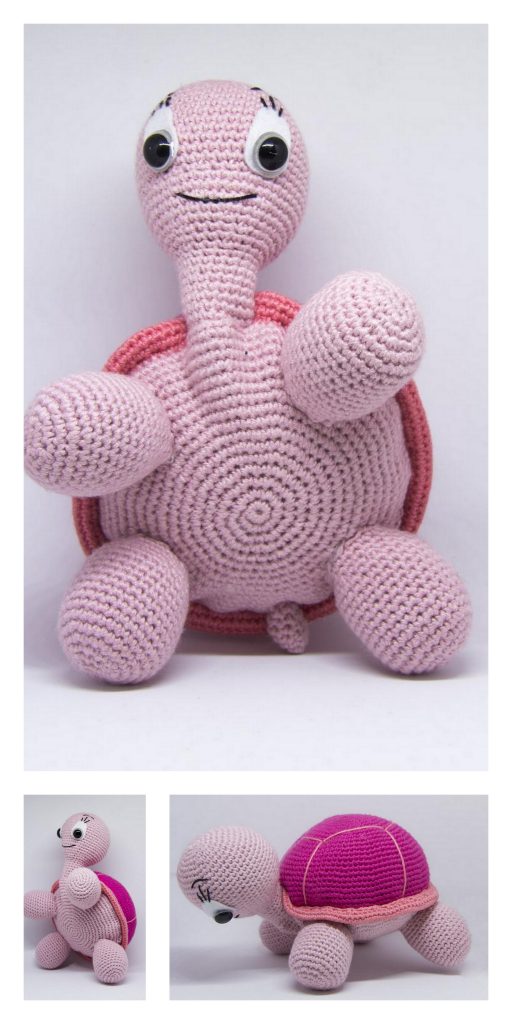
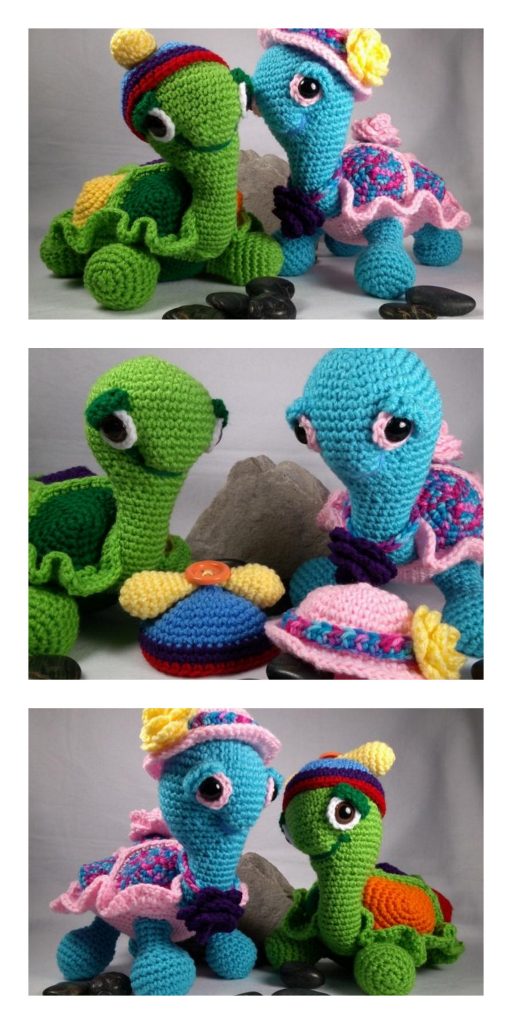
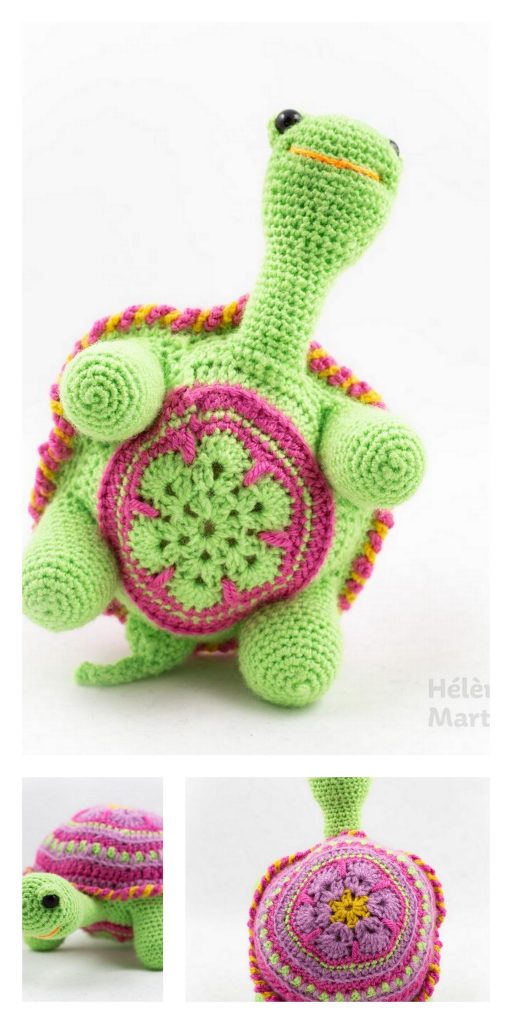
More Amigurumi Turtle Ideas: