Hello dear Amigurumi Followers
Today we share one free amigurumi crochet pattern again for you. As you know we share new amigurumi free patterns every day. The main crochets are amigurumi gazelles, amigurumi bears, amigurumi pola, amigurumi pandas, amigurumi penguins, amigurumi giraffes, amigurumi llama, amigurumi pigs, amigurumi bunny, amigurumi clowns, amigurumi lambs, amigurumi bees, amigurumi unicorns, amigurumi dolls, amigurumi foxes, amigurumi penguins, amigurumi dinosaurs, amigurumi elephants, amigurumi hippos, amigurumi monkeys, amigurumi cats, amigurumi dogs and more …
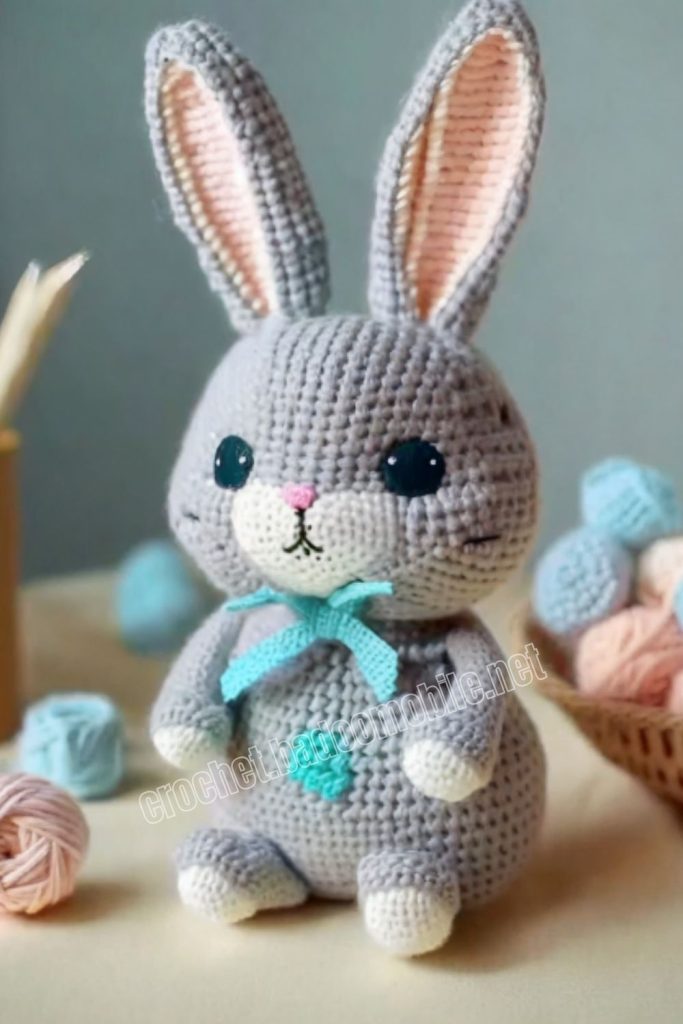
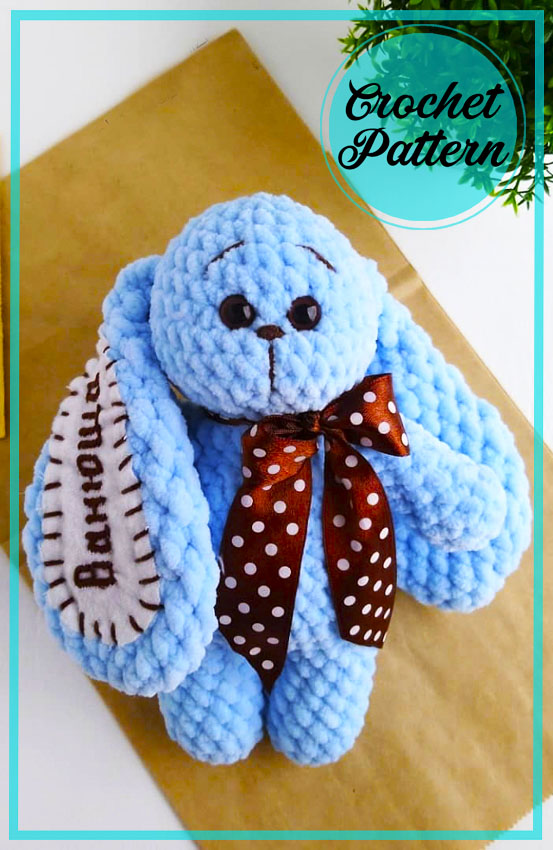
Todays daily new amigurumi free crochet pattern is Amigurumi Velvet Crochet Bunny.
I want to give you some informations about this pattern ;
Necessary materials:
1. Dolphin Baby yarn (1 skein) and some fine yarn to decorate the eyebrows and nose (I have yarn art jeans or floss). And also a thread for sewing and tightening
2. Filler (I have holofiber)
3. Hook number 4, marker
4. Eyes (10 mm) on the secure mount. Cilia (optional)
5. Long needle for tightening and stitching, plush needle, scissors, glue (optional)
6. Ribbon for decoration
Abbreviations
AR – Amigurumi Magic ring
MR – Amigurumi Magic ring
App – application
ll – lift loop
sc : Single Crochet
inc : Increase
dec : Decrease
tr : Triple Crochet/ Treble Crochet
st: Stitch
dc : Double Crochet
hdc: Half Double Crochet
sl-st : Slip Stitch
ch : Chain
..in : make increase into same stitch as many as the number which is given in front of “inc” abbreviation (exp; 3inc, 4inc..).
FLO : Crochet into front loops only
BLO : Crochet into back loops only
BL : Bobble Stitch – do 5dc all in the same stitch and then yarn over and pull through all the loops on your hook (the original loop + 1 loop for each partially completed dc).
Amigurumi Velvet Crochet Bunny Free Pattern:
HANDS (2 parts)
1. MR (6)
2. 6 inc (12)
3. 12 sc
4. 3 sc, 3 dec , 3 sc (9)
5-10. (6 rows) 9 sc
Fill with holofiber.
11. Fold the piece in half and tie 4 sc on both sides (4)
Hide the tip of the thread.
LEGS (2 parts)
1. MR (6)
2. 6 inc (12)
3-8. (6 rows). 12 sc, slst (12)
On the second leg, another 6 sc, and then, without cutting the thread, we knit
BODY
9.1 ch, sc (under the ss of the first leg), 11 sc, sc (under the slst of the first leg), sc (from ch), sc (under the last sc of the second leg), 11 sc, sc (under the last sc), sc (from ch) (27) Here we put a marker.
10. 11 sc, 3 пр, 13 sc (30)
11. 29 sc, inc(31)
12. 29 sc, (4 hdc in one loop)*2 (37)
13. 29 sc, (4 hdc with one top) *2 (31)
This is how the ponytail turned out.
14. 29 sc, dec (30)
15-16. (2 row) 30 sc
17. (3 sc, dec ) *6 (24)
18-19. (2 row) 24 sc
20. (2 sc, dec ) *6 (18)
21. 4 sc, 4 sc (with a hand), 5 sc, 4 sc (with a hand), sc (18)
20-21.(2 row) 18 sc
21. (sc, dec ) *6 (12), slst.
Now we knit the hands
Leave the long end for sewing.
Fill the details with holofiber as you knit.
EARS (2 parts)
We knit the ears with half-columns with a crochet.
1. 6 sc in MR (6)
2. 6 inc from hdc (12)
3. (3 hdc, inc) *3 (15)
4. (4 hdc, inc) *3 (18)
5-8. (4 row) 18 hdc
9. (4 hdc, dec ) *3 (15)
10-11. (2 row) 15 hdc
12. (3 hdc, dec ) *3 (12)
13. 12 hdc
14. ( hdc, dec ) *4 (8)
15-17. (3 row) 8 hdc
18.Fold ear in half and work 4 sc on both sides.
Fasten the thread.
HEAD
1. 6 sc in MR (6)
2. 6 inc (12)
3. (sc, inc) *6 (18)
4. (3 sc, inc) *4, 2 sc (22)
5. sc, (inc, 3 sc) *5, inc (28)
6. 28 sc
It’s time to knit your ears.
7. sc, 4 sc (with an ear), 3 sc, 4 sc (with an ear), (2 sc, inc) *2, 4 sc, (inc, 2 sc) *2 (32)
8. 32 sc
9. dec , 10 sc, dec , 18 sc (30)
10. 30 sc
11 . (3 sc, dec ) *6 (24)
12. (2 sc, dec ) *6 (18)
Insert the eyes between the 6th and 7th rows (these places are marked with needles, just near the check marks), as shown in the photo.
I drip a little glue under the plug for reliability.
☝Cilia look very impressive, but you don’t have to use them.
13. (sc, dec ) *6 (12)
Fill with holofiber more tightly so that the pug turns out with chubby cheeks.
14.6 dec, pull off the hole, hide the tip of the thread
ASSEMBLY and CLEARANCE
Tightening.
From point 1, bring the needle to point 2, then from point 3 to point 4 (make sure that the thread lies UNDER the eye). Repeat this step (1-2-3-4) and tighten. Leaving a tail 10 cm long, cut the thread.
The same is on the other side. Connect the dots (5-6-7-8), make a tightening symmetrical to the first eye. Fasten the tails of the threads with a knot, cut off the excess.
Spout and eyebrows.
From point 1 to point 2, make a few stitches to get a nose, then from point 2, bring the needle to point 3, and from there, pass the thread through the nose and pull up a little. Withdraw the needle from the nose to point 4 to create the eyebrows (4-5-6-7). The eyebrows are ready too. From point 7, bring the thread to the left ponytail, tie and hide.
The pug is ready!
We sew the head to the body, filling its upper part with a tighter filler. For convenience, I insert a knitting needle through the head and body (as in the photo), stitch first with a regular strong thread in two folds, and only then with a plush one, which was left for this.
Notice! Holofiber can also be added through a small hole in the neck while it is open. Filled evenly, sewn up.
CONGRATULATIONS!
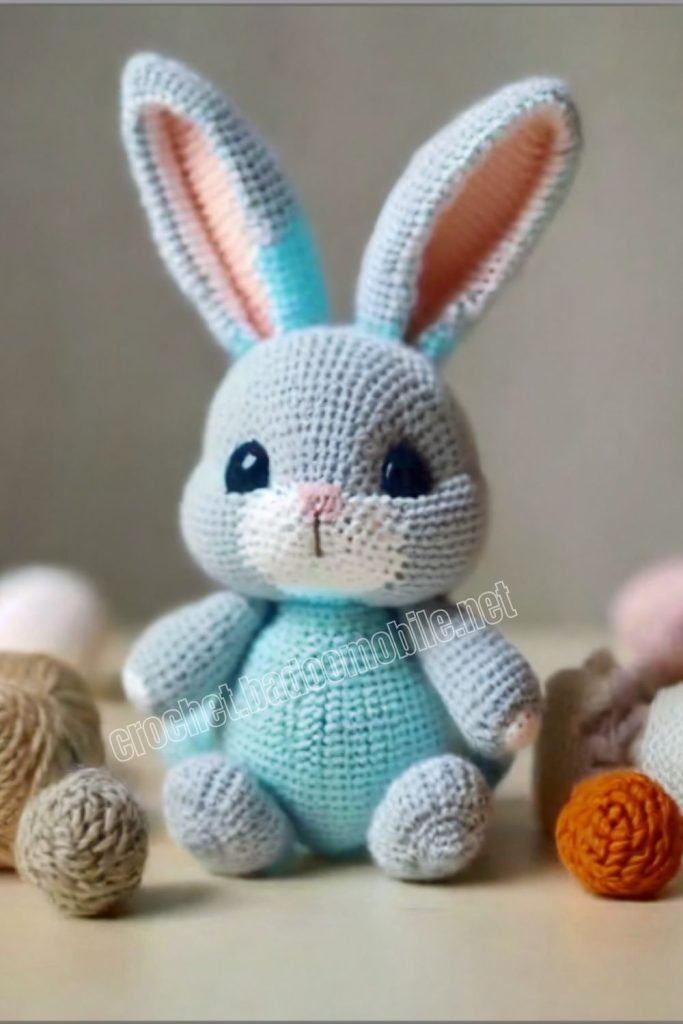
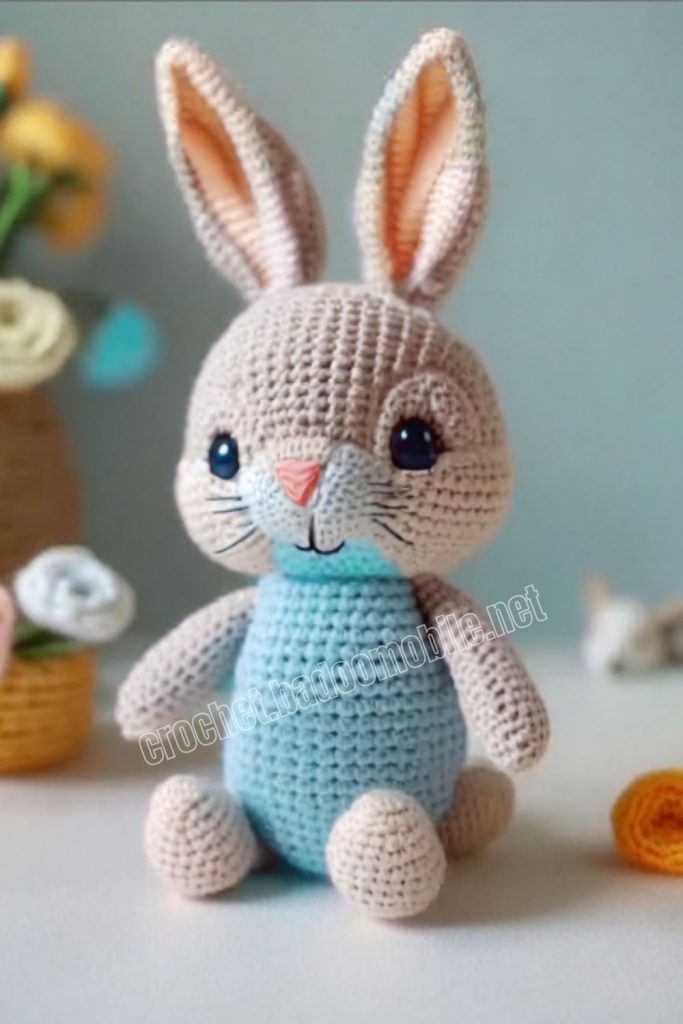
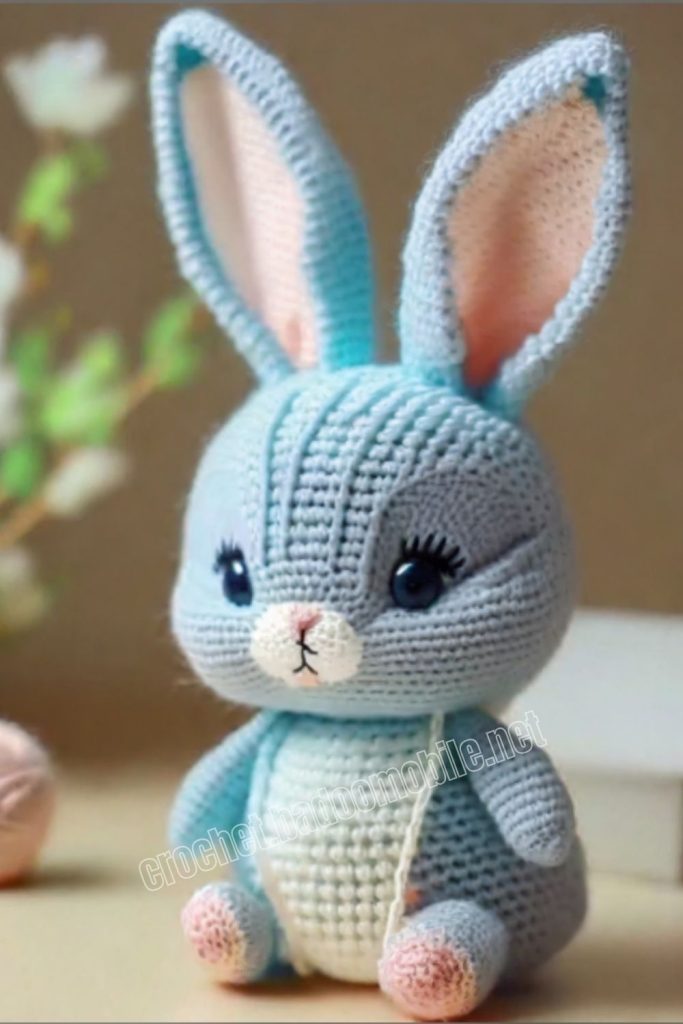
More Amigurumi Bunny Ideas: