Hello dear Amigurumi Followers
Today we share one free amigurumi crochet pattern again for you. As you know we share new amigurumi free patterns every day. The main crochets are amigurumi gazelles, amigurumi bears, amigurumi pola, amigurumi pandas, amigurumi penguins, amigurumi giraffes, amigurumi llama, amigurumi pigs, amigurumi bunny, amigurumi clowns, amigurumi lambs, amigurumi bees, amigurumi unicorns, amigurumi dolls, amigurumi foxes, amigurumi penguins, amigurumi dinosaurs, amigurumi elephants, amigurumi hippos, amigurumi monkeys, amigurumi cats, amigurumi dogs and more …
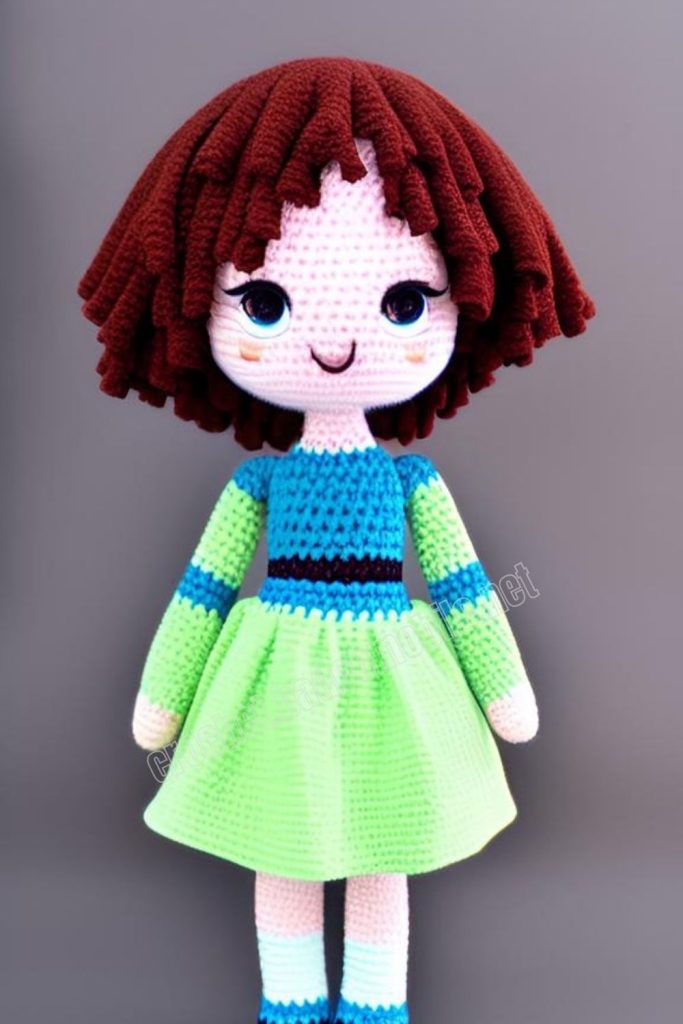
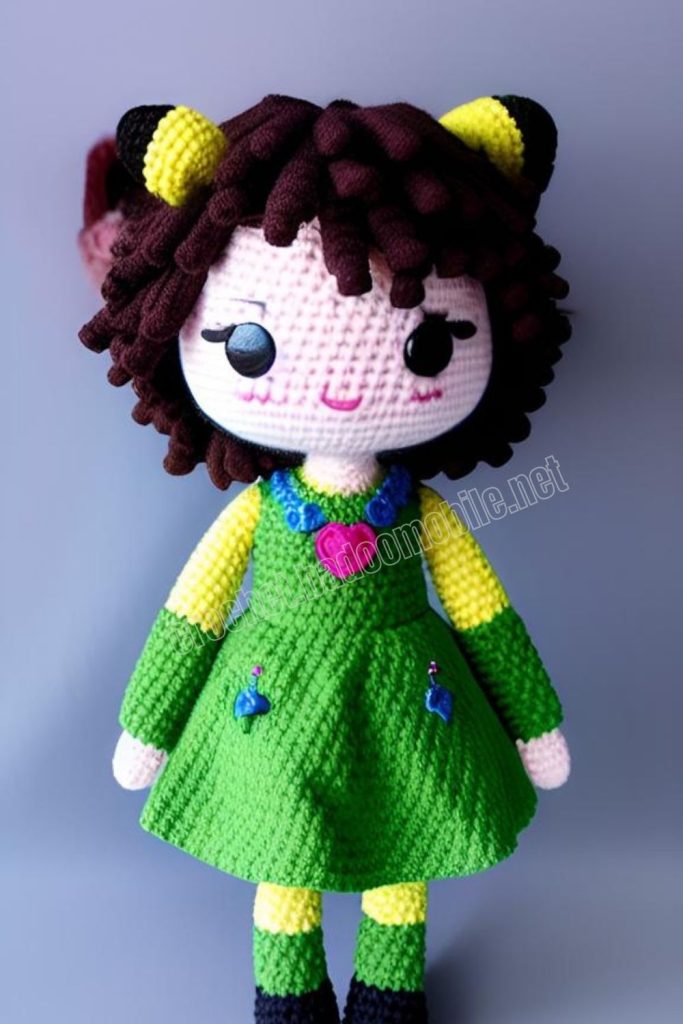
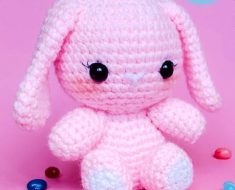
Todays daily new amigurumi free crochet pattern is Amigurumi Hailey Doll.
I want to give you some informations about this pattern ;

Materials
Hook of appropriate size
Yarn of your choice
Safety eyes (7mm)
Buttons (6mm)
Stitch markers
Embroidery thread and needle
Darning needle
Pins
Fabric glue (optional)
YARN ART JEANS with 1.80mm hook in the following colors:
Colour code : 07
Colour code : 01
Colour code : 90
Colour code : 69
Abbreviations
MR – magic ring
sc – single crochet
hdc – half double crochet
dc – double crochet
tr – treble crochet
inc/dec – increase/decrease
CC – color change
FO – cut yarn and finish off
Slst – slip stitch
picot – sc, (ch3, slst in 2nd
ch from hook) sc in the
same stitch
Sk st – skip stitch
FLO – front loop only
()* – repeat instructions those many times
SIZE: If you use all the above mentioned materials, Hailey will be 5 inches tall
Amigurumi Hailey Doll Free Pattern:
Arms (Make 2 in brown)
R1 7sc in MR (7)
R2-3 sc in every stitch (7)
R4 3sc, inc, 3sc (8)
R5-9 sc in every stitch (8)
Stuff lightly (if required)
FO and leave a long tail to sew

Legs (Make 2 in brown)
Right leg (start with white)
R1 8sc in MR 8
R2 sc in every stitch 8
R3 CC to brown, 8sc 8
R4 4sc, inc, 3sc 9
R5 4sc, 2inc, 3sc 11
R6 4sc, (sc,inc)*2, 3sc 13
R7 4sc, (2sc, inc)*2, 3sc 15
Left leg (start with white)
R1 – R3: same as
Right leg
R4 3sc, inc, 4sc 9
R5 3sc, 2inc, 4sc 11
R6 3sc, (inc, sc)*2, 4sc 13
R7 3sc, (inc, 2sc)*2, 4sc 15
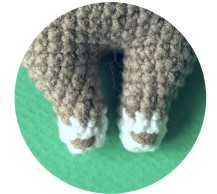
Embroider the legs in main color yarn (refer to the adjacent figure)
FO and weave in the ends for the first leg. Do not cut the yarn after making the second leg. Ch 2 and continue with the body.
Body
Join the Ch2 on the Left leg to the Right with a sc. This will count as 1st stitch on R8. Place your stitch marker on this stitch.
Make sure the increases are on the outer side when you join.
R8. 14sc on right leg, 2sc on ch2, 15sc on left leg, 2sc on ch2(1+33)
R9-11. sc in every stitch (34)
Stuff the legs
R12. 8sc, dec, 15sc,dec,7sc (32)
R13. (6sc,dec)*4 (28)
R14-15. sc in every stitch (28)
R16. (5sc,dec)*4 (24)
R17. Sc in every stitch (24)
R18. (2sc,dec)*6 (18)

We will crochet the next row along with the arms.
Make sure you pinch the arm and work through both sides. Use the yarn tail to close up any holes (if any) that can be seen at the seam.
If there are no holes, secure the yarn tail from the arms and FO
R19. 4sc, 3sc (with arm), 6sc, 3sc (with arm), 2sc (18)
Stuff the body
Head
R20. (2sc, inc)*6 (24)
R21. (2sc, inc)*8 (32)
R22. (3sc, inc)*8 (40)
R23. (7sc, inc)*5 (45)
R24-31. sc in every stitch (8 rounds) (45)
R32. (7sc, dec)*5 (40)
R33. (3sc, dec)*8 (32)
Stuff the head firmly
R34. (2sc, dec)*8 (24)
R35. (sc, dec)*8 (16)
R36. 8 dec (8)

Using white embroidery thread, make some “icing” around the head (R28-30) and around the arms (R2-3).
The Wrapped backstitch gives best results.
Place the eyes between R26 and 27, 6 visible stitches apart.
Embroider around the eyes and the eyebrows in white.
Hair(Make 2 in white)
Ch 9, start from 2nd ch from hook (make 2)
R1-9 BLO sc in every stitch, ch1 and turn (8)
Do not cut yarn.
Turn your work and make 4 slst evenly across the 9 rows on both the pieces This will help give shape to make a ponytail.

We will now crochet the pony tails on both rectangular pieces.
Ch 6 on the last slst. start from the 2nd ch on hook, 5sc, slst in same stitch)*4. Repeat on all 4 slst

Hair(contd)
Ch6, start from 2nd ch on hook, 1sc,1hdc,1dc,1hdc,1sc,
Continue from here with another ch6. Repeat the above stitches.
slst into the last st of the first ch6. Leave a long tail and FO

Time to make some hair accessories!
Using green, (Make 2)
Make a MR. (ch2, 4hdc in the MR, ch2, slst into the MR)*2
Close the MR tight. Leave a long tail and cut it
Use the long tail to wrap around the center and tie tightly to create a bow.
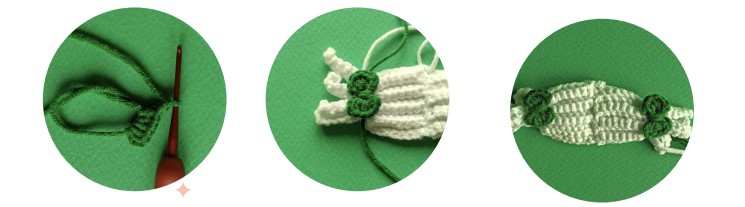
Tie this bow around the “ponytail” tightly. Weave and Finish off excess yarn.
Place the hair piece evenly across the center of the head.
Dress
Ch 25. Start next row from 2nd ch from hook, Start with green
R1. 2sc, inc, ch6 sk 4sts, 10sc, ch6, sk 4 sts, 2sc, inc ch1 and turn (30)
R2-3. Sc in every stitch, ch1 and turn (30)
Join with sc to the 1st st of R3. Continue in rounds.
R4. FLO (4sc, inc)* 6 (36)

We will alternate between green and white yarn for rows 5-8. (Refer to the colour chart below)
R5. (1sc, 3sc)*9 (36)
R6. Sc in every stitch (36)
R7. 2sc, 1sc, (3sc, 1sc)*8, 1sc (36)
R8. Sc in every stitch (36)
R9. CC to Red (Slst in next st, ch3 picot, slst in next st)*18 (8 picots)

Attach red yarn to the collar of the dress between the sleeves
(slst, ch2 picot, slst in next st)*4

Sew a small button on one free end on the back. Attach red yarn to the other free end. Make a button loop using ch7 or more (based on the size of your button)
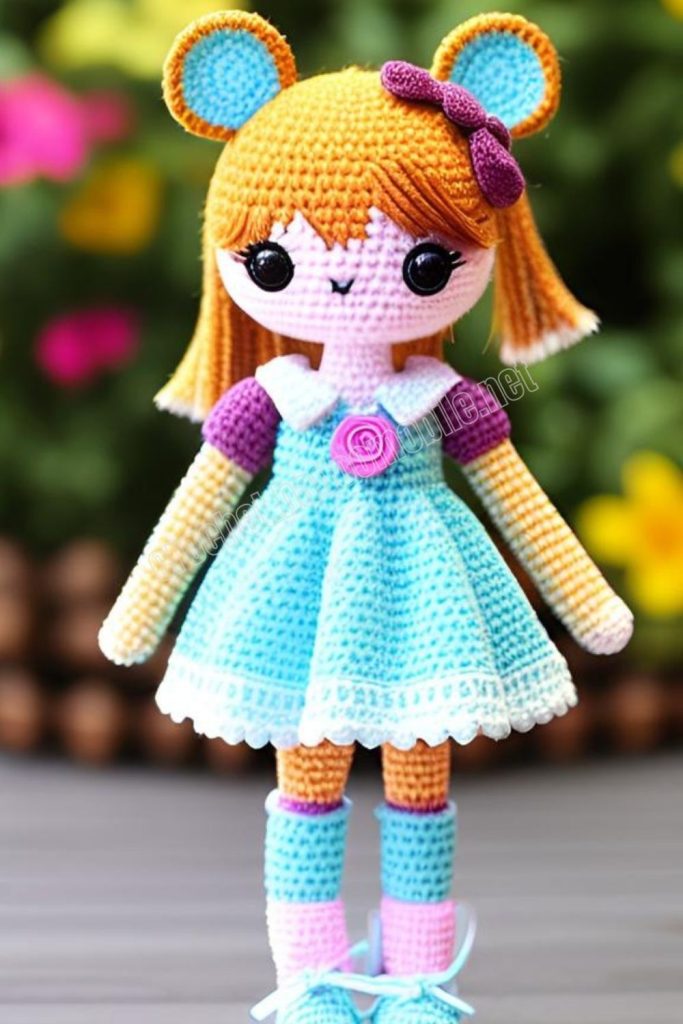
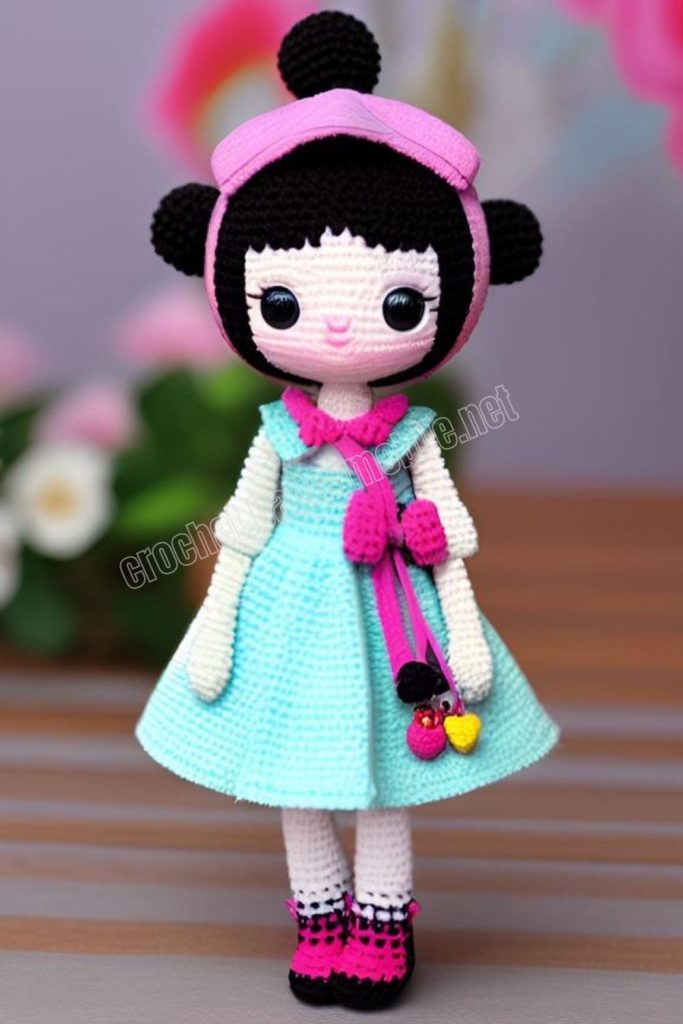
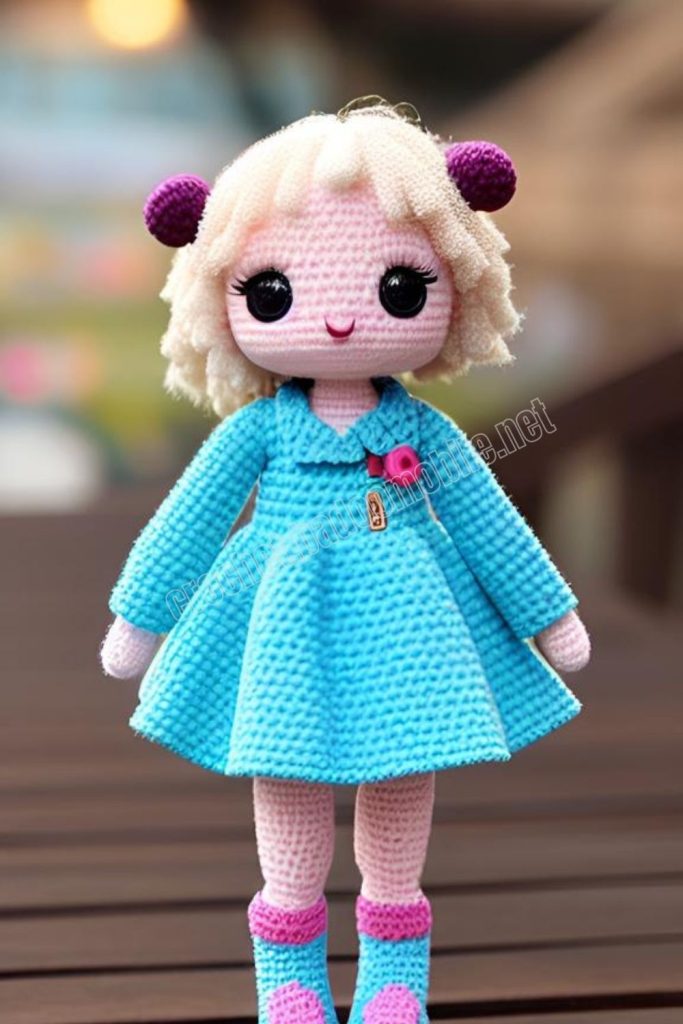
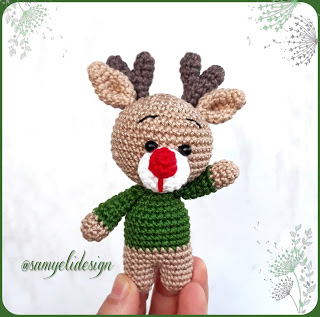
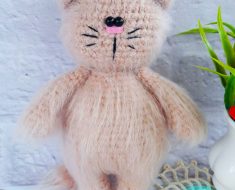
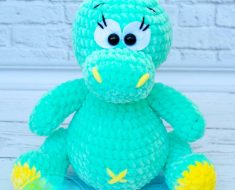
More Amigurumi Doll Ideas: