Hello dear Amigurumi Followers
Today we share one free amigurumi crochet pattern again for you. As you know we share new amigurumi free patterns every day. The main crochets are amigurumi gazelles, amigurumi bears, amigurumi polar bears, amigurumi pandas, amigurumi penguins, amigurumi giraffes, amigurumi llama, amigurumi pigs, amigurumi bunny, amigurumi clowns, amigurumi lambs, amigurumi bees, amigurumi unicorns, amigurumi dolls, amigurumi foxes, amigurumi penguins, amigurumi dinosaurs, amigurumi elephants, amigurumi hippos, amigurumi monkeys, amigurumi cats, amigurumi dogs and more …
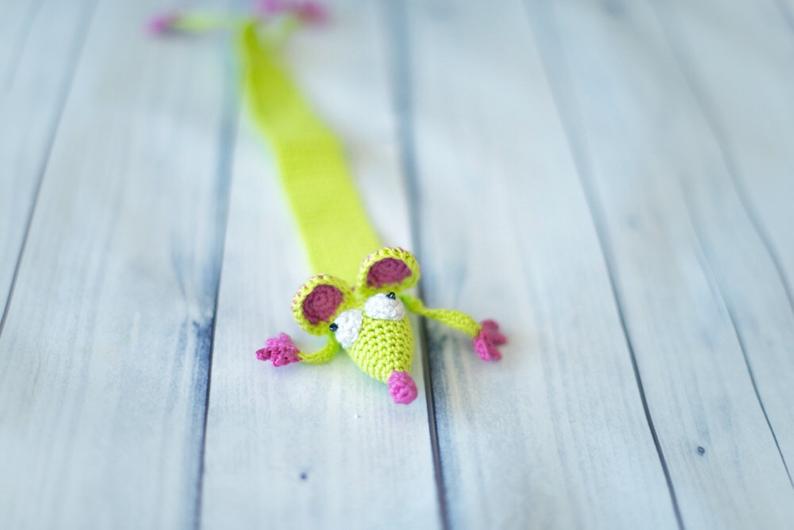
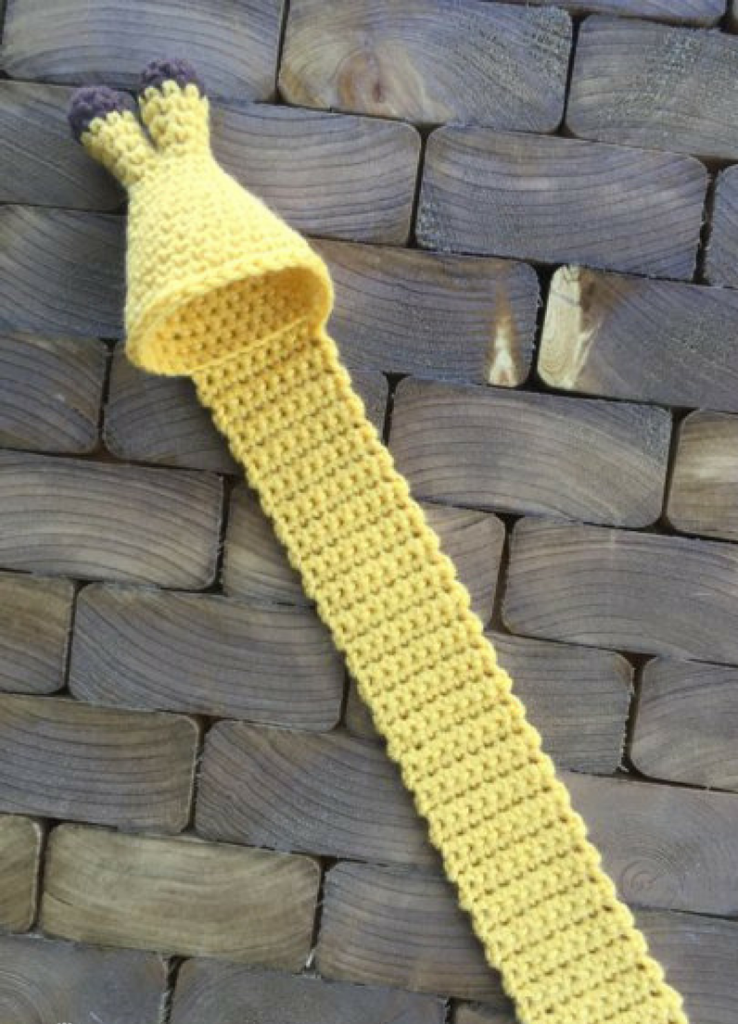
Todays daily new amigurumi free crochet pattern is Amigurumi Giraffe Bookmark.
I want to give you some informations about this pattern ;
MATERIALS:
Size G (4mm) crochet hook
Stitch marker
Brown worsted weight yarn
Yellow worsted weight yarn
Cream worsted weight yarn
Black yarn (just enough for the detail)
Two buttons for eyes (or safety eyes if for a child)
Upholstery needle
Polyfill (or extra yarn as stuffing)
My Amazon Picks
NOTES:
*Work in a spiral, do NOT join at the end of each round
*Use your stitch marker to note the beginning stitch of each row
*Use Invisible Decrease for prettier sc2tog
GIRAFFE PATTERN
Antennas
***using brown yarn***
Round 1: Magic circle, 4sc in circle (4)
Round 2: 2sc in each st around (8)
Round 3: sc in each st around (8)
***switch to yellow yarn***
Rounds 4 – 5: sc in each st around (8)
Round 6: sc2tog, sc in next 2 sts, sc2tog, sc in next 2 sts (6)
Round 7: sc in each st around (6)
Fasten off first and start on second antenna. When finished with second, do not fasten off. Instead, continue on…

Head
Round 8: attach to first antenna with sc, carefully sc around both antennas (12)
Round 9: sc in next 3 sts, 2sc in next, sc in next 5 sts, 2sc in next, sc in next 2 sts (14)
***add a bit of stuffing to antennas***
Round 10: sc in each st around (14)
Round 11: sc in next 2 sts, 2sc in next, sc in next 2 sts, 2sc in next, sc in next 3 sts, 2sc in next, sc in next 2 sts, 2sc in next, sc in last (18)
Round 12: sc in each st around (18)
Round 13: sc in next 2 sts, 2sc in next, sc in next 4 sts, 2sc in next, sc in next 3 sts, 2sc in next, sc in next 4 sts, 2sc in next, sc in last (22)
Round 14 & 15: sc in each st around (22)
***if using safety eyes, add them in row 16, about 4 sts apart***
Round 16: sc in next 3 sts, 2sc in next, sc in next 5 sts, 2sc in next, sc in next 4 sts, 2sc in next, sc in next 5 sts, 2sc in next, sc in last (26)
Round 17: sc in next 9 sts, 2sc in next, sc in next 12 sts, 2sc n next, sc in next 3 sts (28)
Round 18: sc in each st around (28)
Round 19: sc in next 7 sts, 2sc in next, sc in next 5 sts, 2sc in next, sc in next 6 sts, 2sc in next, sc in next 5 sts, 2sc in next, sc in last (32)
Round 20: sc in each st around (32)
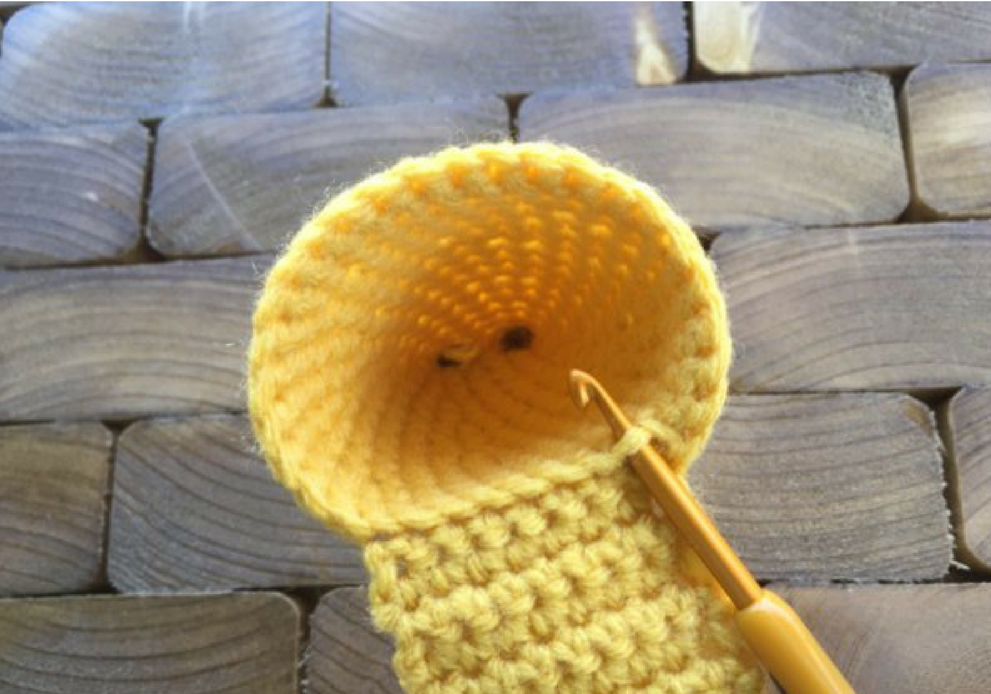
***see photo depicting this area before moving on, you want the next 8 sts to be centered along the back***
The next portion will become the bookmark itself…
Round 21: sc in FLO of next 8 sts
Row 22: Ch-1, turn. Sc in each to end (8)
STRAP rows 23 – 72 (or until about 9” long): Ch-1, turn. Sc in each st across.
Fasten off and weave in ends, then start on the rest of the head below.
To finish up the face…
Reattach yellow yarn using sc in the BLO of that first st from row 21. Sc in blo of the 8 sts that make up the strap (as pictured) and then in both loops of each st around. DO NOT JOIN

***switch to cream yarn***
Row 23 & 24: sc in each st around (32)
Row 25: sc2tog, sc in next 3 sts, sc2tog, sc in next 3 sts, sc2tog, sc in next 3 sts, sc2tog, sc in next 5 sts, sc2tog, sc in next 3 sts, sc2tog, sc in next 3 sts (26)
Row 26: sc2tog, sc in next 2 sts, sc2tog in next, sc in next 2 sts, sc2tog, sc in next 2 sts, sc2tog, sc in next 2 sts, sc2tog, sc in next 2 sts, sc2tog, sc in next 2 sts, sc2tog (19)
Row 27: sc in next st, sc2tog, sc in next st, sc2tog, sc in next st, sc2tog, sc in next st, sc2tog, sc in next st, sc2tog, sc in next st, sc2tog, sc in next st (13)
***add stuffing***
Row 28: sc2tog 6 times, sc in last.
Fasten off leaving long tail, sew the nose closed carefully and as seamlessly as possible.

Take your time with the bottom of the nose if needed. Just a few stitches and she’ll be closed right up.
Ears (make two):
***using yellow yarn***
Round 1: Magic circle, 4sc in circle (4)
Round 2: 2sc in next st, sc in next, 2sc in next st, sc in next (6)
Round 3: *sc in first st, 2sc in next* repeat 2 times (9)
Round 4: sc in each st around (9)
Round 5: 2sc in next 5 sts, sc in next 4 sts (14)
Round 6: sc in each st around (14)
Round 7: sc in first 2 sts, 2sc in next 4 sts, sc in next 8 sts (18)
Round 8: sc2tog in each st around (9)
Rounds 9 & 10: sc in each st around (9)
***fold ears in half to mirror one another and sew onto head**
Tail:
Ch-7, sl st in second ch from hook and in next 5 sts. Fasten off and add to center of bookmark bottom. Add a bit of black yarn to the end, then brush it out (a wire pet brush works great) to make it a fuzzy tail.
Take a bit of black yarn and make two X’s for nostrils. If you like, take a bit of brown felt and cut asymmetrical “spots”. Then use fabric glue (and/or a few stitches with needle and thread) to keep them in place. You.are.done!

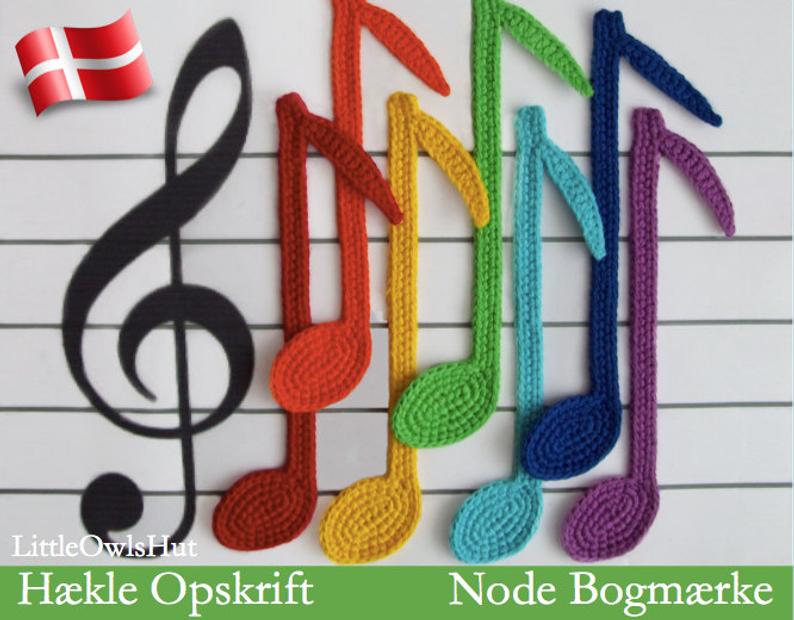
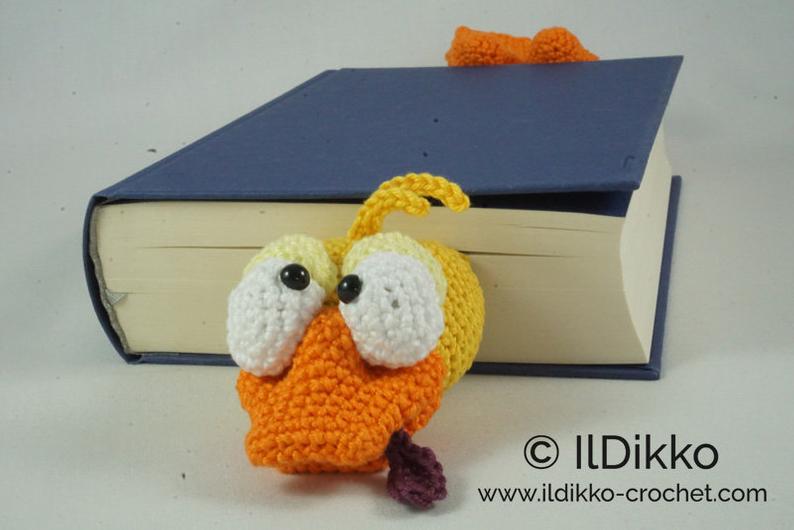
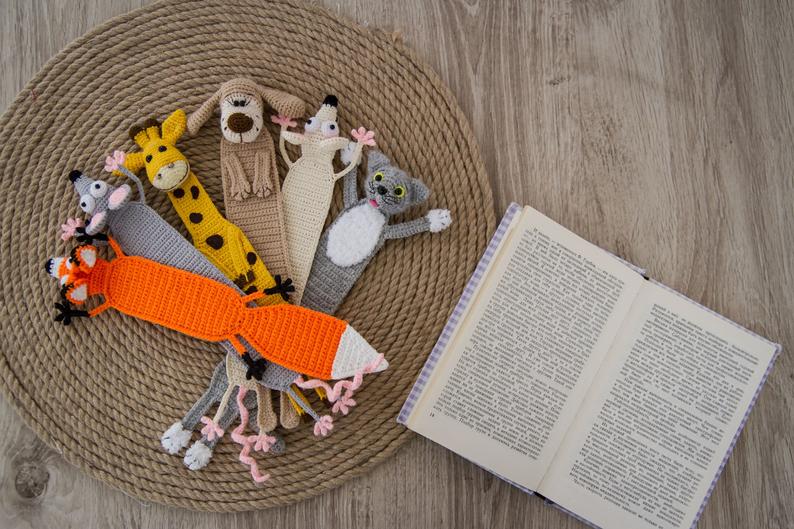
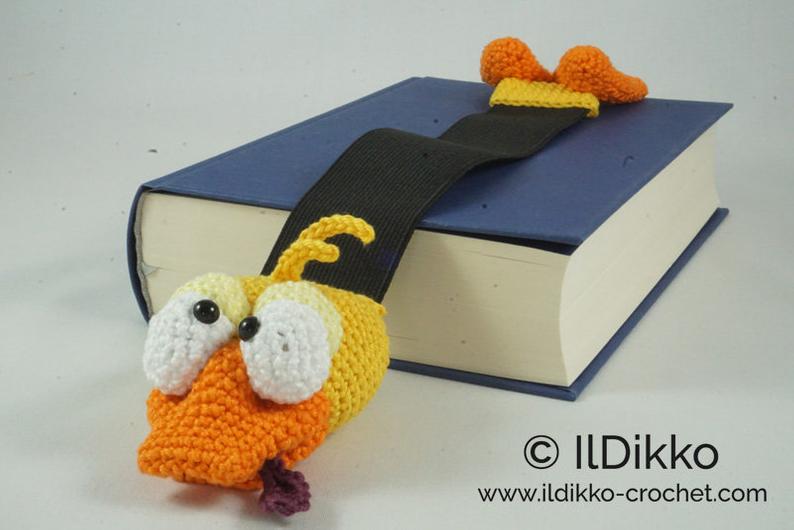
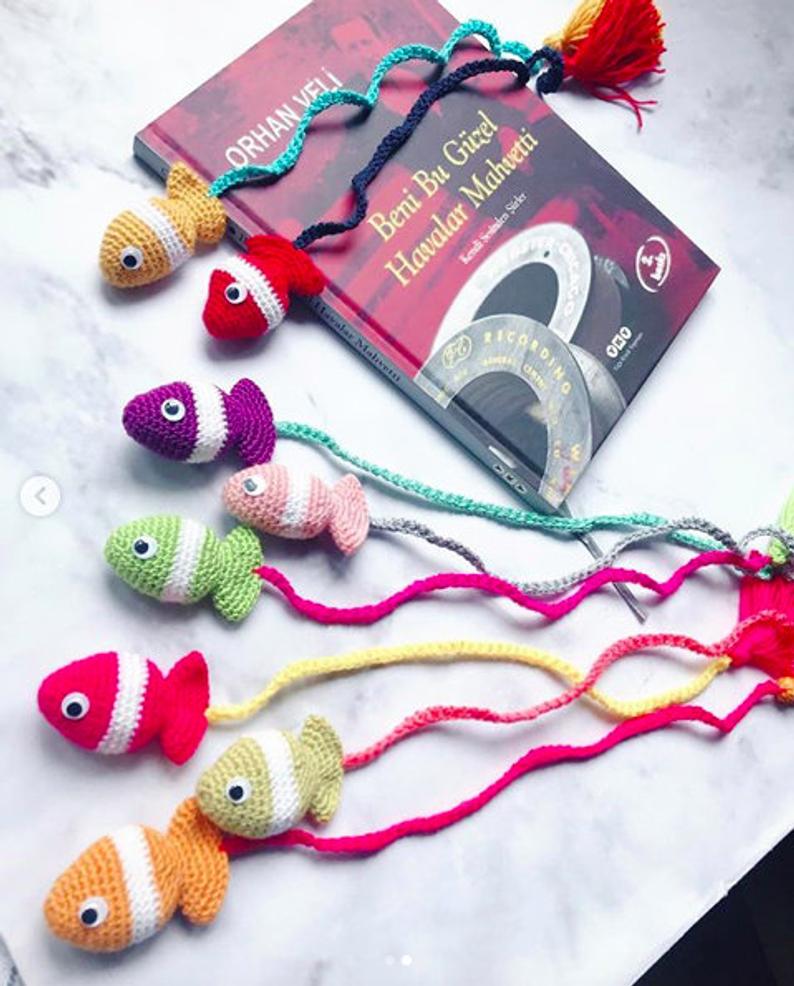
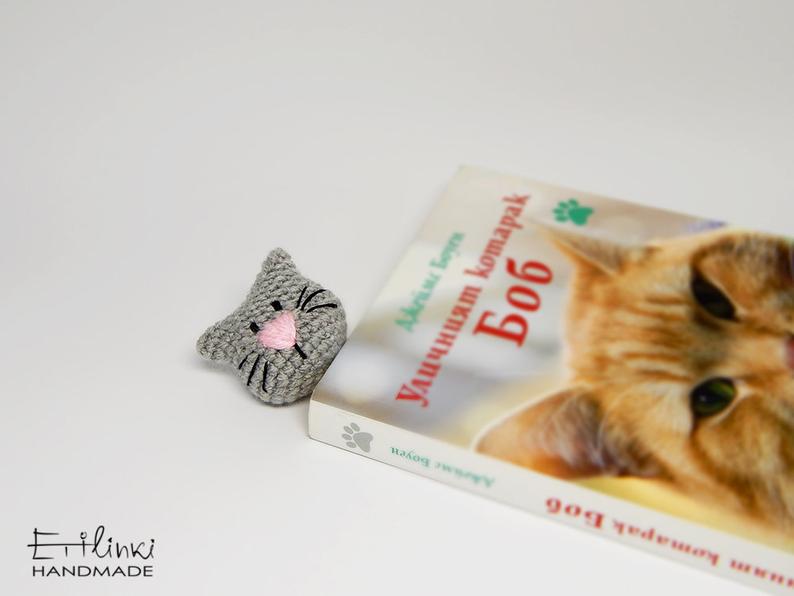
More Amigurumi Bookmark Ideas: